Tuesday, January 14, 2020

Bursting Hearts with Mindy Eggen

Welcome everyone! It's Mindy Eggen here with you today and I am featuring a project creating 4 Cards with 1 Stencil (plus a layout!)

VIDEO


I have a video that you can view down below or HERE on my Youtube channel. I'll be showing you how to create 4 cards with 1 stencil + a layout.


CARD DETAILS


Since this stencil is 9x12 all you need is one sheet of card stock. For my cards today, I'm using an 8 1/2" x 11" piece of Neenah Solar white 80lb card stock.


I'll spray my stencil with Pixie Spray, attach to my card stock and then ink blend Tattered Rose, Abandoned Coral and Seedless Preserve Distress Oxide inks using Life Changing Blender Brushes.


While the stencil is still in place, I'm going to spray Iridescent Shimmer Spray for a little sparkle. Then after carefully removing the stencil, I'm going to let this dry or you can heat with a Wagner Heat Tool.


After the card stock is dry, I'll trim my panel down first cutting at 5 1/2" and then 4 1/4" so that I end up with 4 card front panels. Four cards with one sheet of card stock and they all have a different design using the same stencil. Cool Right?!


I'm going to use the Good Job Mama Stamp Set and the Mini Misti Tool to stamp sentiments onto my card fronts with Versafine Clair ink. This is a great ink for stamping onto of Distress Oxides.


I also heat embossed sentiments off of the Good Job Mama stamp set onto Black card stock with White Embossing Powder. I love how I can stamp all of my sentiments at once using the Misti Tool. Quick and easy!

I'll use the Mini Blossom Die Cut Machine from Altenew and the Sentiment Label Die to cut my sentiments down to thin strips. I'll then attach my sentiments to my card front using the Big Momma Foam Tape from Simon Says Stamp.


A last finishing touch to my cards is adding some Clear Sequins using Connect Glue and then topping them off with Love Potion Dream Drops.


Now this is a little different coming from me but honestly, it's the first thing I thought of when I saw this stencil. One of my scrapbooks is actually a 9x12 album. I stenciled the hearts using the same colors as my cards, onto white card stock.


I printed off a 5x7 picture of my daughter that I took of her in November and attached it to my card stock.


Using Black card stock and Tonic Gold Glitter card stock, I die cut the Over Sized Love You from Waffle Flower and layered together with Connect glue for a shadowed look.


I heat embossed in Gilded Embossing Powder some small sentiments from the Tiny Words Encouragement stamp set onto Black card stock. Again, the Misti Tool is a time savER being able to stamp all of those sentiments in one pass. Then using the Sentiment Labels I die to cut them out and add to my label with foam tape.


I absolutely adore this layout and the sentiments are so powerful. It'll be great when my daughter goes back to look at the album and sees these encouraging messages.


I hope you enjoyed today's inspiration! I have the full release and my supplies listed down below.

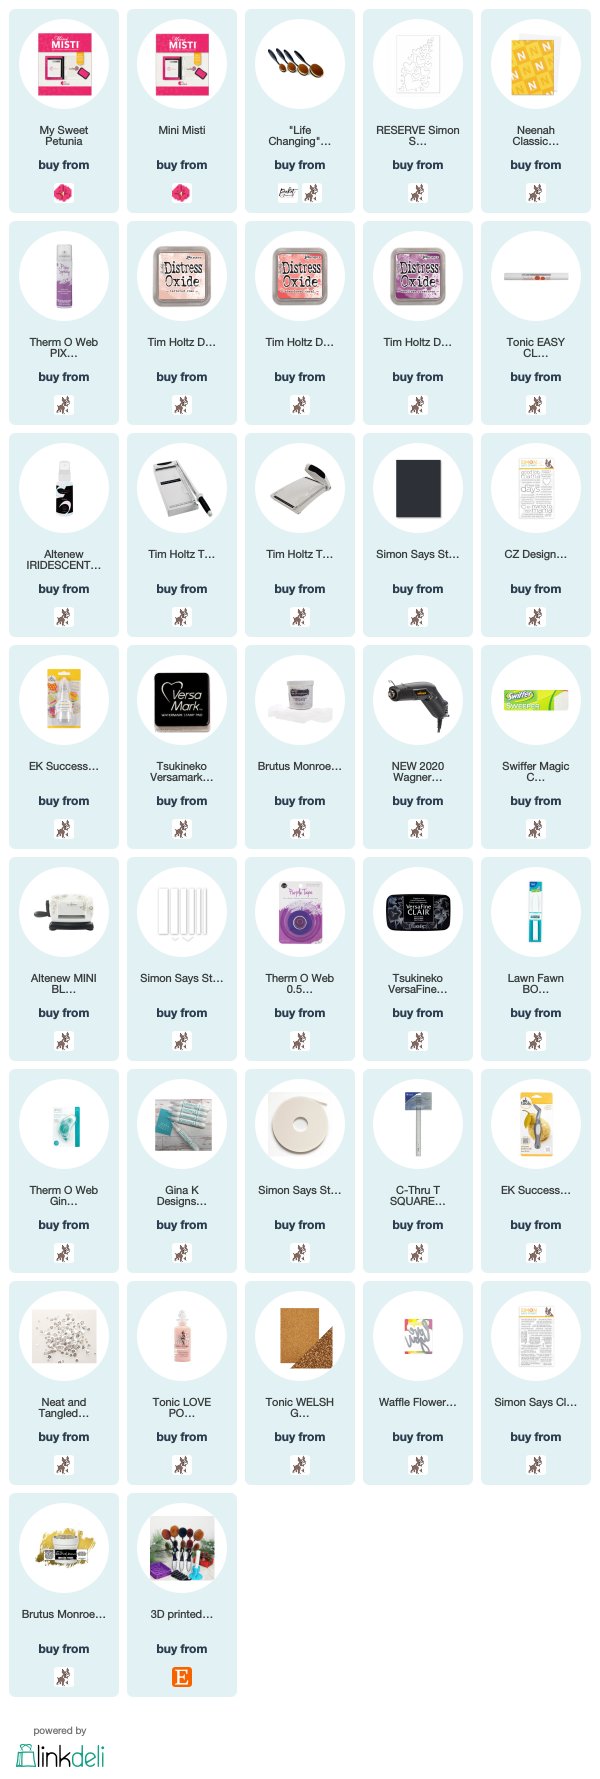
SUPPLIES USED IN VIDEO


Below you will find links to the products used. Click the icon to start shopping. Compensated Affiliate links are used at no additional cost to you. Your support helps me to keep bringing you new projects and videos. Thank you!


Tuesday, January 7, 2020

Team Tuesday with Ceal

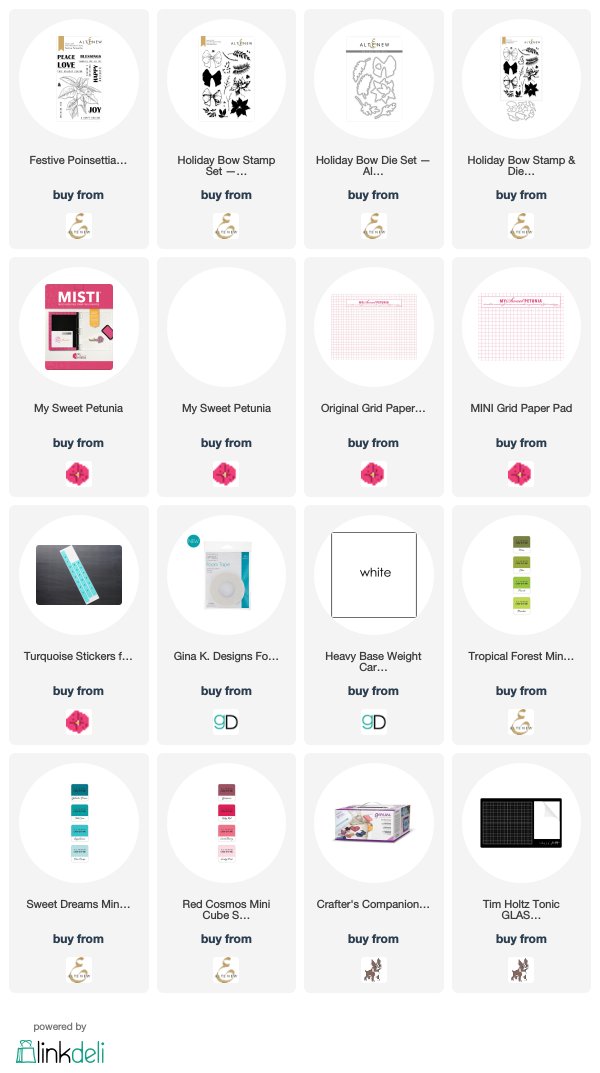
Hello Everyone, it's Ceal here to share with you today. I am using an Altenew set that I received for Christmas, Holiday Bow.  
I love Altenew's layering stamps, but without the Misti they would not be possible for me to use. 
To create this card I stamped the flowers and a few of the leaves using the Original Misti and then cut them out with the coordinating die cuts. I placed the card front inside the Mini Misti and the randomly stamped some more leaves in different colors.  
After I got the background done I popped up the flowers and leaves creating a bouquet and then added a greeting from the Festive Poinsettia set.  


Some would say that this is a Christmas set but I think it can be used all year especially using the bow or you could not use the poinsettias and add in another flower by Altenew, they have gorgeous floral layering stamps. 


Tuesday, December 31, 2019

Team Tuesday with Kia

Meet "Its a Cold Winters Night."

Kia with you today sharing this weeks Team Tuesday post, which is my last post as part of the Design Team for My Sweet Petunia.

It is bittersweet, as my card today goes back to one of the first cards I made when I bought my first Misti. I was in love with this "must have tool" as suddenly I could include stamping in my life. Up until then it was rare for me to stamp.

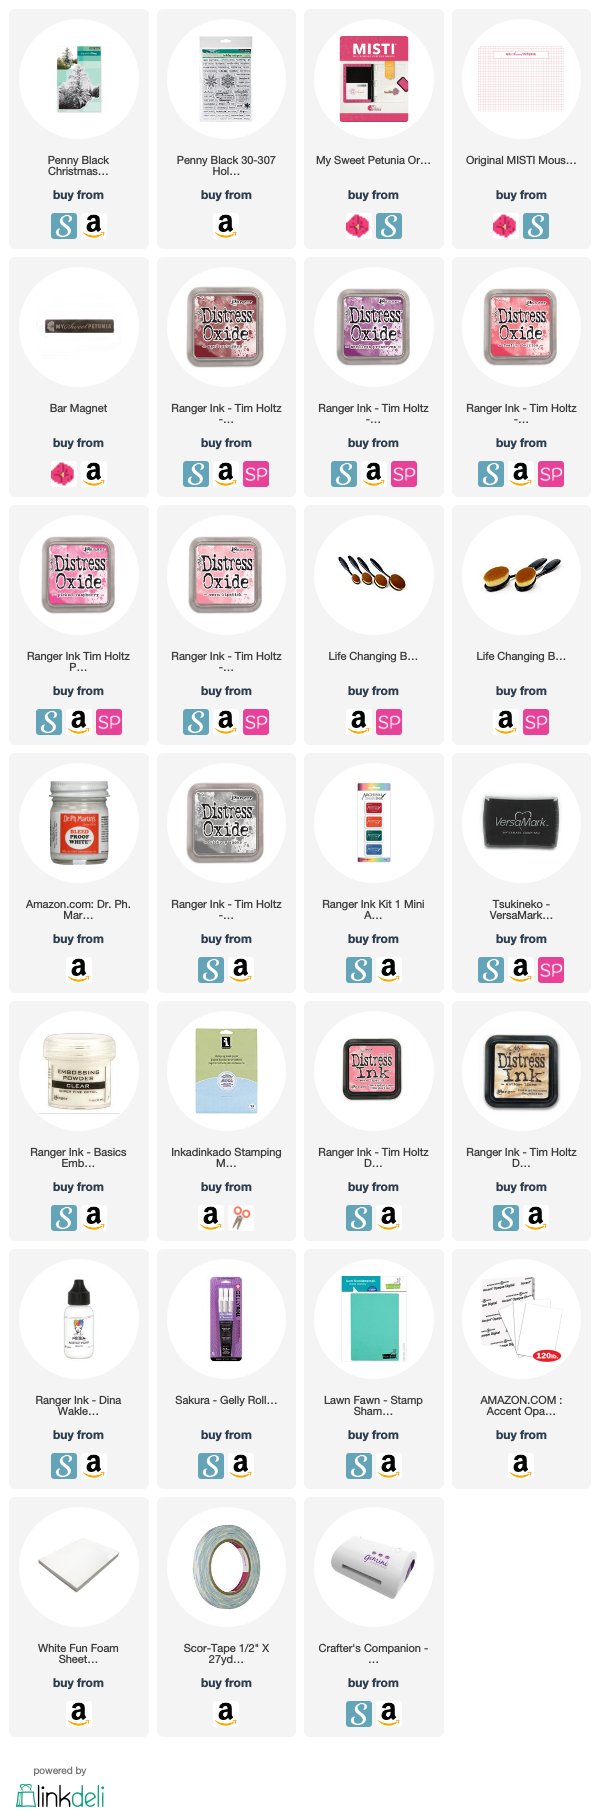
I started my Misti journey with a Penny Black stamp, and today I have another Penny Black stamp to share called Winter Tide.
This is a fairly large stamp and I like to stamp this one on an A2 tent fold card. 

To get the stamp lined up, meaning I want it falling off the edges on the left and bottom, but I also want it straight.  I position the stamp in my Misti on the glass and attach it to the glass using a large piece of rolled up painters tape. I then add my cardstock where I want it on the stamp, with another piece of rolled up tape between the stamp and the cardstock and close the door. 
The strength of the bottom tape keeps the cardstock in place on the glass, and I then remove the tape from the stamp.

Usually I would colour with markers, spritz and stamp. Today I inked and stamped doing 5 layers of ink to get this deep colour I was looking for. 
I started with aged mahogany, seedless preserves, festive berries then on to picked raspberry and ending with seedless preserves, ensuring that each pass has a lot of ink on the stamp. I then heat embossed the image with clear embossing powder to protect the colours from further sponging.

It looked as I had envisioned it would ... its a cold winters night! There has been fresh snow falling, hence the white snow on the bushes, but people have been walking through the area, so I painted the snow area on the far right bottom with Dr. Ph Martins Bleed Proof ink and mixed in some distress ink in hickory smoke oxide.

I masked off the moon before moving on to the background colours which I did using my Life Changing Brushes. I started with worn lipstick, then picked raspberry, on to festive berries and finally aged mahogany ending with the seedless preserves.

I removed the masking from the mood and using one of the tiny Life Changing Brushes I added antique linen distress ink and worn lipstick distress ink to the moon and blended out with a damp paint brush, then added in a bit of white gel pen.
I then added the white gel pen to a few of the tree branches and the bushes below to mimic the fresh snow, and using my fan brush I added splatters with white acrylic paint.

And finally, to finish, back in my Misti I stamped the sentiment inside the moon using Ranger Archival ink in Vermillion. I then added the panel to fun foam and attached using scor-pal double sided tape.

Thank you for a great time MISTI, and Iliana and Lydia. I have loved every minute of this journey.

Thank all of you for visiting today.

Following are Affiliate Links to the products that I have used for this card.
Love and hugs,
Kia

Tuesday, December 24, 2019

Team Tuesday with Ilina

Hi everyone!
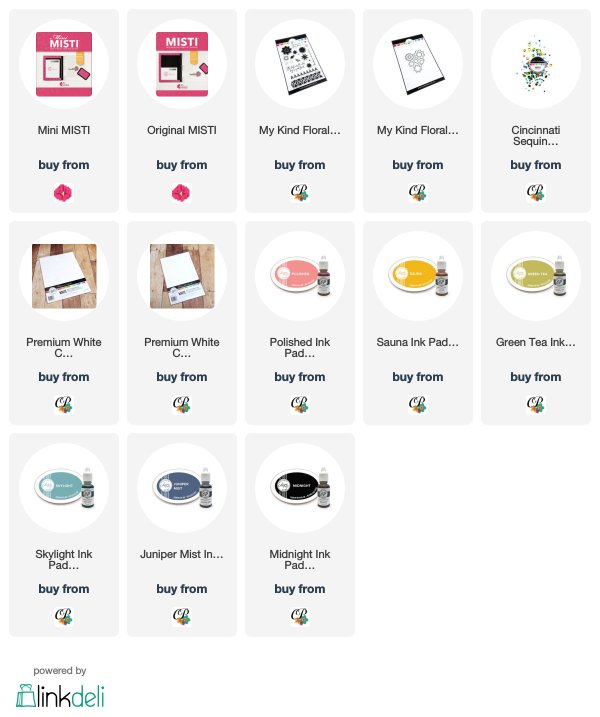
Ilina here! Today I am sharing a fun card using the new Catherine Pooler Designs set called My Kind Floral.
To make the card I started by stamping the border stamp repeatedly in my MISTI changing colors with each line. Then I skipped a border to leave space for the sentiment. Stamping with the MISTI allowed me to line those borders perfectly and have seamless transition and make it look like it's a continuous stamp.
Once done, I trimmer to size. Also I stamped the florals from the set in coordinating colors. First I die cut bunch of them from white card stock, then stamped with the help of the MISTI (I was stamping bunch at a time, so this method made it really fast. I used the negative space as a guide).
Once I decided which flowers I wanted to use I adhered them to the panel. Adhere to top folding note card and add sequins as a finishing touch!


Tuesday, December 17, 2019

Team Tuesday with Channin


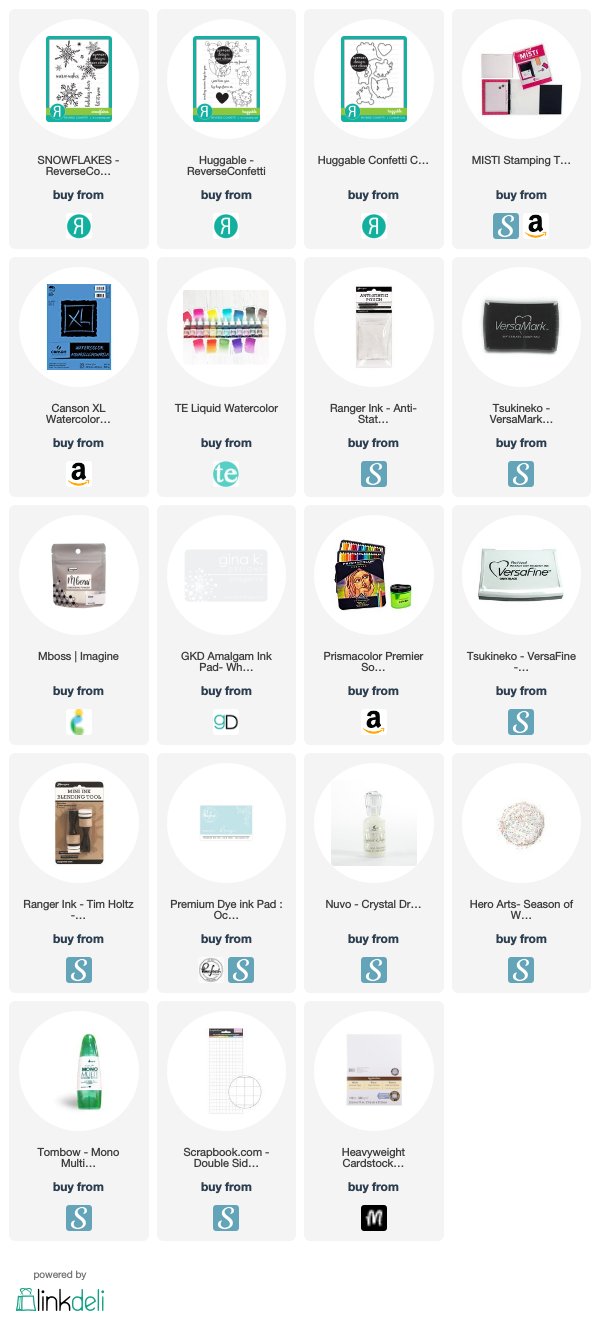
Hello friends!! It's Channin here and today I'm sharing a sweet card featuring some adorable products from Reverse Confetti!


First I watercolored an A2 panel of watercolor paper with some liquid watercolors (Cookie Monster, Jelly Donut, Lollipop). Once I finished watercoloring I then stamped several snowflakes in Versamark ink and then heat embossed with opaque iridescent embossing powder. Next, I then stamped the cute hugging mice in Gina K. ink onto white cardstock. I then colored the images in with prismacolor pencils and then die cut with the matching dies. I then hand cut a snow drift from white cardstock and then stamped a sentiment from the set in Versafine Onyx Black ink using the MISTI to help me curve the stamp.


Next, I ink blended with Pinkfresh Studio's Ocean Breeze dye ink along the bottom of the drift and then applied Morning Dew Nuvo Crystal Drops along the top of the snow and added iridescent glitter. I finished the card by adhering the watercolor panel onto an A2 top-folding card base and then adding the snow drift and critters with foam squares.

I hope you enjoyed my card! Thank you so much for stopping by!!

~Channin

Supplies:

Tuesday, December 10, 2019

Team Tuesday with Mindy Eggen!

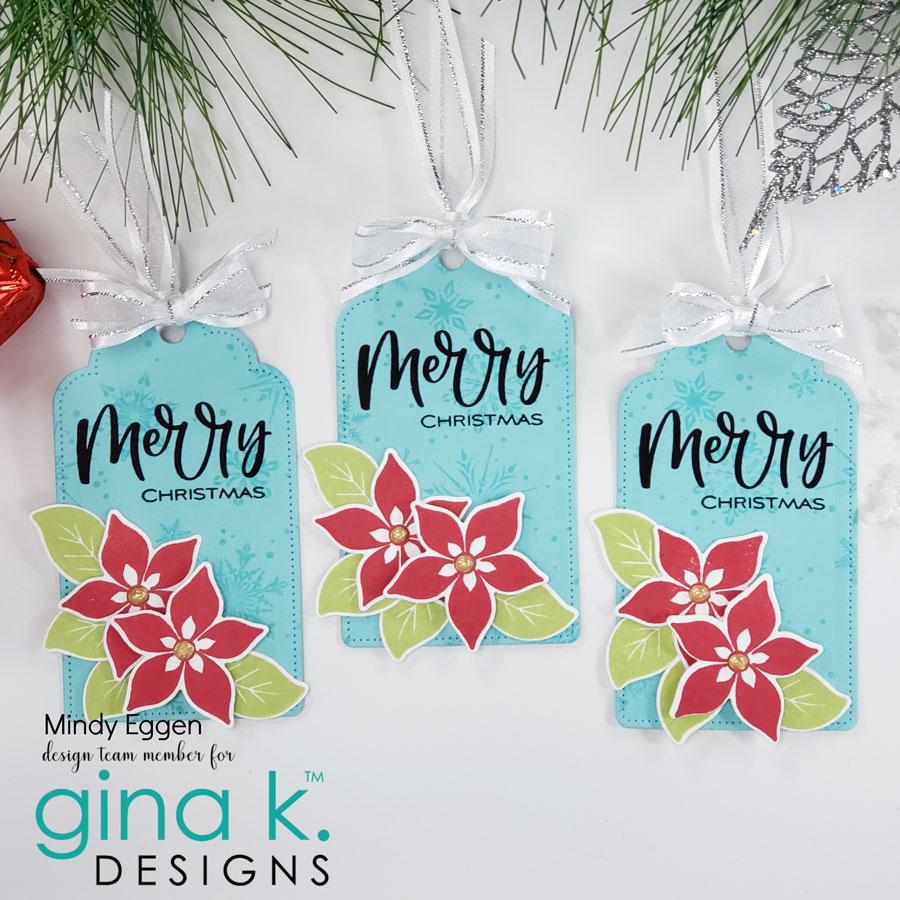
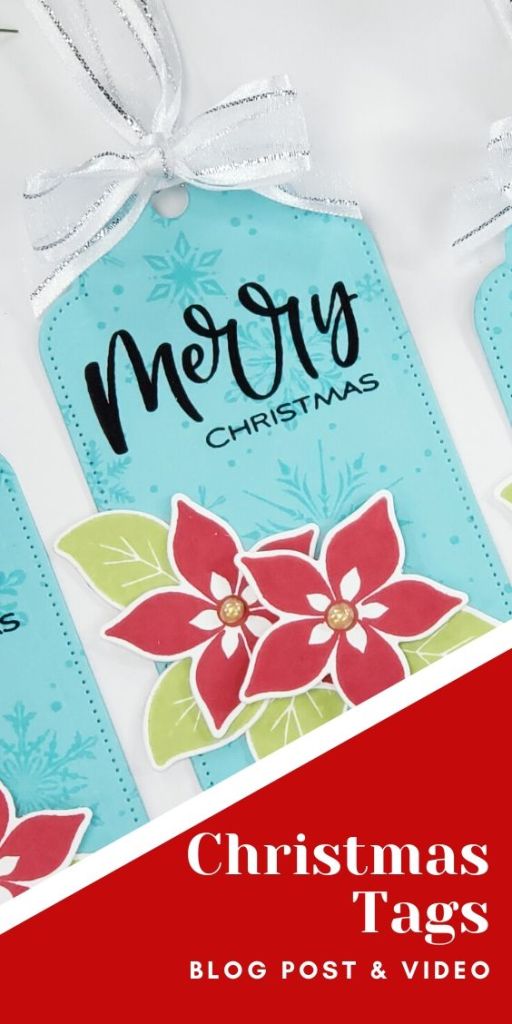
Welcome everyone! I'm hosting the December 2019 Challenge over at Gina K Designs and the challenge this month is... Tag! You're It! Sounds fun right?!

All you need to do to enter is create a tag. That's it! It can be any theme. I happen to create some Christmas tags but feel free to use whatever Gina K Designs products you have on hand.

VIDEO DETAILS


I have a video showing how I created my tags that you can view down below or HERE on my Youtube channel.


CARD DETAILS


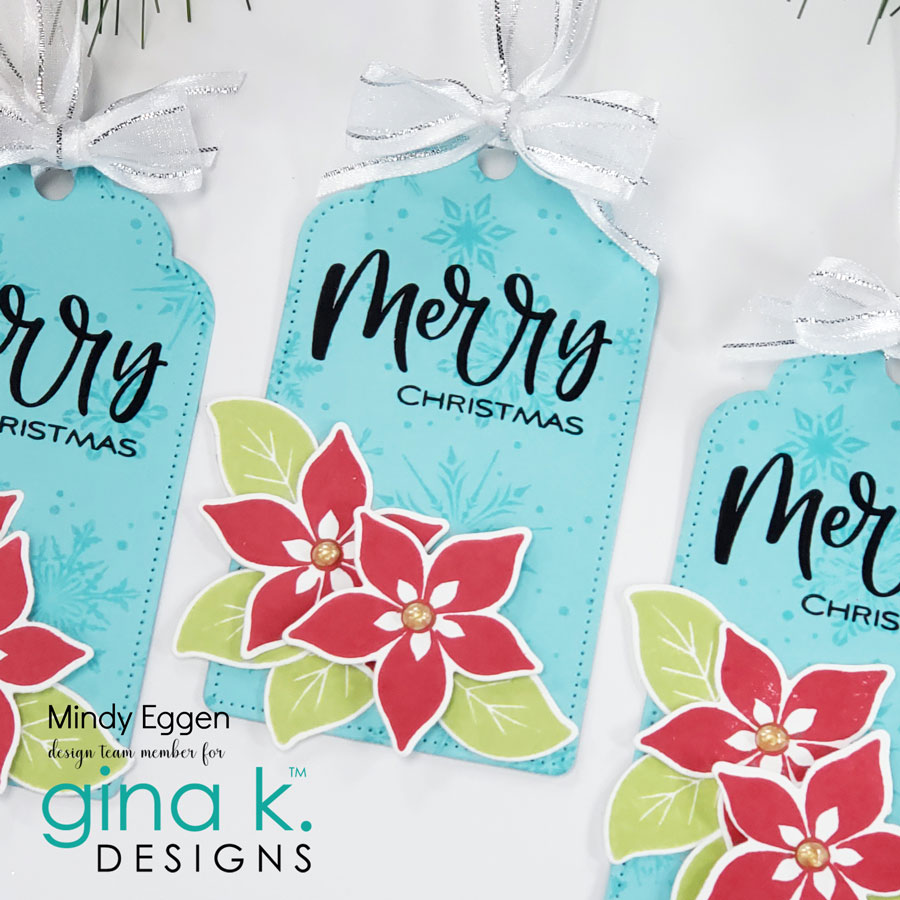
For my cards, I'm stamping the Delicate Snowflake Background stamp onto Sea Glass cardstock using Turquoise Sea ink with my Misti Tool.


I die cut out my tags using the Decorative Tag die.


On White Heavy Base Weight cardstock, I stamp the flowers from the Christmas Silhouettes stamp set using Cherry Red and Jelly Bean Green Ink. I use the coordinating die to cut out my images. The Misti is so helpful when I need to stamp multiples of the same image. I do a type of assembly line when stamping.


Before attaching my images, I'm going to stamp my greeting in Obsidian Black ink. I use the "Merry" from Christmas Silhouettes and the "Christmas" from Holiday Trees.


After stamping my greetings, I can attach my images using a dot runner.


I'll add the Sheer Satin Fancy Ribbon to my tag. If you haven't checked out this ribbon, I highly recommend it. It's gorgeous and perfect for tags!


I finish off my tags by adding Dream Drops in Gold Luxe to the centers of my flowers.

I hope you'll join us this month! Be sure to head over to the Gina K Designs Blog to find out how to link up your project and be eligible to win a gift certificate to the Gina K Designs store!

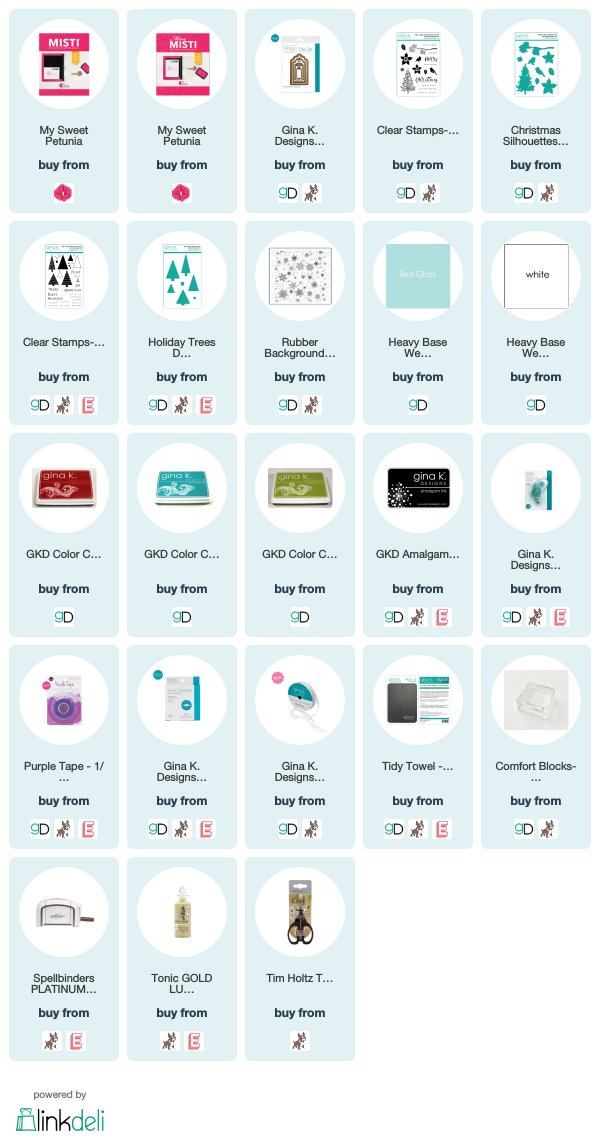
SUPPLIES


Tuesday, November 26, 2019

Team Tuesday with Kia and Gnomes

  
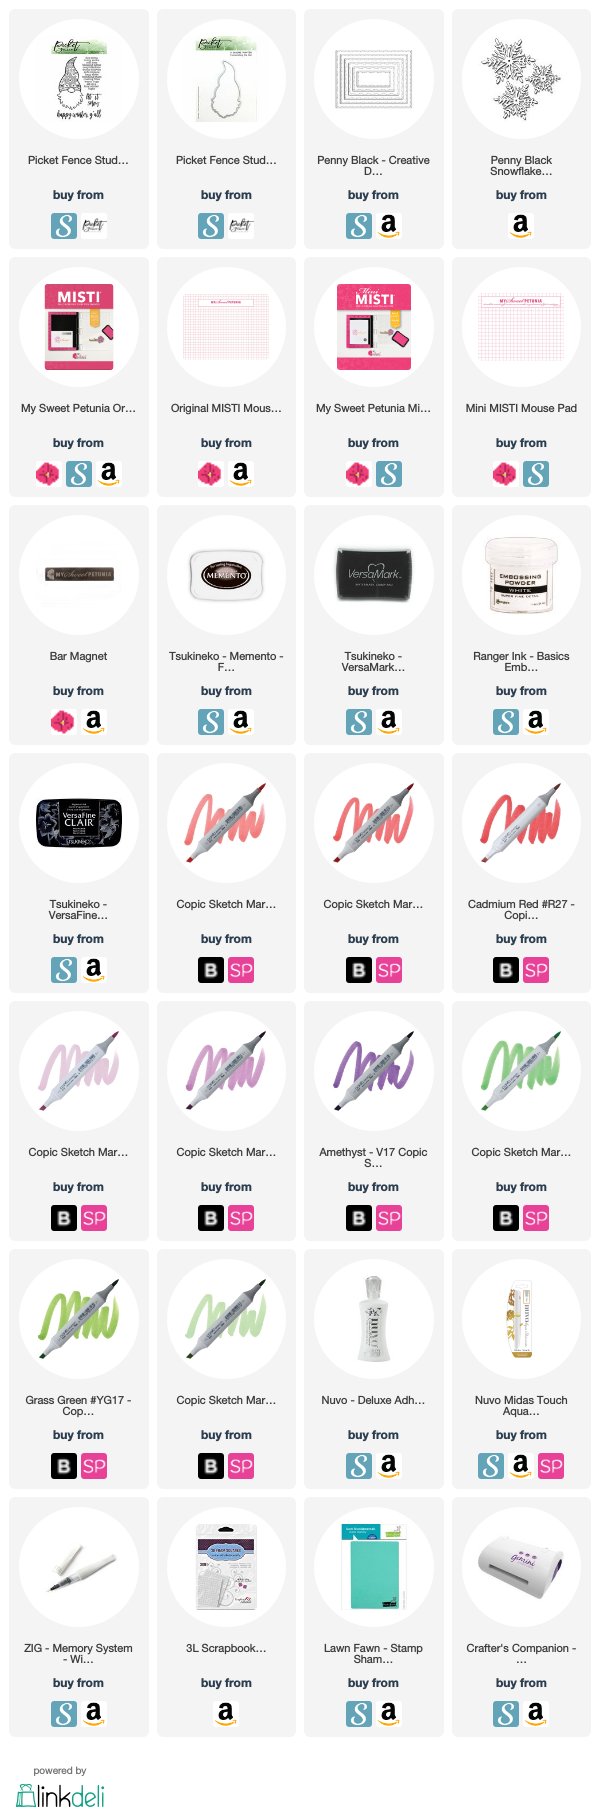
Gnomes seem to be very popular recently, so I decided to use the only Gnome I have, which is by Picket Fence Studios, to make a winter card. 

I started by stamping the image on white card stock using Memento Ink in my Original Misti. I set up the Misti with the stamp in the bottom right corner so I could just turn the paper to stamp each image.

I then coloured each image using Copic Markers in different colours, nut did the beard for the green Gnome slightly different, as he was going to be front and centre.
Using my Penny Black die Elegant Stitching I die cut white cardstock then stamped with the Let It Snow stamp using VersaMark and White Embossing Powder, going around the edge. I goofed up on the left side, but as you will see I fixed it.
Using Penny Black's Trio Snowflake set I die cut the smallest snowflake to cover my mistake. I attached the Let It Snow piece to my card base, tucked the snowflake in and gluing with Nuvo glue, then added my top die cut panel using foam squares.
I added my card to my Mini Misti and stamped the sentiment using VersaFine Clair ink in Nocturne. I also added a bit of Wink of Stella to the beard of the Green Hat Gnome and Midas Touch Shimmering Pen to the centre snowflake on the hats.
 I can certainly understand why everyone love Gnomes, they are great fun.
I hope you have enjoyed today's Team Tuesday card, and I thank you for visiting.

Following are Affiliate Links to the products that I have used for this card, at no extra cost to you.