Showing posts with label Waffle Flower. Show all posts

Tuesday, March 2, 2021

VIDEO: Caring Hands Eclipse Cards with Channin

Hello friends! It's Channin here and today I have a pair of colorful cards and video to share featuring the Caring Hands stamps and dies from Waffle Flower Crafts. Today’s card uses the MISTI and the eclipse technique to add a cool dimensional effect to my sentiment!


To create these cards I first stamped a sentiment from Caring Hands Sentiment Stamp set onto an A2 panel of rainbow patterned paper in VersaFine Onyx Black Ink using my MISTI. I left my stamp inside my MISTI and then adhered the rainbow panel onto the front of an A2 top-folding card base.


Next, I stamped the praying hands from the Caring Hands Stamp Set in Antique Linen Distress Ink onto Neenah Solar White cardstock. I then copic (E30 & E31 or E35 & E37) colored the hands and then die cut them with the matching die. 


Next, I grabbed a scrap A2 panel of cardstock, popped it into my MISTI and stamped the same sentiment I stamped on the rainbow panel. I then centered the praying hands die over the stamped sentiment and then ran them through my die cutting machine. I then discarded the die cut hands and placed the scrap panel back into my MISTI to use as a jig. With my jig in place, I then popped my copic colored hands into the jig and stamped my sentiment once more. 


Lastly, I finished the card by adhering my hands to the card front with foam adhesive, making sure to line up the letters on the hands with the letters on the card front.


I hope you enjoyed my cards and video! Thank you so much for stopping by!


~Channin


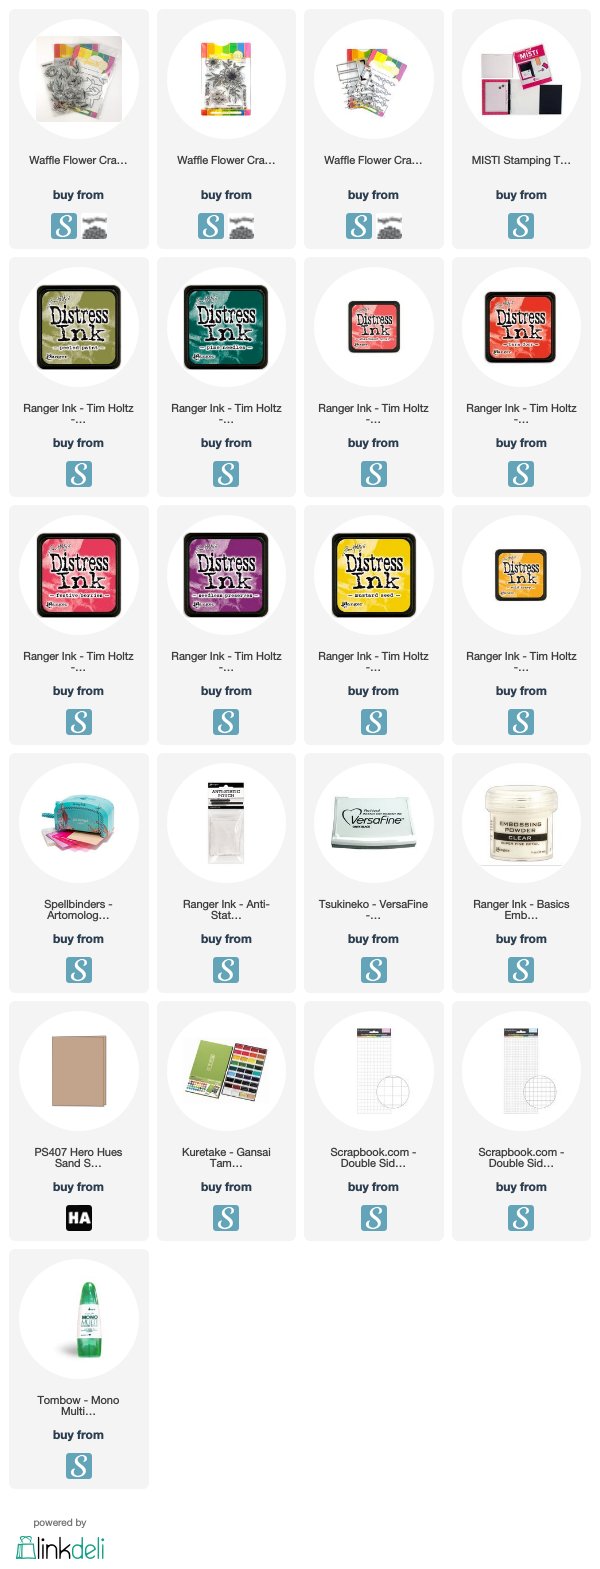
Supplies:


Tuesday, February 25, 2020

Video: Faux Watercoloring with a MISTI


Hello friends! It's Channin here with a new card and video to share!! In this video I share how to create a colorful bunch of flowers and leaves with a faux watercolor technique using a MISTI. This easy technique gives your florals that watercolor look with very little actual painting.


Faux Watercoloring with a MISTI

Watch below on my YouTube channel.


To create this card I first stamped several leaves from the Peony Bouquet Stamp Set onto a panel of watercolor paper. I partially inked the top portion of the leaves in Peeled Paint distress ink and then stamp. Next, I inked up the bottom portion of the leaves in Pine Needles distress ink and then stamped. I then inked up the top of the leaves again in Peeled Paint, then spritzed with water and then stamped. I then inked up the bottom of the leaves with Pine Needles, spritzed with water, and then stamped. 


Next, with a brush I quickly colored in the open areas of the leaves with the water downed ink. Then I used my heat gun to dry the ink and then stamped the leaves one last time with two inks to enhances the details in the images.


Next, I basically repeated this process for flowers from the Peony Bouquet and the Zinnia Stamp Sets with different distress ink colors. After I had finished stamping my flowers I then die cut them and the leaves out with the matching dies. I then created my sentiment by stamping "hello" from the Simply Said 1 Stamp Set in VersaFine Onyx Black and then heated embossed it in clear. Next, I die cut the sentiment and two unstamped "hellos" out and then adhered them all together to create a dimensional sentiment. 


I then splattered white watercolor paint over the front of a Kraft A2 card base. Once the paint had completely dried I then adhered the flowers with foam squares and then the sentiment with liquid glue. 

I hope you enjoyed my card and video! Thank you so much for stopping by!

~Channin

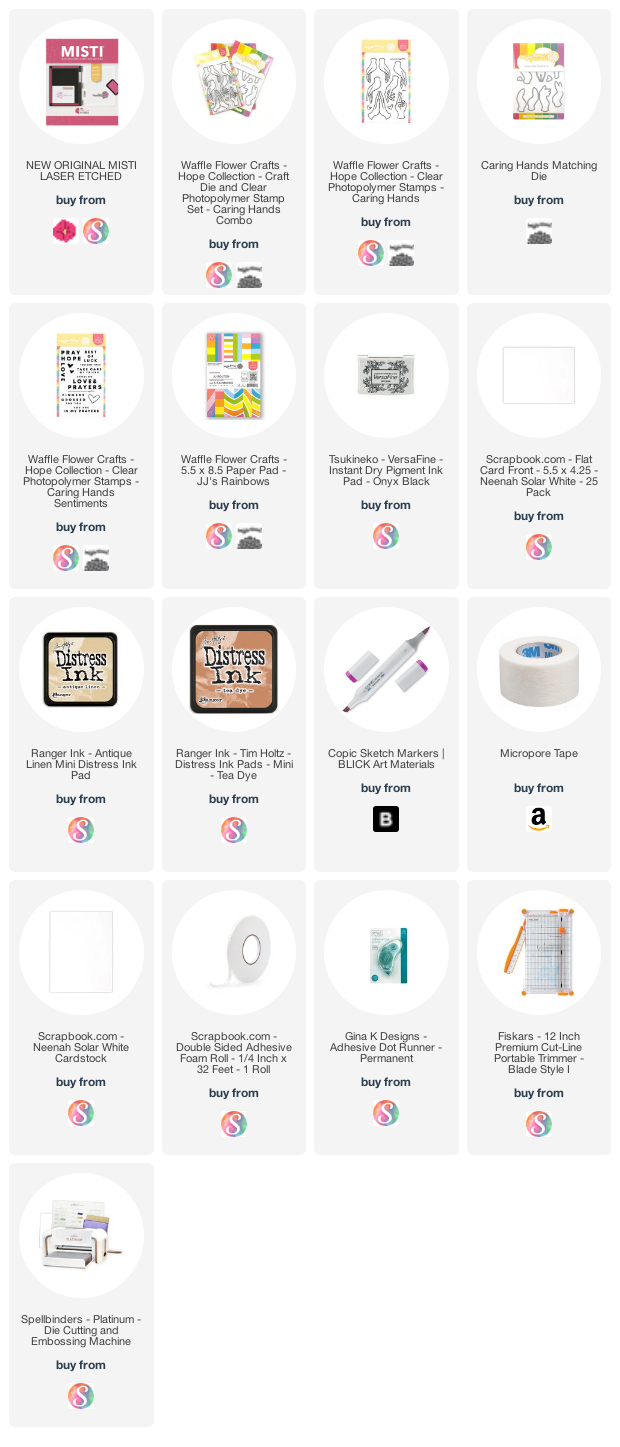
Supplies:
Watch below or on my YouTube channel.

Video


Tuesday, November 14, 2017

Team Tuesday with Stephanie ~ MISTI Marbled Courage

I bought the Layering Marble Stamps from Waffle Flower because I knew they would be super-fun to use with my MISTI.  The colors for my card were inspired by this Sunset Watercolor Marble Rug from Frontgate.

Front9

I started with Yellow Cardstock to build my base.  The Stamp set has three layers to create the marbled effect.  There is a cheat sheet on the website to show you how to line-up the layers.

WF1wm
I began with Wendy Vecchi's Pink Peony Ink for the first layer.  I positioned my stamps where I wanted them and then used my MISTI lid to pick them up.  

I love my 12" Memory MISTI for these types of projects because I have plenty of room to move things around.  And the Bar Magnets are awesome too.

WF2wm
Next I positioned the same three stamps to cover my cardstock with marbled goodness.

WF3wm
Then I remembered there was a fourth stamp, so I found it a home too.

WF4wm

Then I used Hero Arts Rose Madder Rose Hybrid Ink for my second layer of marble (in hindsight something slightly lighter would have provided more contrast to the third color, but I love the effect ... that's the fun of these stamps ... there are so many possibilities).

WF5wm

Finally, I stamped the third layer in Cherry Pop and then went back and re-stamped several of the elements to fill out my design a bit more.

WF6wm

I used a sketch from The Paper Craft Crew Challenge blog for my layout with a sentiment from Essentials by Ellen Courage.

IC622wm

I love how the colors matched one of my ceramic fish ash trays in my studio.

IC622-2wm

Stephanie from