Showing posts with label Color Burst. Show all posts

Tuesday, April 2, 2019

Team Tuesday with Kia

 This is Beauty.

I made Beauty for today's Team Tuesday post. I did do a video but it ended up at 25 minutes, which I think is just too long. So instead I have opted for a tutorial, for those who like to have a lot of information about making the card.
 First however, I would like to share the pictures of my finished card. I opted for a coral/orange colour for the flower, as that colour on the sun rays is mostly covered by the flower. 
 A close up of the Peony shows the details from the stamp, which I went over with the paints as I very much like the details on this flower.
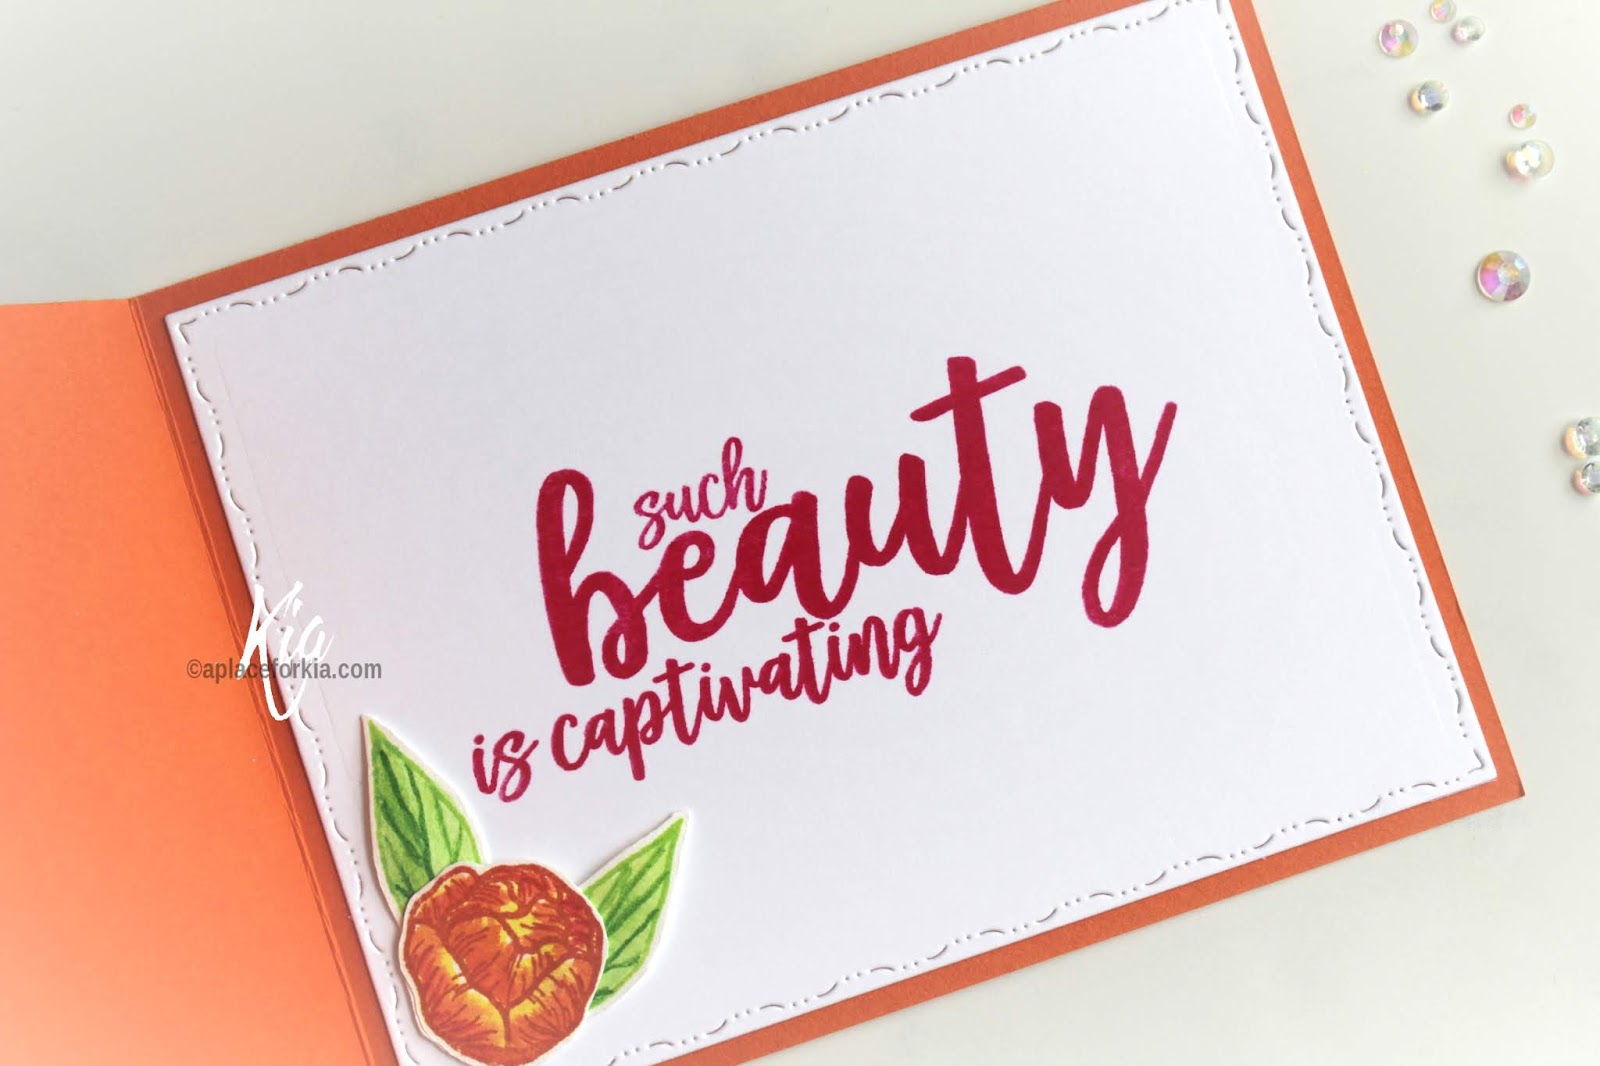
 And, as I normally do, I have also done the inside of my card, which is where the name of my card came from, stamping the sentiment in the Fuchsia Pink to bring that colour inside the card.

So now on to the Tutorial part of my post.  
 I started with the stencil background, using Ken Oliver's Color Burst powders in Lemon Yellow, Tangerine and Fuchsia. I have also mixed a spritzer with Perfect Pearls which is what I spray the powders with, which adds a beautiful sheen to the finished rays.
  (There is a container sitting on the sun part of the stencil to stop it puffing up when I wet the piece). 
I have used a Basting Spray from my sewing days to tack down my stencil. It has very good stick to it so for this card I pressed off on a rag before putting on my card stock. When using spray such as this, as I have a bird I must do it outside, and I would recommend that, as it is not the nicest smell around.
 This is the finished background. I love the roughness of the sun rays.
 I then moved on to stamping the flowers, using Ranger Archival Inks in the colours I was going to use. I also stamped the large Peony in orange and yellow to see what one I would like. I picked the yellow image.
 Keeping with the colour burst powders I made puddles of the colours I used on the sun rays, and added in a couple of greens along with a lighter colour of the orange.
 I did a few layers of painting to get the colours the way I wanted. The Color Burst colours are very vibrant, which of course I love.
 I die cut and attached my sun rays panel to a tangerine card base. 
Once all the painting was done I cut the images and styled them with my stylist, adhering them to my card using Nuvo Adhesive Glue and foam squares.
 Moving to the inside of my card I die cut the panel and stamped the sentiment using Ranger's Vibrant Fuchsia. 
 I then styled and glued in the leaves and flower bud.
I finished by adding a few Iridescent Crystals. 

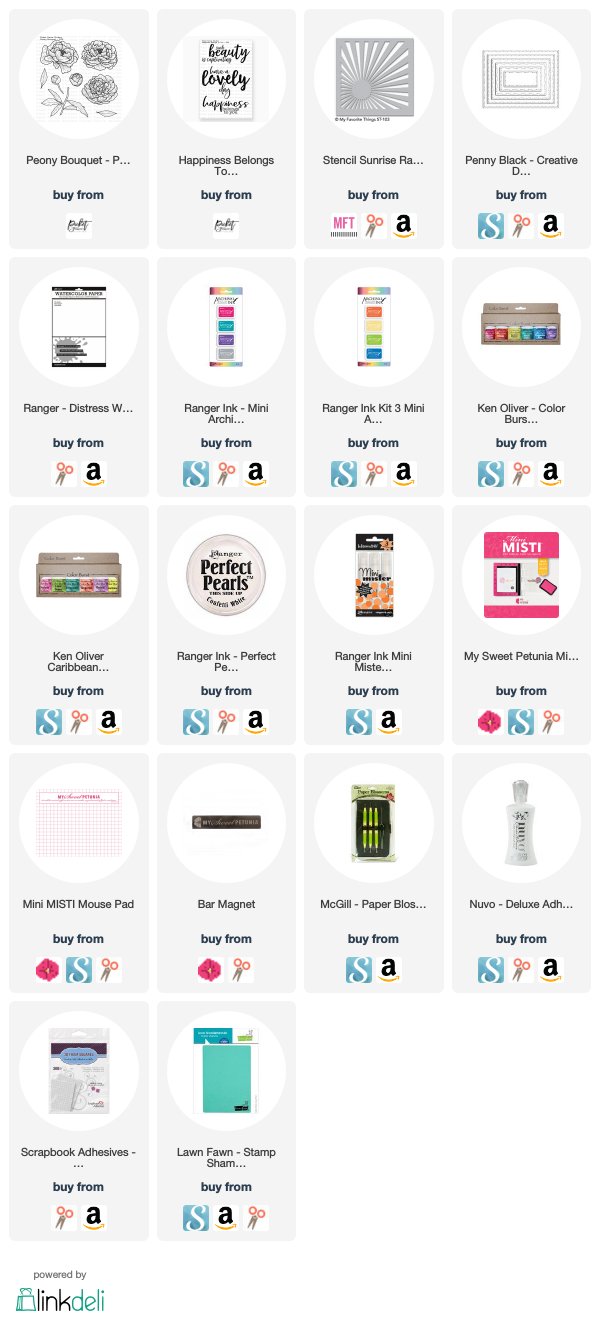
I hope you have enjoyed today's Team Tuesday card. Following are affiliate links to the products that I have used on this card.
Tuesday, May 22, 2018

Team Tuesday with Jeanne

Ever made an ATC?

Cut your cardstock (or whatever paper you plan to use) to 2 1/2" by 3 1/2" and get decorating! Think small!
ATC's are great to have around to add to a card base for a quick card.

Here is a template that shows how to cut 10 ATCs from one sheet of cardstock.


I created the background by placing one of the solid circles from Technique Junkies Here We Go Round in Circles (set of 12) on my Mini  MISTI, misting with water (just a little) and then tapping a few grains of Color Burst (Alizarin Crimson and Lemon Yellow from the Brights Collection)onto the stamp. I misted with water again (again very lightly) and stamped onto watercolor paper.


Repeat until you have a pattern you like.


Here is my pattern.


I stamped the a few of the images from Technique Junkies 60's Chic in the center of my circles to 
create  a flower look. 


I stamped Technique Junkies Love You in black over the top of my flowers, trimmed and added a mat.


Use code TJ10Jeanne for 10% off at Technique Junkies stamps!

Tuesday, April 3, 2018

Team Tuesday with Chris

Good morning!  Chris here with a watercolor card and video today.  

I'm using a brand new stamp set from the first ever stamp release from Beth Duff Designs, a new company based in Georgia.  My friend Beth is a veteran, mom of five children who has now started her own stamp and sticker embellishment company and generously sent me one of her very first sets.  I'm so proud of her.  Beth designs sets around sentiments and themes that she feels are a bit missing in the industry and along with her team of artists, is now bringing those ideas and themes to the public.  Beth is a proud supporter of Cards for Soldiers and Kids Get Crafty, and many of her cards have those goals in mind.  

The set I'm using today is called I'd Rather Be Glamping, and it will be available to purchase at Beth Duff Designs on April 8th, so I'm very honored to give you a bit of a sneak preview of this fun camping set.


I used three of the images from the I'd Rather Be Glamping set to create this card.  I used my Original MISTI to very quickly stamp a staggered row of trees using Tumbled Glass Distress Ink.  I just placed my stamp in the center of my MISTI and adjusted the paper for very simple and easy stamping.  The faint ink of the Tumbled Glass disappears beneath my watercoloring, so I didn't need to mask at all.  I stamped the fire and tent with Tumbled Glass ink as well.

I used Mask-It masking film to create a mask for the landform, horizon line and moon.  The Mask-It film masks cling relatively well to the texture of the Canson Montval watercolor paper, so it helped protect the colors from bleeding together in areas I didn't want them to.

I then grabbed my ArtBin full of Ken Oliver and Brutus Monroe Color Bursts powders and used those to watercolor the scene.

The entire speed-painting video is available below.  Hope you enjoy.


Happy stamping!


Friday, February 9, 2018

Spirit of a Fairy


Hello! Jeanne here today.

Did you notice my MISTI changed colors? There are now stickers available to change your MISTI to turquoise or white. How fun is that?

I started with a quick Color Burst background (Marigold and Peony). I put a little powder onto a panel of Bristol and misted with water. I let the panel dry completely. Then I used my MISTI to stamp the sentiment and the heart. I added a black edge with a pen and then put my panel on a white card. I used Gold IrRESISTible to fill in 2 of the rings of my heart to add a little texture.


Have a great day!