Showing posts with label Chris Dayton. Show all posts

Tuesday, July 9, 2019

Superpowers, Team Tuesday with Chris

Good morning!  It's Chris with you today for Team Tuesday, sharing this Superpowers card.  I love mice (only paper ones!),  so as soon as I saw this cute little Supermouse from Create-A-Smile stamps, I immediately envisioned making this card:


To create this card, I started with a panel of smooth white cardstock, and created a sunset background using Blender Brushes and Blue Corn, Eggplant, Sprinkles, Candy Corn, Cupcake and Potato Chip inks from Taylored Expressions.


I used a bit of temporary adhesive to adhere my panel right to my mouse pad in my Original MISTI, and did my blending.  The excess ink cleans right off the mouse pad.

Next I created a cityscape by stamping this image from Concord & 9th's City Stacks stamp set.  I stamped with Oreo ink and quickly added color with Zig Clean Color Real Brush Markers.


I used the die to cut out my cityscape, leaving a good portion of cardstock below the image.  I added Earl Grey ink to the lower portion.  I used my heat gun to fully dry the ink, then added the "You've got Superpowers!" greeting from the Create-A-Smile Superpowers set using embossing ink and Brutus Monroe's Sterling embossing powder.


I went back to my original inked panel and added a bit of Sea Salt and Earl Grey ink to the lower portion of this panel as well, to make sure that no stark white would peek though beyond my die cut once I'd added it.

Next I stamped out the little Supermouse from the Superpowers set onto a small piece of Xpress It Blending card with Oreo ink.  I gave the ink a minute or two of dry time, then 
quickly colored with Copic markers.


I hand trimmed out my Supermouse with scissors and adhered it along with my cityscape die cut to my inked panel with liquid glue.  I decided to trim 1/8" from each side of my panel to leave just a bit of border, and added a black A2 mat before adhering to my top fold white card base.


Thanks for visiting.  I hope you have a great day!  Use your Superpowers to craft today!

Tuesday, April 30, 2019

Team Tuesday with Chris: Picket Fence Studios

Good Morning!

It's Chris here with you today, with a coloring tutorial and some easy tips on using your MISTI for testing sentiment placement and colors.

Today I am using the Picket Fence Studios' large lily image from the Lily Bouquet stamp set.


This card began with a panel of Gina K. Designs' Artist Choice cardstock.  I used my Original MISTI to stamp the Lily Bouquet image with Warm Glow no-line coloring Amalgam ink.


This ink is a pale warm reddish gold color that disappears beneath your coloring.

I started coloring this image with Copic Markers YR00 and YR02.  I very quickly added the pale colors to my highlight areas,  then began to add deeper orange colors of YR14 and YR18 to begin creating the shadow areas and shape of the blooms.  I'm careful to just lightly "flick" areas of color in, rather than color the whole flower.  I want to leave some very pale, nearly white areas to help create the dramatic shape of the lilies,

I also added flicks of color to the stems and leaves with G43.


Now I begin to define the petals of my blooms using Faber Castell Polychromos pencils.  I begin with a mid-shade of burnt orange and work my way from the center of the flower out, and from the petal tips inward, still leaving as much of that pale highlight as possible on the center of each petal that I feel is in direct light.


I use three shades of pencil, the darkest, a reddish brown to really define petals and add cast shadows on the lower petals.

I keep adding deeper color, building up the contrast needed to make the blooms appear three dimensional.  I also begin to add darker green pencil to the leaves and buds.


I begin coloring the flower stamens by selecting just a few of the shapes to highlight with a lighter tan, then adding a deeper gray brown around and under those lighter parts.  I also add more of the darker brown shadow color to where those stamens would be casting a shadow on the lower petal of the bloom.


Now that I'm done creating the shape the flowers with color and contrast, I've decided to brush in a  bit of color to my background to soften the starkness of the white vs. the colorful lilies.

I'm using Tumbled Glass Distress ink, which is very light, so I'm not too concerned about masking.  I just use a small piece of Post-It tape and a small piece of tag stock packaging to protect my lightest areas of the petals as I lightly add ink with one of the Picket Fence's Life Changing Blending Brushes.


Now I need to add my greeting to the upper right hand corner.


I'm going use Picket Fence's Thank You stamp, but I'm a bit undecided on what color I want to use.  I want to test a few before I decide.

To test, I'm using a piece of quilter's template vinyl that I've cut to fit inside my MISTI.  I place it over my card panel, and stamp on the plastic.  This is a great way to double check your alignment, especially with the hand-lettered type sentiments that sometimes can be a bit difficult to align because of the irregularity of the letters.


This whisper gray ink blue is too pale.  So I wipe it off my plastic sheet and try again.


This blue seems, well...  too blue.


I'm not loving the Kraft ink... 


And the Charcoal Brown is much too dark.

I think I've found the winner with Tumbled Glass Distress Oxide ink.


So I remove the plastic sheet and stamp on my panel.


And adhere my colored panel to a top-fold white card base.


Thanks for stopping by today!
Happy Stamping!


Tuesday, March 5, 2019

Team Tuesday with Chris: Washi Tape ideas

Hi everyone!  It's Chris here with you today for MISTI Team Tuesday.  I have two cards to share with you that give some ideas for using wide washi tape in your cardmaking.

But before we get to the cards, I'd like to announce the winner from last Thursday's Ink Blot Shop and My Sweet Petunia Collaborative Blog Hop:

MadeByMeghanK, 
you are the winner of this awesome Blog Hop prize package from My Sweet Petunia!

An Original MISTI and a set of Cut-Align rulers!


To claim your amazing prize package, email hello@mysweetpetunia.com and put MSP/Ink Blog Shop Hop Winner in the subject line.

Now on to the cards I have to share with you...

Today I am using wide washi tape in my cardmaking. I've used washi tape to dress up envelopes for many years.  Occasionally I've even used it to add a strip of color as a border on a card or tag.  But lately, washi tape has hit the market in wider rolls that open up lots of options to use as a very quick and easy background.  Today I'd like to show you a few possibilities for using as focal images.


For this card, I used the new 4.5" wide, Pink Peonies washi tape from The Ton Stamps to do a bit of paper piecing as if it were patterned paper.

I first applied the washi to a 8.5" x 5.5" piece of layering weight cardstock. Then placed it into my Original MISTI.  I wanted to use the pretty Pink Peonies as a floral gown with the Haute Gala Dress stamp set.  I carefully place the stamp over the patterned areas that I felt best fit my image.  In this case, I chose to use the pink of the large peony as the bodice of the girl's dress.

I picked up the stamp with the lid of my MISTI and carefully stamped with Stazon Cloudy Sky ink.  I needed a solvent ink for it to stick to the coated surface of the washi.   I chose the pale gray as the lines would be dark enough to be able to fussy cut, but still pale enough to not be too obvious on my card.  I carefully inked only the edges of the dress, taking care not to ink up the shading lines on the skirt.

I carefully hand cut out the dress.


I used the other half of my sheet of layering weight cardstock to stamps my girl image again.  This time using Caviar Hybrid ink.  I only focused on inking the upper portion of the image, so I wouldn't have any black showing at the hemline of the dress once I assembled the images together.

I then colored the skin and hair with Copic Markers.


Now here is where my plans changed.  I'd originally planned to use this piece as my card base, but I my wished I'd stamped a background.  Rather than mask over my coloring and attempt to line up a background stamp, I decided to paperpiece all of my image.  I cut out the portion that I'd colored too, to add along with the dress to my finished card.

Since I needed to stamp the whole 8.5" x 5.5" piece of cardstock with a 6" square background stamp, I knew I would need a way to carefully line up the cardstock for the second stamping.  I cut a piece of printer paper 8.5" x 6.5" to make a template.  I removed the Mouse Pad from my Original MISTI to accommodate the depth of the rubber cling stamp,  placed the Geometric Lattice Cling Background stamp and paper in place, and stamped the 6x6" onto that printer paper.  Now I could line up my actual cardbase piece easily by choosing one of the stamped lines to line up my cardbase piece, and securing the cardstock with magnets before stamping with Rose Quartz ink.


After I'd stamped the first impression twice for even coverage, I shifted my cardstock up, extending it outside the frame of the MISTI, and used the stamped lines on the template and the first stamping to match up the repeating pattern.  I secured the cardstock in place with my magnets so I could stamp the remainder of the cardstock,  continuing the pattern seamlessly.


Now I was able to score and fold my cardstock and assemble my paperpieces.  I made sure to score the dress piece prior to glueing, so it would fit well at the fold when the card was closed, then I secured the pieces with liquid glue when the card was folded shut.  Lastly, I added the greeting with Soft Garnet ink.

My second card also uses the washi tape as a focal image.  This time I used the 3.5" wide Wildflowers Washi Tape over a layering weight cardstock.  I loved this larger peony and rose image, so I die cut a small square that featured just that portion using a Double Stitched Square die.


I found a piece of Bazzill cardstock that I felt worked well with the greenery and cut a small layering mat for my focal square.


I loved the subtle texture of the Bazzill and decided to continue that on my background.  I used the Fresh Linen Cling Background Stamp and Crystal Pewter ink to create a subtle background on my cardbase.


I adhered my washi focal image at an angle to my cardbase with liquid glue, then cut out the Fabulous Word Die from the same Bazzill cardstock. Once I'd removed it from the die, and had reshaped the word, I used a placed a strip of Glad Press'n Seal over the front of the diecut to hold the shape and to be able to pick it up easily without stretching the delicate diecut out of shape again.


After carefully adding tiny dots of liquid glue to the back of the die cut, the Press 'n Seal allowed me to place the die cut, and once the glue had set a few seconds, I was able to peel it away.


My last portion of my greeting is a sentiment strip with the line from Seriously Amazing Sentiments.  I stamped it onto a small piece of white cardstock, then used the Cut-Align and a #15 Pen Blade to easily trim it down to a very narrow strip that I could add to my card.


Thanks for hanging out with me today!  Enjoy your week!
Happy stamping!

Tuesday, January 8, 2019

Team Tuesday with Chris


Good Morning!  Happy Tuesday!

Chris here with you today, sharing a watercolored and inked card.


I stamped this rubber cling image, Just... Sorry from Unity Stamp Company and the greeting with black waterproof ink from Inkon3 onto a 5"x7" piece of  Fabriano Artistico cold press watercolor paper using my original MISTI.  

I like to watercolor right in my MISTI, using the magnet to hold my paper flat.  I used Daniel Smith watercolors to very quickly paint the panel.


When fully dry, I used my Rototrim to trim the panel down to 3 3/8" x 5 1/2". and cut both a black and a white mat just slightly wider than the panel.

 I used the Mod Rectangle stencil from A Colorful Life Designs stencils, to create a pattern down the left side of a white top fold card base.  I used Therm O Web's Purple Tape to secure the stencil to my card base, as well as used my MISTI bar magnet to help secure the project down inside my MISTI while I inked it up.  I used a 1" blending brush from Picket Fence Studios to do my inking, first with Gina K. Red Velvet ink, then adding Cherry Red to the far left edge.  I had to move my stencil to complete the whole edge of the card base, but the repeating pattern in the stencil was very easy to match up and ink seamlessly.

My doing my inking right inside the bottom surface of my MISTI, it made it very easy to clean up any ink.  I just used a baby wipe to wipe up any ink.


Lastly, I assembled the card with liquid glue.


Thanks for stopping by!  
Have a great week!

Tuesday, November 13, 2018

Team Tuesday with Chris: Holiday Mass Production with MISTI

Good Morning!  Chris here with you today.  

Today I'd like to start by announcing the winner of one of the Unity Stamp Company/My Sweet Petunia Collaborative Blog Hop prize packs.  

Brianna J., you are the winner of a prize package of Unity's beautiful red rubber stamps, as well as a $60 gift certificate from My Sweet Petunia.  Congratulations Brianna!  Please set up an account at My Sweet Petunia, then email hello@mysweetpetunia.com and say you are the Unity/MSP blog hop winner!  If you already have an account, just email to claim your prize.

I make hundreds of cards thoughout the year, but very truthfully I actually mail very, very few.  Instead, about 95% of the cards I make get donated to my church. My church has a cardmakers group.  This fun group of women meet up once a month to create cards that are sold in the narthex of our church.  We create cards for all occasions, and the proceeds of the cards sales go toward various financial needs within the church and community, such as funding youth activities, donating to the foodshelf or women's shelter, or even toward music ministry or the pastor's discretionary fund.  I love being able to serve within my church in such a creative and enjoyable way 

I also have been working as a volunteer with the youth confirmation program.  For the past few weeks I have been teaching a card making class with a small group of younger teens, introducing them to card making and the card ministry within the church

I love to color, but coloring takes often considerable amounts of time.  Throughout the year I have freedom to spend time creating unique and orignial cards, but this time of year, there is a large need for Christmas cards so I like to use some time saving measures to be able to create many holiday cards in a shorter span of time.  Today I'd like to share a few of my holiday card mass production tips.

One of the best benefits of the MISTI is to be able to set up stamps on the lid of the MISTI and to be able to stamp both multiple times to get a crisp, sharp image, as well as to stamp consistently in multiples. I am making use of both today.

I have lined up all of the sentiments from My Favorite Things' Snow Globe Sentiments stamp set onto the lid of my original MISTI.  I used the grid lines on my mouse pad to line them up straight.


I can now close my lid and pick up all of them at once, then also stamp them also at once.  I've cut several pieces of 8 1/2" x 11" cardstock in half vertically, and tucking my paper into the bottom corner of my MISTI, and leaving the upper portion of the cardstock sticking out of my MISTI, I can stamp all the sentiments at once.


I can stamp a second time if needed to get a really nice ink coverage.  And can now flip my cardstock and stamp it identically, or can clean my stamps while still in place on the lid, and stamps again in a different ink.  I can also heat emboss over the top of my first inking with clear embossing powder, or on colored cardstocks too.  These sentiments have a really simple block sans serif font that is great for heat embossing.


I've prepped many sheets of these sentiments, and have heat embossed them all too.

Now I can easily use my Rototrim paper cutter to slice them up into sentiment strips.


These strips will give me lots of choices once I get to the assembly process of my holiday cards.


Now I will begin to create a pile of backgrounds.  

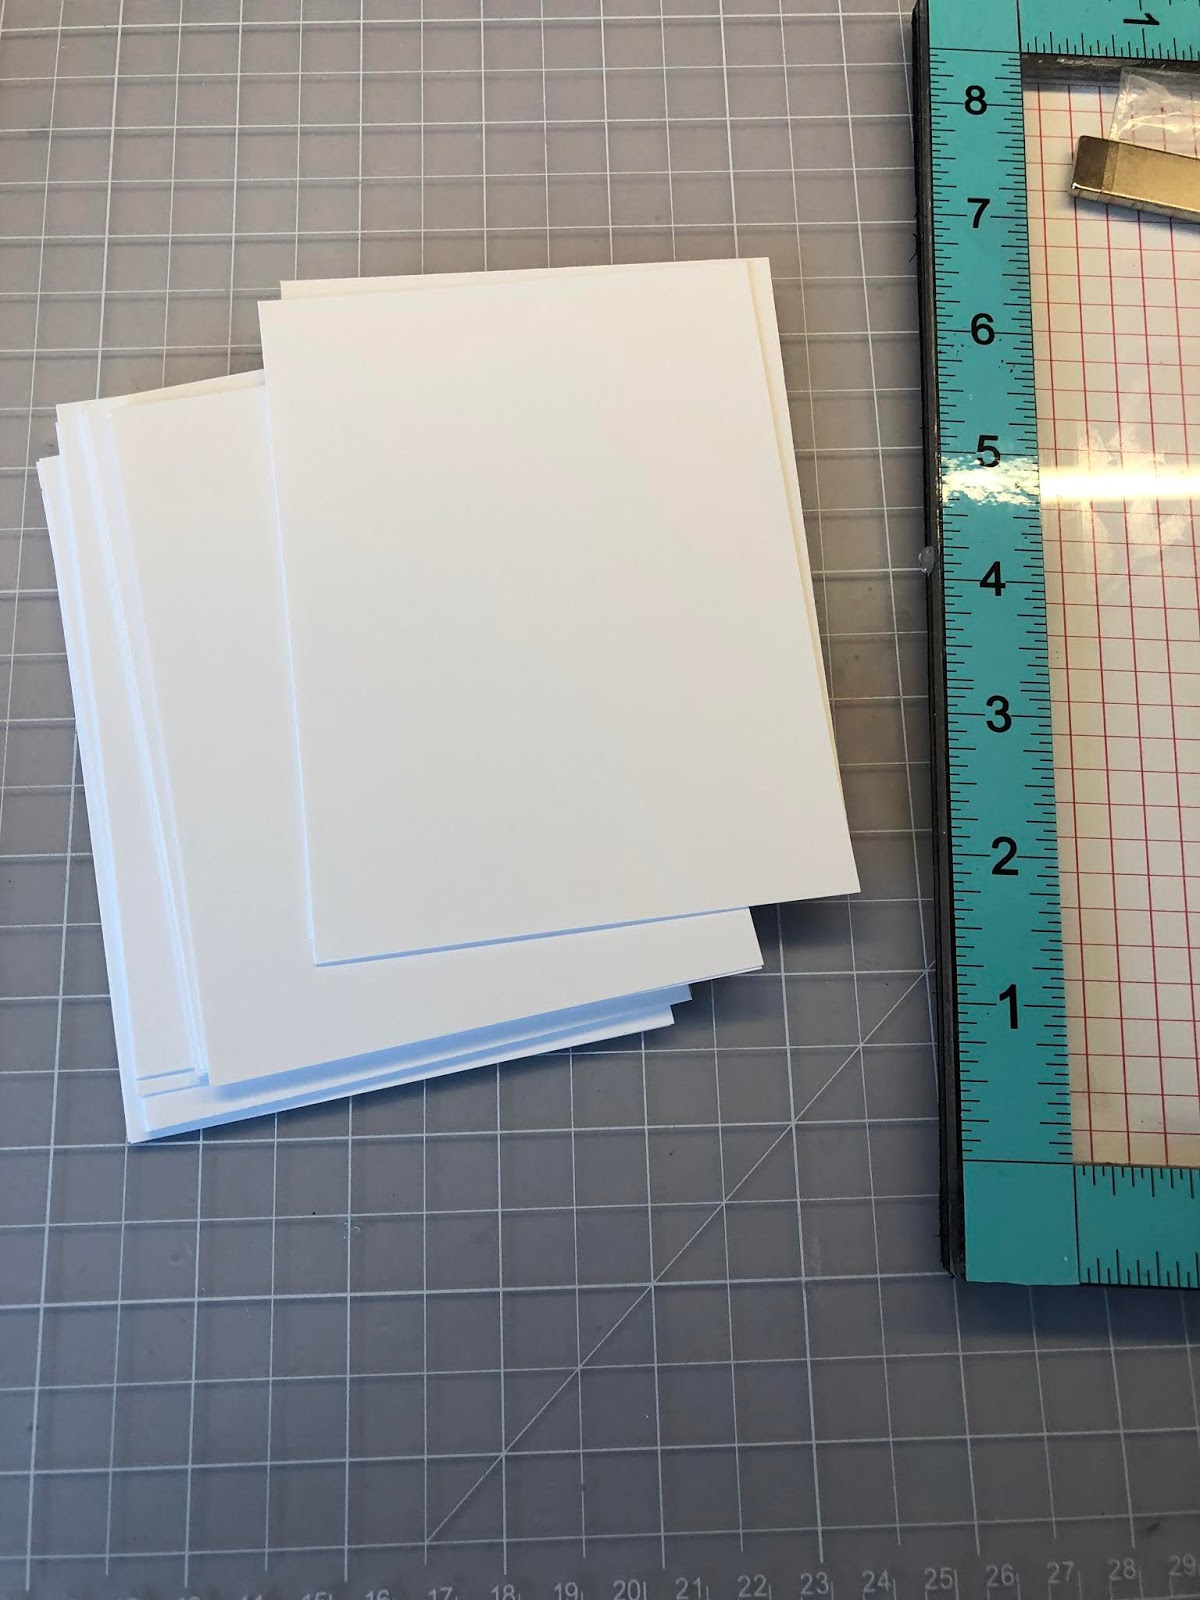
I've cut my layering weight paper down to 3 3/4" x 5" panels, and have assembled a selection of holiday and winter background stamps and inks.  


I can begin stamping and/or embossing.  I am making at least 4-6 panels of each variety.


These backgrounds will make some really pretty cards with the variety of sentiment strips that I have already created.


I have a lot of background stamps to choose from, and a large pile of precut panels, so I continue stamping to make a big assortment.  I can use embossing ink and powders to stamp on any color cardstock panel.


Once I feel I have created enough stamped background panels, I can cut cardstock mats to 4" x 5 1/4", and grab a pile of white card bases and get ready to assemble.  I have cut a wide variety of shimmer, colored, and foiled metallic mats.  

I literally have a bin that is labeled bits and pieces.  I brought that out to my dining room table along with the items I'm just created as well.  In this bin are small die cuts and leftovers from other projects I've worked on throughout the year.  I can often go to this bin to find pieces or already colored images to create a card from, or to embellish a card.  It's kind of a handy thing to have for this assembly time.  You just never know!  I may find the perfect "leftover" image in there to add to these holiday cards!


And here are several of the cards I've been able to quickly assemble using the panels and sentiment strips I created and various leftover die cuts and pieces!


I'll be using many of the remaining items to prepare kits for my youth class tomorrow night, and will bring the remainders to my church group cardmakers meetup today too to continue assembling! 


Thanks for joining me today!  Happy Holiday creating!