Ilina here! Today I am sharing a card that combines few products from different companies and I am very pleased how it turned out!
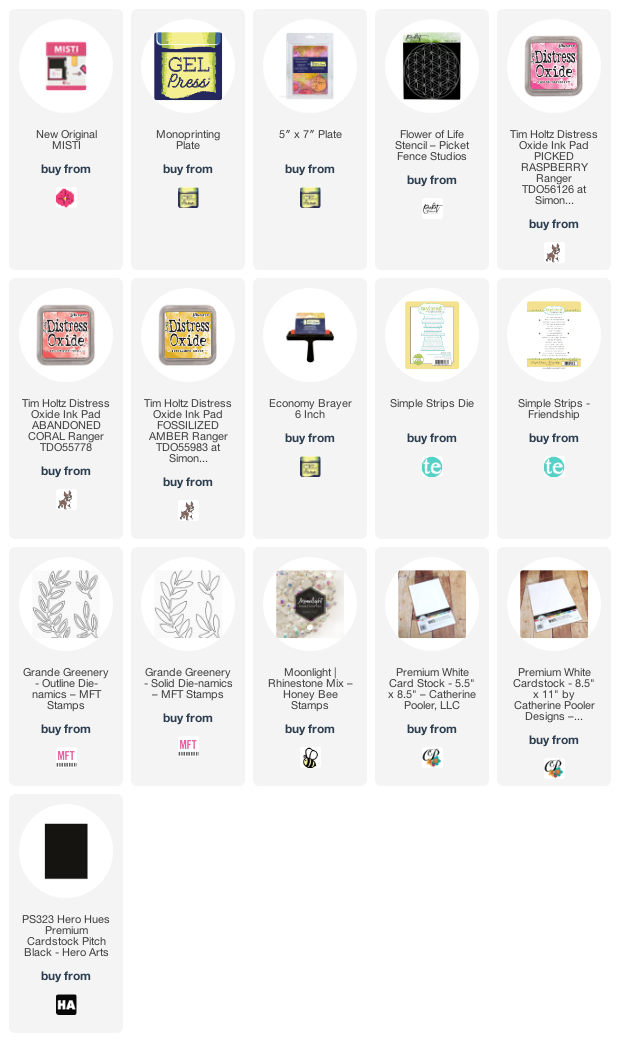
I used Gel Press and a stencil from Picket Fence Studios (along with few distress oxide inks) to create my background. I put my Gel Press plate on top of my MISTI which allowed me to move it around easier and apply the ink and spread it with the brayer much easier.
Once I created the background, I prepared the rest of the elements, the branch die cuts using My Favorite things die and the Strip sentiments and die set from Taylored Expressions.
To assemble the panel I cut down the gel press print to 4" x 5 1/4" adhered the die cuts and the sentiment and to finish it off I added several Honey Bee gems!! Using craft foam adhered to white note card!
This is Susan on the blog today. I had so much fun using my Gel Press to make this card. I have the 8x10 Gel Press. I wanted to make a neutral background. So I used blue paint mixed with white applied to the top half of the plate. I applied Titanium Buff and Pebeo Silver to the bottom. I applied a stencil to the top and pulled my first print. I let remaining paint on the Gel Press dry. Once this layer was dry, I added a thin layer of titanium white and pulled a print which you see above.
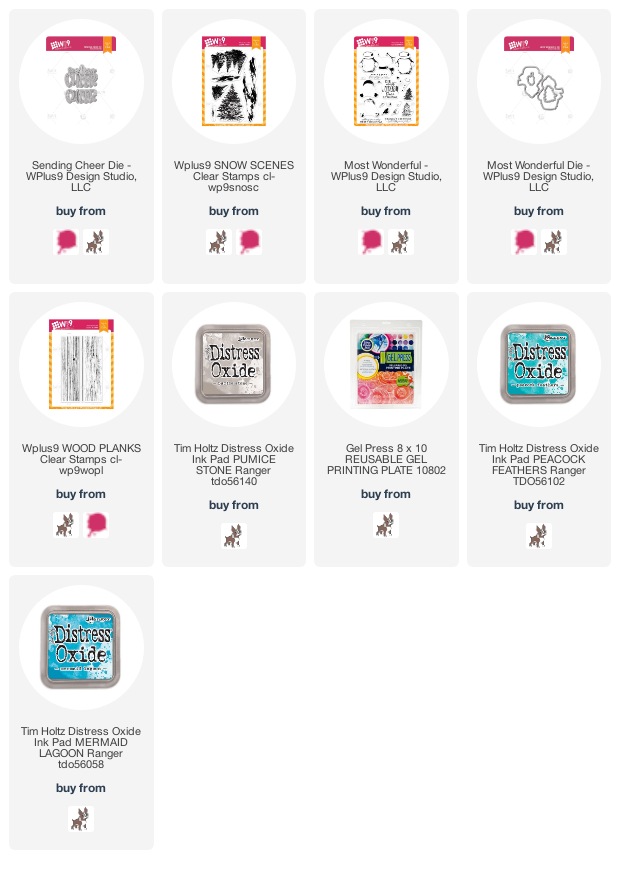
I then used W Plus9 Designs Snow Scenes and my MISTI to stamp the background. I used Evergreen Bough Distress Ink. I used my heat gun to heat set this. For the second layer, used my MISTI to line up the layering stamp. I stamped this with Versamark and then added Judikins White Diamond embossing powder.
Using my MISTI I stamped the large snowman from Most Wonderful. I used Distress Oxides for all stamping. I also stamped the little ground from Snow Scenes. I popped up my finished snowman with 3M foam tape.
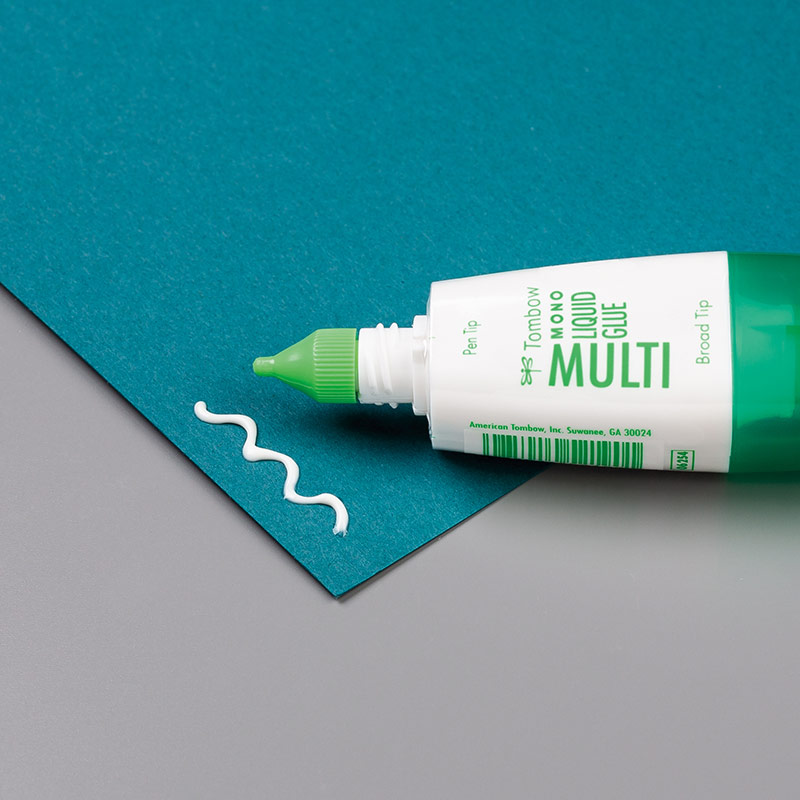
For the background I used an A2 sized piece of Neenah Solar White and stamped the most distressed looking plank from Wood Planks with Pumice Stone Distress Oxide. I used my MISTI for stamping the background as I needed to shift the paper up as I stamped. For the sentiment, I die cut Sending Cheer from a green paper similar in shade to what I used in stamping. I cut it 3 times and stacked the layers using a liquid glue. I then adhered this to the main panel using liquid adhesive once again. A few sequins and I called it done!
Thanks for stopping by;
Susan
Products Used: I am using compensated affiliate links at no further cost to you. I purchased all products used in this project.
This month, I wanted to refine that even more, by getting as much precision as possible from the placement of the stencils while printing.
So, naturally, I turned to my MISTI, and used a fixed hinge to MISTIfy the gel printing process.
There are some other tricks you'll need to align these layering stencils, and you need to pay attention to what you're doing, or you'll find yourself creating a print where the stencil is 90 degrees off from where it should be. But because life and art aren't perfect, I left my mistake in the video below, and it actually turned out to be one of my favorite prints from the session. The mis-aligned glowing blue lines are showstoppers, I think.
I used these beautiful layering stencils from Altenew, and the kitties are from this Joy Clair set - all the critters in this set are adorable. I colored them with the Copics listed below, fussy cut them, darkening the edges with a Gasenfude nylon brush pen (much better than using one of your alcohol markers - with this pen there's no bleeding of ink into the image, and the nylon brush gets into the tiniest little crevices), and glued them onto a circle I cut with these stitched dies.
Since the background is so busy, I kept the card simple.
Now speaking of Joy Clair, before I get to the video - all month, we are collaborating with Joy Clair in a month long blog hop with the My Sweet Petunia Team and the Joy Clair Team. Wherever you see this badge, leave a comment and you will be entered to win our prizes: 2 $25 Joy Clair Gift certificates and one MISTI - your choice of original or mini. Winners will be announced in April on both blogs.
So how about my video? Enjoy - and click here to watch on YouTube in HD. Even though I'm only blogging one card today, all the supplies for all the cards listed in the video are in the description on YouTube. Have a great weekend!