Wednesday, June 30, 2021

When in Doubt, Just Keep Adding!

Happy Midweek, everyone! Judy here with two tags I made that I absolutely love. The funny thing is, the panel started as a card - which wasn't working out. So I just kept adding things until I was pleased with the result -- and that included cutting the panel into tags!


I started with my favorite pink -- Kitsch Flamingo DOX and made a splattered background. I added Picked Raspberry and stenciled on the TEA PARTY STENCIL from Visible Image. You can see it faintly in the background. I still loved it as a card, but then once I added the flowers from IMPERFECTION IS BEAUTY I didn't. BUT -- they became beautiful tags that I DID love! I embossed the flowers with Punch and Ebony Embossing Powder (WOW!), and punched the top for some cute pink twine. A word die (Spellbinders) in gray cardstock completed them!


Fun for packages, or to add to a full card at a later date! Isn't that Punch Embossing Glitter amazing? Just MSP pink perfect!
 

Tuesday, June 29, 2021

You Are My Sweet Petunia


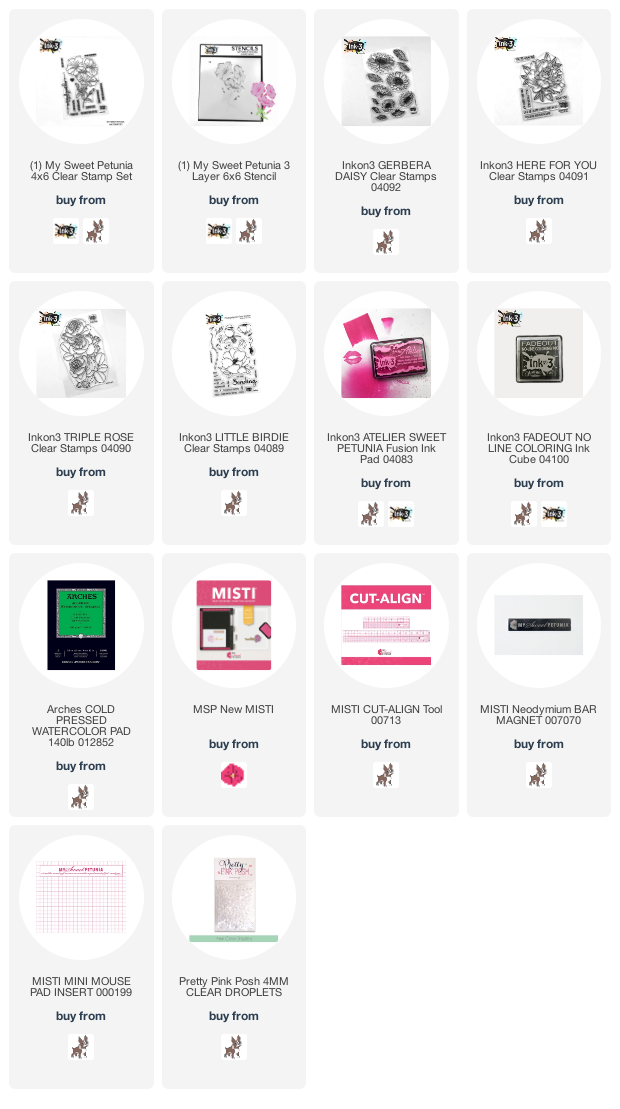
Hi, This is Susan. I hope you were able to grab this My Sweet Petunia set from Ink On 3. I love it when stamp companies collaborate and never more so than when they make fantastic products. Using my MISTI 2.0, I stamped the image in Ink On 3 Fade Out No Line Ink onto Arches 140 lb cold press watercolor paper. I did have to stamp the image 3 times because watercolor paper has a texture. 

For my base coat I used the new Atelier color - Sweet Petunia Pink from Ink On 3. It is linked below and is the perfect pale hot pink. I think it is a similar color to Opera Pink in watercolor. I then pulled out my watercolor palette which is mostly Daniel Smith watercolors and mixed up some pinks and deep reds. 

I used the wet on wet technique for the first wash with the ink and then used glazing with a wet brush afterwards to smooth out the hard edges. Honestly, I think this took a few days to paint as I frequently left it to dry. I added a blue background made from Lunar Blue and Prussian Blue. I splattered on the dark pink wash and some gold splatters. 

Also using my MISTI 2.0, I stamped the sentiment in Atelier Sweet Petunia ink onto Neenah Solar White 110 lb paper. This is actually a leftover scrap that I just keep near my desk. I did trim it a bit with one of my trimmers. 

I mounted the watercolor panel onto an old piece of pink paper that made the flowers bounce! I added some clear droplets from Pretty Pink Posh. So easy and this stamp set is very versatile so go buy it while you can. 

Thanks for stopping by;
Susan

Products Used: I am using compensated affiliate links at no further cost to you. I may make a small commission on some products listed below.

Thursday, June 24, 2021

InkOn3: You Make My Heart Smile

 H everyone! 

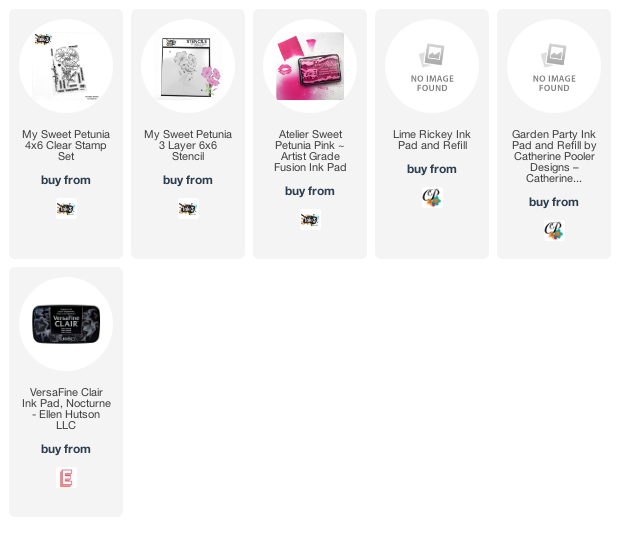
Happy Thursday. Today the InkOn3 and My Sweet Petunia design teams got together for super fun collaboration over on Instagram. So I decided to share a card here using InkOn3 products too. I used the My Sweet Petunia stamp set and coordinating stencil, along with Sweet Petunia InkOn3 ink ;) 

To make the card I started by stamping the image in black couple times in my MISTI. Once stamped I secured my panel in the middle of the MISTI, positioned the first stencil and ink blended the lightest colors. Next I swapped it to the second stencil and added darker colors, then the 3rd stencil. 

Having the panel in my MISTI it help me get better and sturdier surface for ink blending. Once done I trimmed it to 4" x 5 1/4" , added sentiment, some pearls and adhered to a top folding note card!

Tuesday, June 22, 2021

Rainbow Layered Cupcake Birthday Card with Channin


Hello friends! It's Channin here and today I have a colorful birthday card to share. For today’s card I use the fun Color Layering Cupcake stamp set and matching die from Hero Arts! Read to find out what simple MISTI stamping trick I use to create rainbow gradation frosting for my cupcakes! 


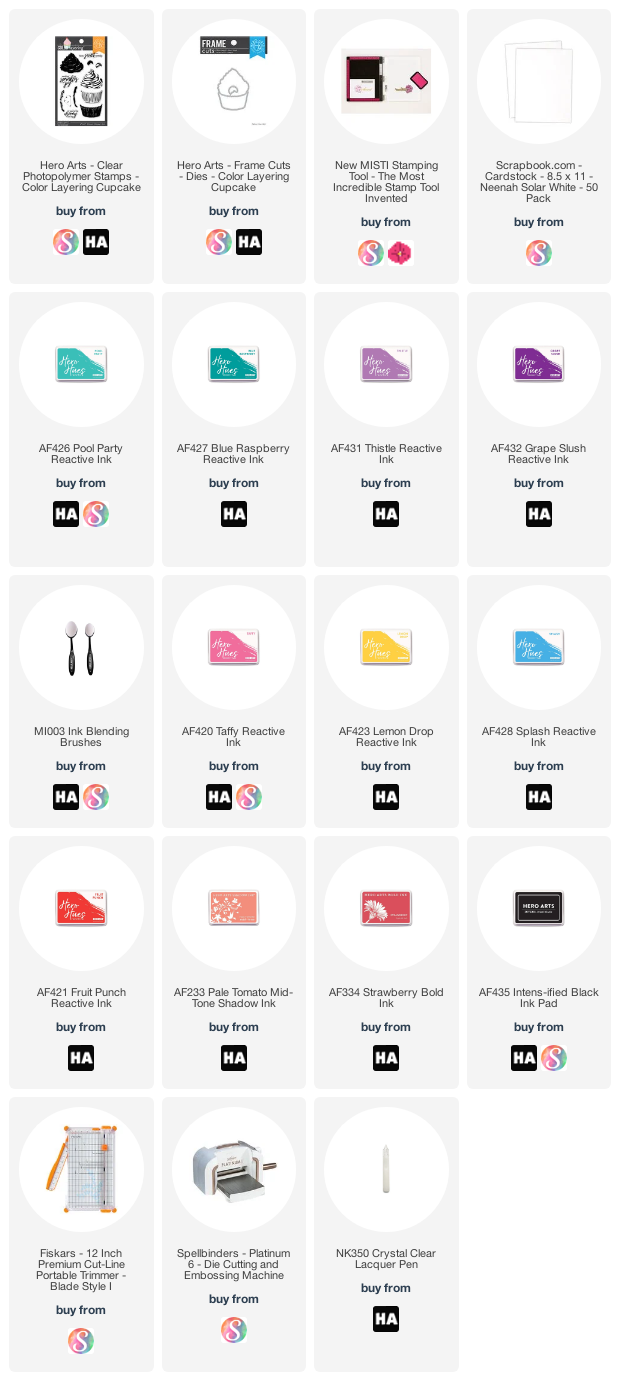
To create this card I first stamped the two cupcake liners. I started with the base layer (the more solid layer) in either Pool Party or Thistle. I then stamped the detail layer in either Blue Raspberry or Grape Slush. Next, I stamped the base cake layer in Soft Vanilla. I then stamped the detail layer for the cake first in Soft Vanilla and then I inked up only the bottom of the stamp in Pumpkin Pie and stamped to create a slight gradation. Next, I stamped the frosting starting with the base layer. I used an ink blending brush to apply Taffy Reactive Ink over a portion of the stamp and then stamped it. Next, I inked up the middle section of the stamp again with a blending brush with Lemon Drop and then stamp. Lastly, I inked up the last portion of the stamp in Splash again with the blending and then stamped. I then positioned the detail layer for the frosting and then inked and stamped the detail layer in the same manner I did the base layer. Lastly I finished up the cupcakes by stamping some sprinkles in Taffy, Lemon Drop, and Splash inks. 


Next, I stamped two cherries. First, I did the base layer in Fruit Punch and then used Pale Tomato and Strawberry for the detail layer. After I stamped the cherries and cupcakes I die cut them out with the matching dies and then adhered cherries on top. 


Next, I positioned my cupcakes over my card front and used a piece of washi tape to hold them in place. I then positioned a sentiment, picked it up with my MISTI, tucked a piece of scrap paper under the cupcakes to protect the card base and then stamped the sentiment in INTENS-ified Black. I then removed the cupcakes and then stamped the sentiment again onto the card front. Lastly, I finished the card by adhering the cupcakes to the card front and then added clear lacquer to the cherries.


I hope you enjoyed my card! Thank you so much for stopping by!


~Channin


Supplies:


Tuesday, June 15, 2021

Fluttering Butterflies with Ceal


 Hello everyone! 

It's Ceal, Here. Welcome to another edition of Team Tuesday. Today I am sharing the newest turnabout stamp by Concord & 9th made especially for the Misti. This one is the Fluttering By Turnabout and I love it! 


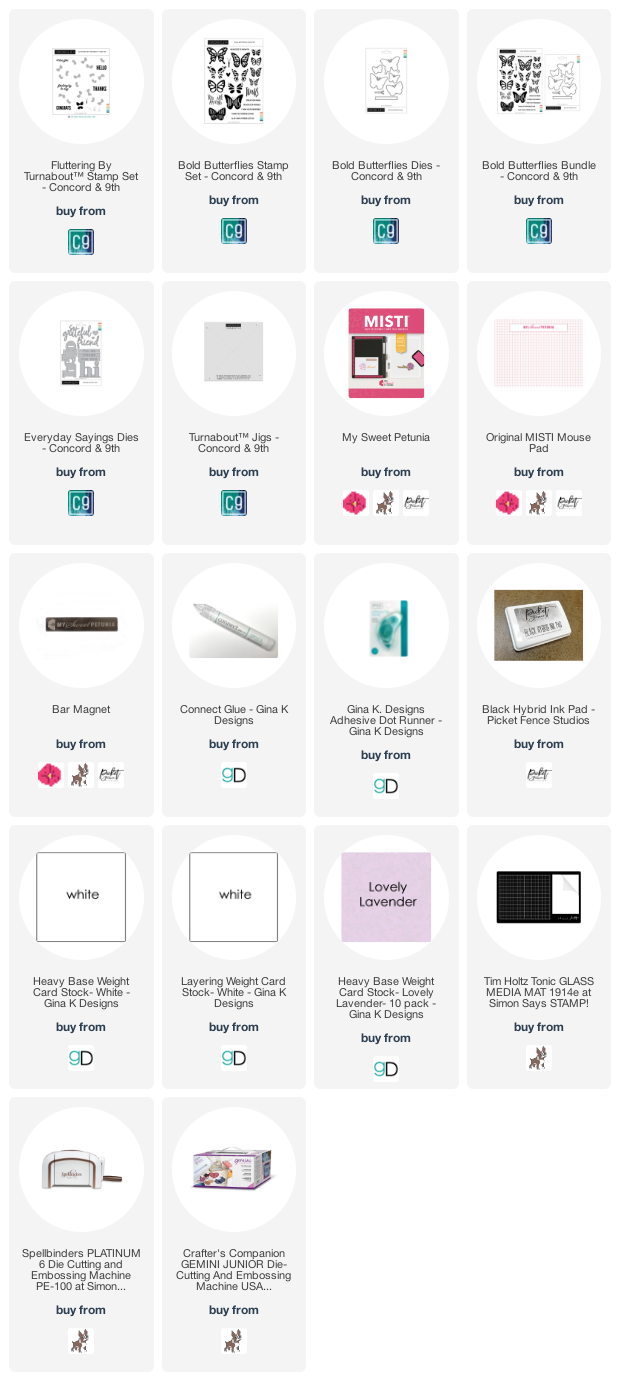
To create this card I placed the Turnabout Jig inside of the Original Misti and then placed the alignment guide that comes with the stamp on top of the jig and lined up the lines of the x. I stamped it four times rotating the jig after each color. 

I used the Hi die from the Everyday Sayings die set and cut it out of the finished background. Next I placed the background on a piece of Lovely Lavender cardstock and then placed the positive die back in the negative space popped up with foam tape for the eclipse technique. 


To finish the card I added a sentiment from the Bold Butterflies stamp set. 


Supply List:

Thursday, June 10, 2021

Dazzling Backgrounds in a Snap!

 Hello! Angie here and it's my turn to share a project created with my favorite tools!  


First, place the background stamp on the Original MISTI, then place the cardstock on top of the stamp.


Next, run removable adhesive over the cardstock and close the lid.


Now the real fun begins!  Ink the background stamp with distress ink or water-based ink and spritz with water.  Then use a damp paintbrush to soften the edges of the watery ink so that you don't get the harsh line from the ink pad when you stamp.  


Close the lid with the paper well secured with adhesive and stamp!  What is so fun about using the MISTI is that you can stamp repeatedly if you don't get enough ink where you want it the first time.  I had so much fun creating backgrounds, that I didn't want to stop!  


This is one of my faves!  I just love how Twisted Citron played well with Peacock Feathers and Seedless Preserves!  

  I like to keep the stamp I am using on my MISTI until I am completely done with the project.  In case disaster strikes and I ruin a piece or I just want to make more it's nice to keep the stamp in place.  For sentiments, I love to use my MINI MISTI. The Mini is lightweight and takes up so little space that it's a must-have for me!  


For this fiery version, I used Mustard Seed, Fired Brick, and Vintage Photo Distress Inks. I added a die-cut Birthday sentiment from Impression Obsession and then on the inside, I added a Double Dip Note.   I love these notes that give friends permission to pass the card on when they have loved it enough! The other tool I use almost every time I create a card is the Cut-Align rulers.  I love that they have a 0 center for perfect balance and I love the grid lines.  


Thanks so much for stopping by today!  
If you would like to see more projects you can visit me HERE!
  

                                              Mini MISTI


Wednesday, June 9, 2021

Mixed Media Butterfly with Judy

Hello everyone!

Judy here with a beautiful butterfly card for my DT share! I call it "elegant grunge." :)

I started with a piece of cardstock that I had used to stamp off the Two Tone stamp from Grunge Tones (Visible Image). I had randomly stamped the dots with Charcoal ink from Close to my Heart and threw it in my unfinished projects box. It was the perfect background for the Butterfly Ink Stencil from Visible Image stamps, and three Distress Oxide Inks: Dusty Concord, Wilted Violet, and Seedless Preserves. 


Next,  I added my sentiment (The World Needs Art/Visible Image), using VersaFine Clair Nocturne ink, and my Mini MISTI to get a good solid black image. I then embossed the sentiment with Clear Embossing Powder (WOW!). 

I randomly added the Large Crack (Create it!/Visible Image) and flowers with embossing ink, and then embossed with Rich Pale Gold EP (WOW!).

I added some interest to the card base with the same Large Crack image, using embossing ink as a watermark.
I love how it turned out! I think this card was the most fun because I just kept adding things here and there -- and didn't mess it up!
You can find more of my projects HERE.