Thursday, June 4, 2020

Ink Smooshing with the MISTI door


Hello friends! Today I’m up at MISTI blog sharing my first post with this fun and easy card using the ink smooshing technique but instead of using an acrylic block I will use the MISTI door to apply the Distress Oxide inks.


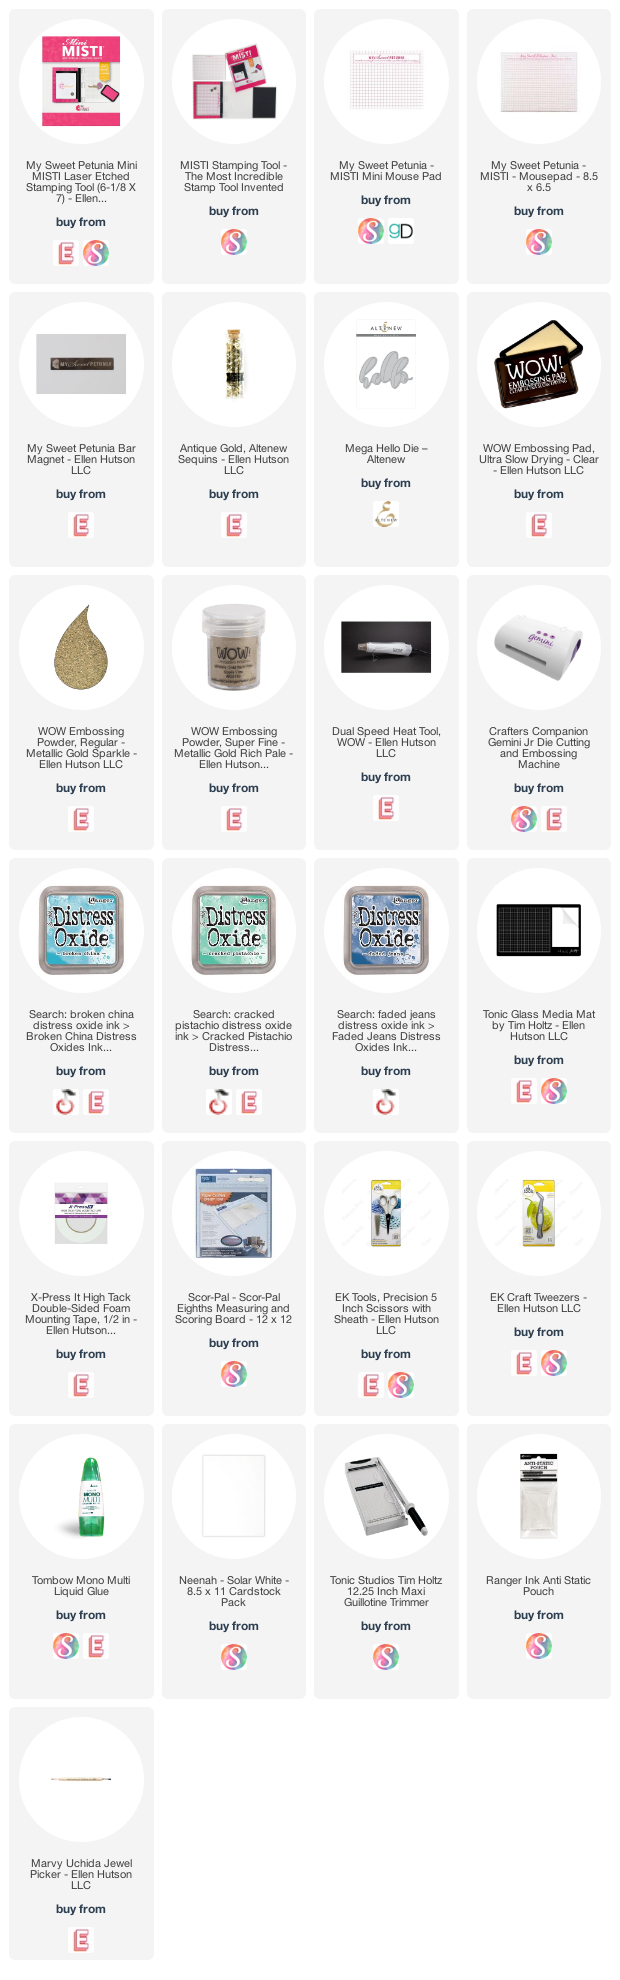
Let’s begin! I placed a watercolor panel inside the MISTI and I smooshed Cracked Pistachio Distress Oxide ink onto the MISTI door, sprayed water and then I closed the door to apply the color. I repeated these steps using Broken China and Faded Jeans Distress Oxide inks and let my panel dry. For a final touch I added splashes of gold metallic ink from Hero Arts.


Once the panel was dry I placed on top the Mega Hello Die from Altenew and run it through my die cutting machine. I saved the Hello die cut for another project and I adhered a white card base at the back of my negative panel. Additionally, I die cut one more Hello die cut out of white cardstock and heat embossed it with WOW! Metallic Gold Sparkle Embossing Glitter.


I glued the heat embossed Hello to the background and also stamped and heat embossed the sentiment onto white cardstock using WOW! Metallic Gold Embossing Powder. I added my sentiment on top of the card, a few gold sequins and my card was finished. I really hope you like this card and try this technique using your MISTI. Have an amazing day!

Karen


Tuesday, June 2, 2020

Easy Peasy Watercolored Roses and WINNER!!


Hello friends!! It's Channin here with a new card and VIDEO to share!

But before we dive into today's project I'd like to share the winner of the Picket Fence Studio and My Sweet Petunia collaborative blog hop and recipient of a $50 gift certificate to the My Sweet Petunia store! So without further ado, the winner is........


Congratulations Mary! Please set up an account at Sweet Petunia and then send an email from the email account you used to create your My Sweet Petunia account to send an email to hello@mysweetpetunia.com with the subject line: Prize PFS/MSP Hop.

And a big thank you to all those who commented, your kind words truly made our day!!

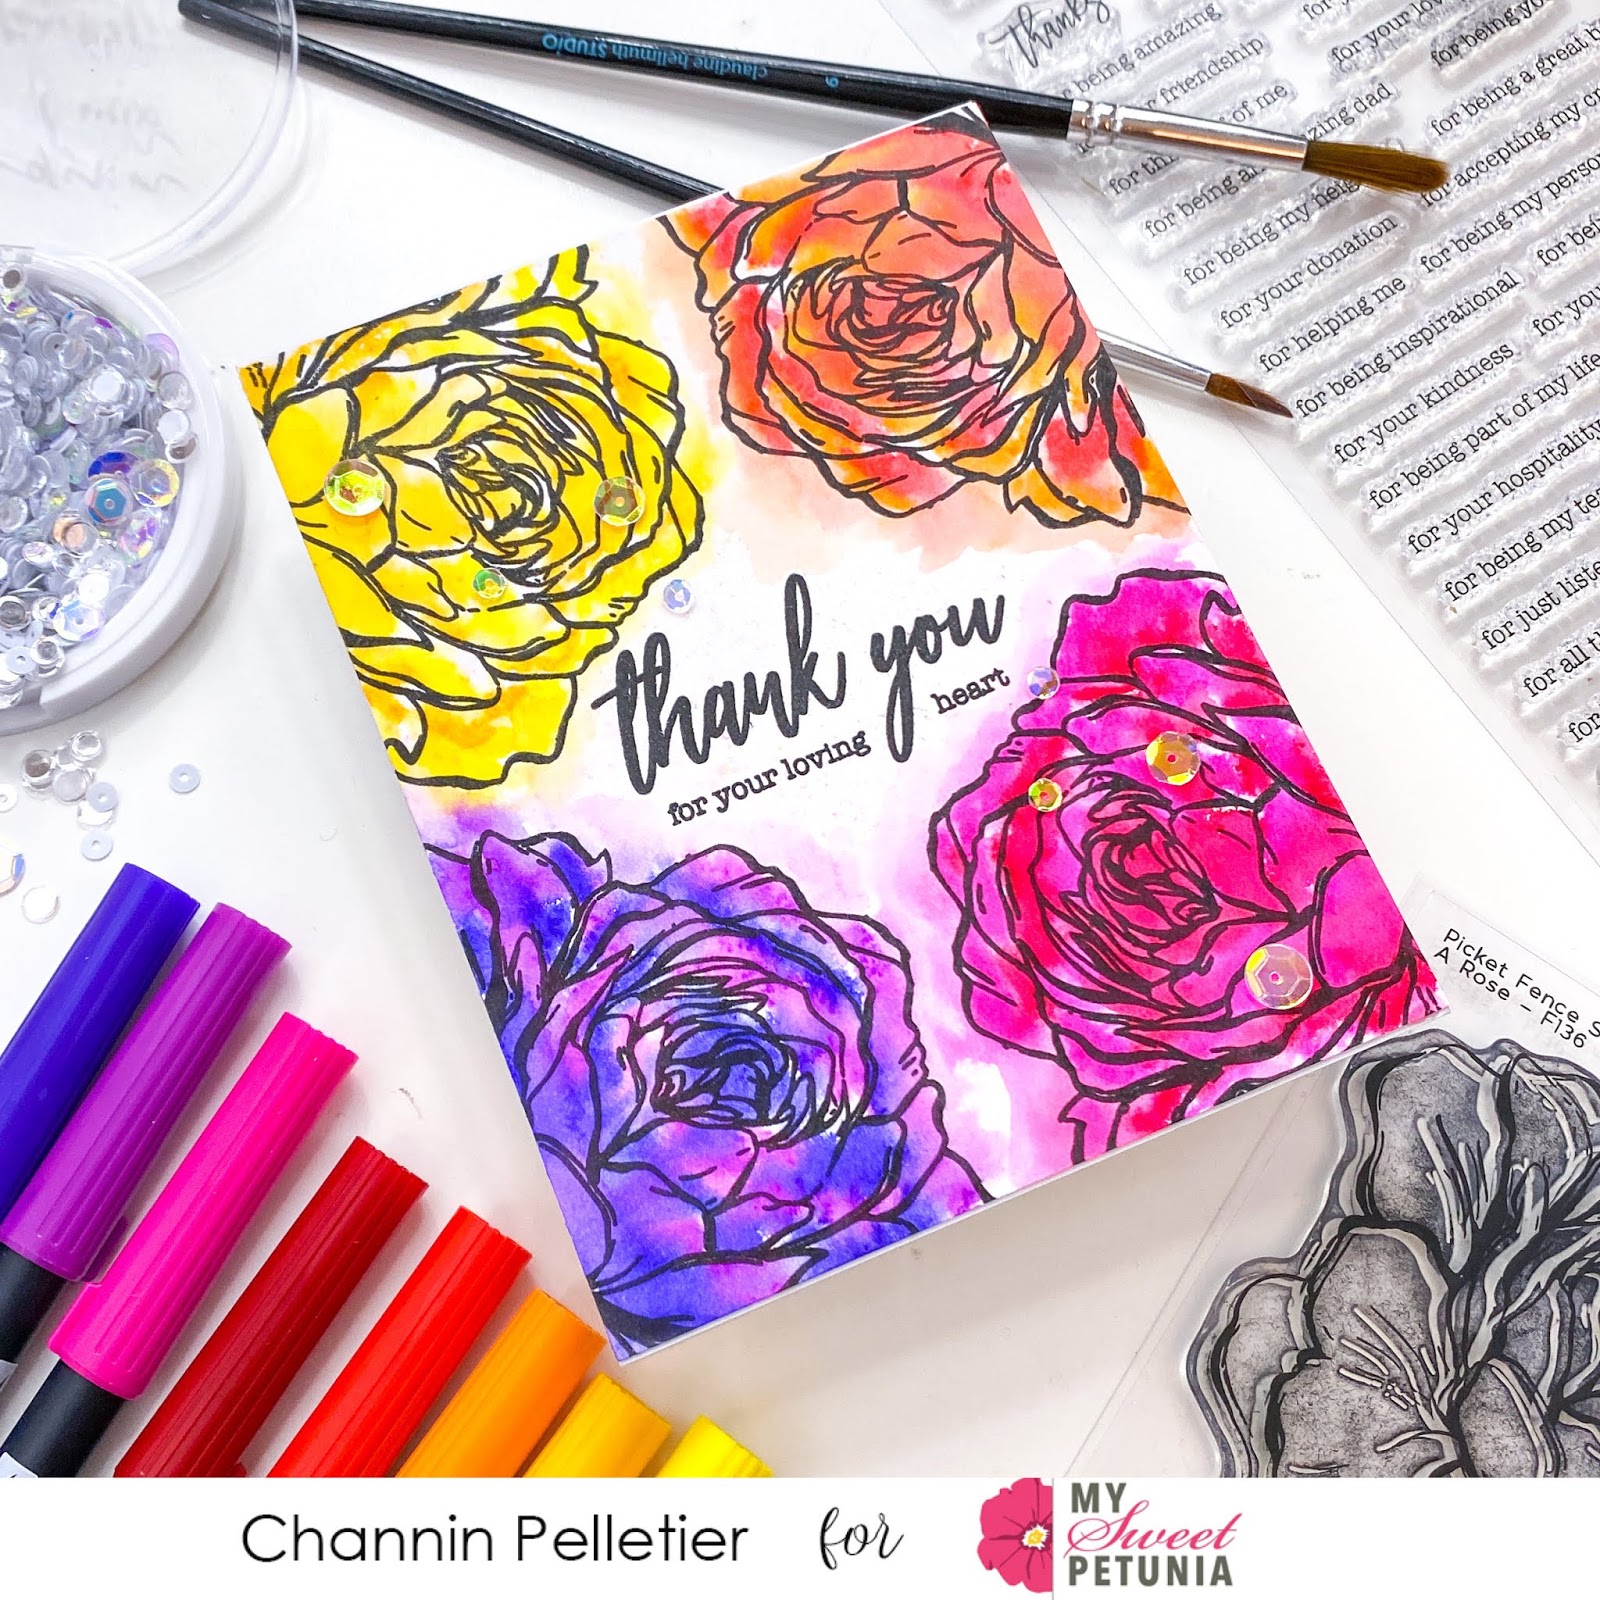
In today's video I create super easy watercolored card with the beautiful A Rose Stamp Set from Picket Fence Studios and Tombow Dual Brush Pens!

Easy Peasy Watercolored Roses


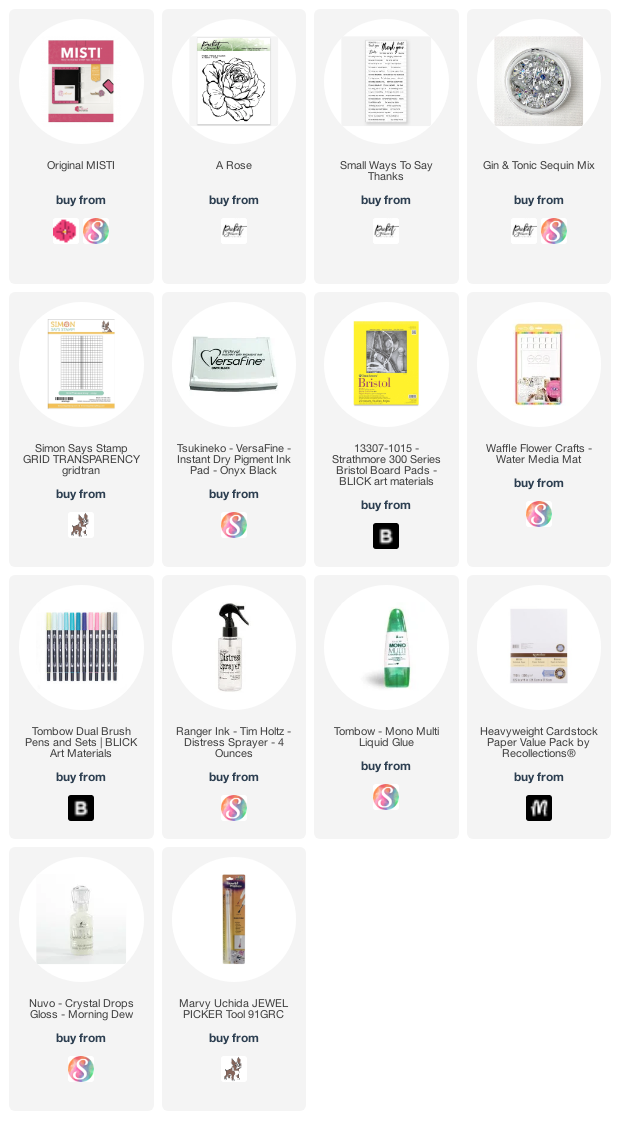
To create this card I first stamped a sentiment from the Small Ways to Say Thanks Stamp Set in the center of an A2 panel of Bristol smooth paper in Versafine Onyx Black Ink. I then stamped the rose from the A Rose Stamp Set on all fours corners of the panel, using the pattern stamping technique to make it quick and easy!


Next, I quickly and loosely colored in the roses with Tombow Dual Brush Pens. Once I had colored all the flowers I then spritzed them with water to activate the ink. Then with a paint brush I moved some of the watered-down ink beyond the edge of the flower to color in some of the white space.


Once I had finished coloring the flowers, I then allowed the panel to completely dry and then adhered it to an A2 top-folding white card base. I then finished the card by adhering some iridescent sequins from the Gin & Tonic Sequin Mix.

I hope you enjoyed today's card and video! Thank you so much for stopping by!

~Channin

Supplies:


Saturday, May 30, 2020

Picket Fence Studios Blog Hop + Giveaway

Hi Friends!

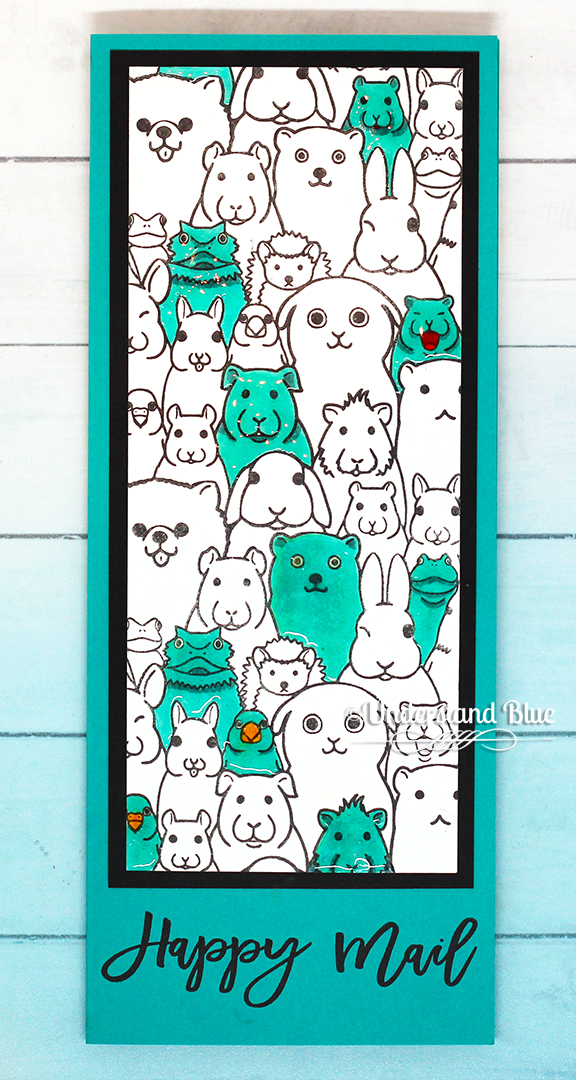
I'm here today with a slim line card, featuring an endlessly repeating background stamp by Picket Fence Studios

This adorable critter stamp can create designs of infinite size - literally! The image repeats in all directions! You could make 12x12 scrapbook pages, wrapping paper - the sky is the limit! They also have other seamless endlessly repeating backgrounds - and what is even better is they are all 4x4 - so they are extremely affordable! Love this idea. 

I repeated it just once vertically for my card. I colored just a few of the critters with a single Copic marker, and then added some yellow beaks and a red tongue to a few of the images. The white dots you see are reflections, because then I covered each critter with a clear, dimensional glaze to make them stand out of the crowd even more! The sentiment is from this set.


Here's a quick video showing you how to use this innovative stamp in your MISTI to create backgrounds of any size. 


Crafty Mail Stamp Set – Picket Fence...
[ PFS ]
Say Cheese – Picket Fence Studios
[ PFS ]
Art Anthology BIG CRAFT MAT 24x36 311473
[ SSS ]
Heavy Base Weight Card Stock- White
[ GNK ]
MISTI Stamping Tool
[ MSP | HA | SSS | ELH | MFT | UNT ]
Rotatrim Professional Series Cutter -...
[ BLIC ]
Teflon Bone Folder - Ellen Hutson LLC
[ ELH | SSS ]
Crafter's Companion GEMINI...
[ SSS ]
Scor-Pal MINI SCOR-BUDDY Scoring...
[ SSS ]
Essentials by Ellen Storage...
[ ELH ]
Die Storage - Clear Storage Pockets...
[ CHC ]
XL Stamp Storage Pockets
[ ELH ]
Mermaid tidy towel case and glue...
[ ETS ]
Lawn Fawn STAMP SHAMMY Cleaner LF1045
[ SSS | CST ]
Airtable: Organize your stamps & dies
[ ART ]


This is for our collaboration blog hop with the Picket Fence Studios Team! Please leave a comment on each stop in the hop for your chance to win one of two $50 gift cards - one to our store and one to the Picket Fence Studios Store!


Friday, May 29, 2020

MISTI: UP, Up and Away


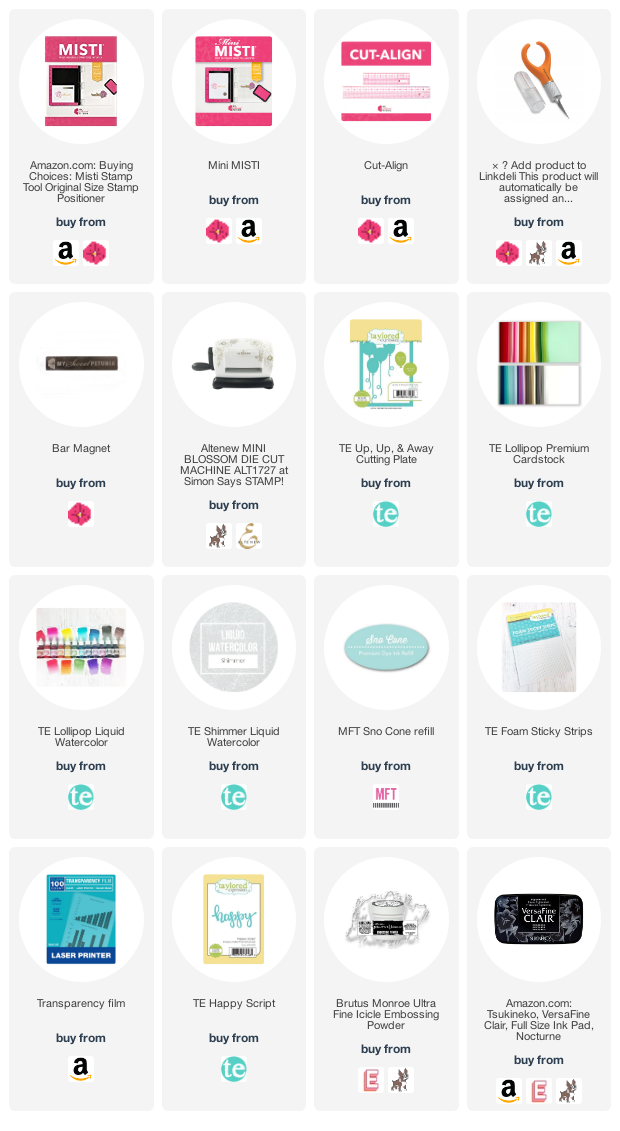
Welcome back.  Here is another cute little card.  The Taylored Expression Up, Up and Away die does all the work for you.  Once again, I will let the video do all the explaining.


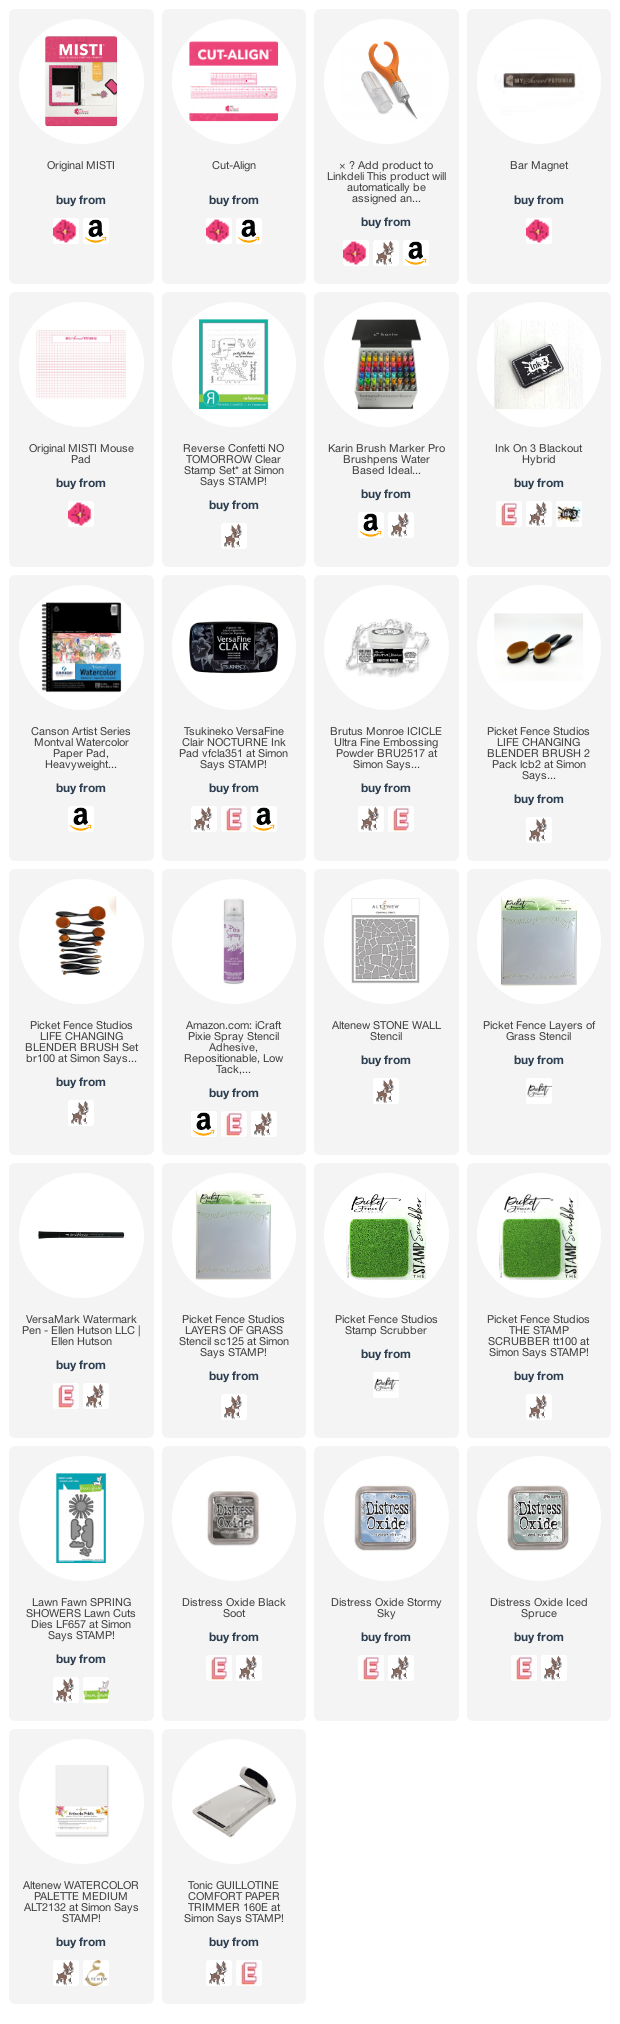
Affiliate links to supplies used:


Thursday, May 28, 2020

Creative Corners with Mindy Eggen

Welcome everyone! I have some cards to share where I show you how I used the Creative Corners to stamp my images.

I also have a video showing you how I did this that you can view down below or HERE on my Youtube channel.


Creative Corners are such a handy tool to have. The first thing I want to point out is how they allow me to hang my images off the edge of my card front.


By placing the corner down in the bottom of my Misti, I'm hanging my large palm trees off the edge.

The second thing I love about them is it helps me line up my sentiments.


These are screen shots from my video so be sure to check it out as I go into more detail how to use the corners.

I'm also using the Black Misti which is a collaboration between Hero Arts and My Sweet Petunia.


I hope you enjoyed these cards and dig out your corners if you have them! They are becoming a staple for me when stamping.

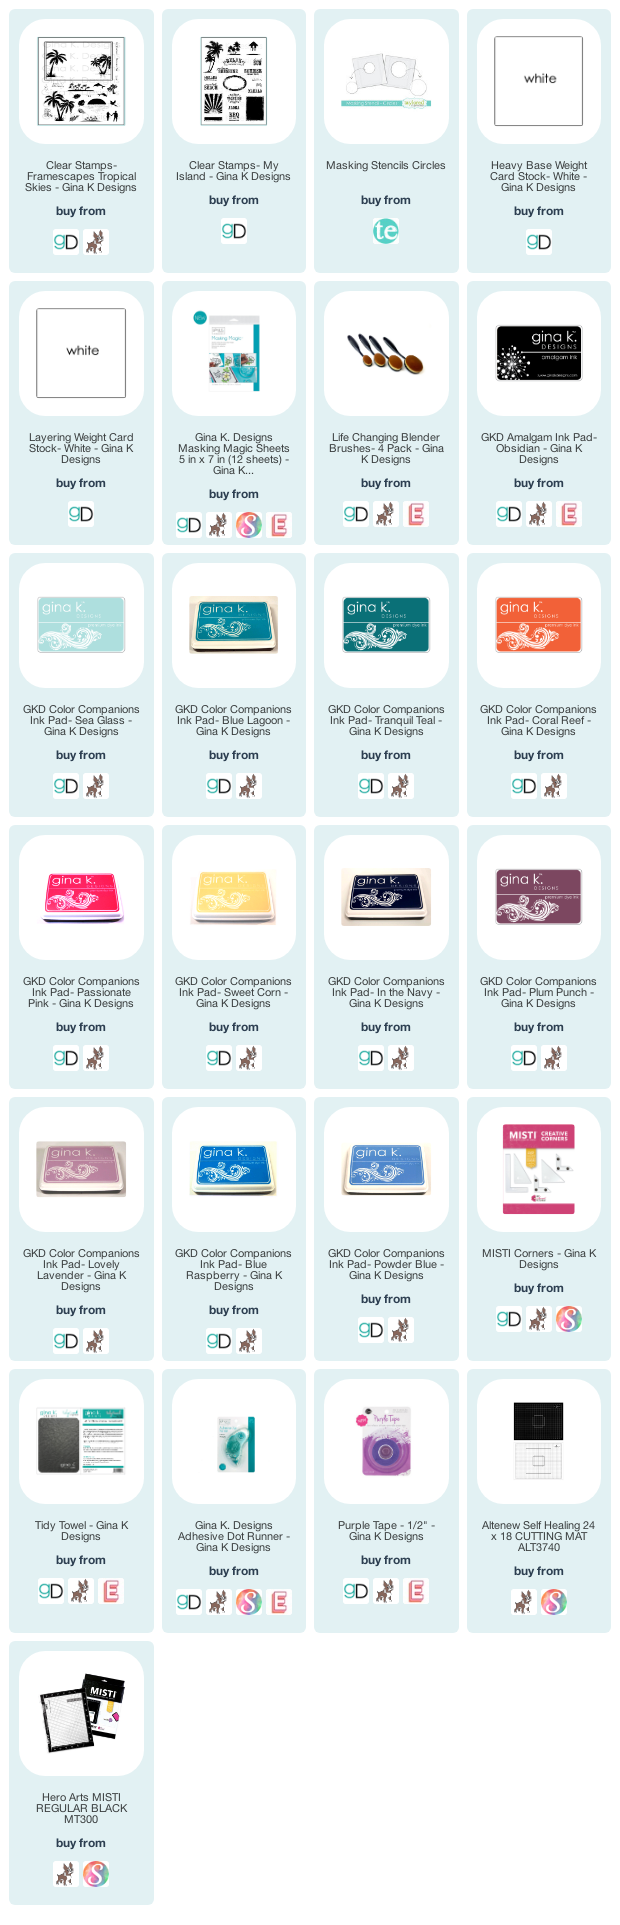
SUPPLIES

Below you will find links to the products used. Click the icon to start shopping. Compensated Affiliate links are used at no additional cost to you. Your support helps me to keep bringing you new projects and videos. Thank you!

Wednesday, May 27, 2020

Team Tuesday on Wednesday and Giveaway Winner with Ceal

 Hello Everyone!
It's Ceal, here to share with you today. 
But first things first, last week team Misti gave a shout out to Dawn of WPlus9 and showed you some projects using her amazing products. There was to be a winner of Cut-Align and Misti bag, well here we go ....and the winner is... 
Jean
she left this comment

A gorgeous card. Love the background and that sweet bird.
Jean please email info@mysweetpetunia to claim your prize. 


Now on to the deets on my cards.
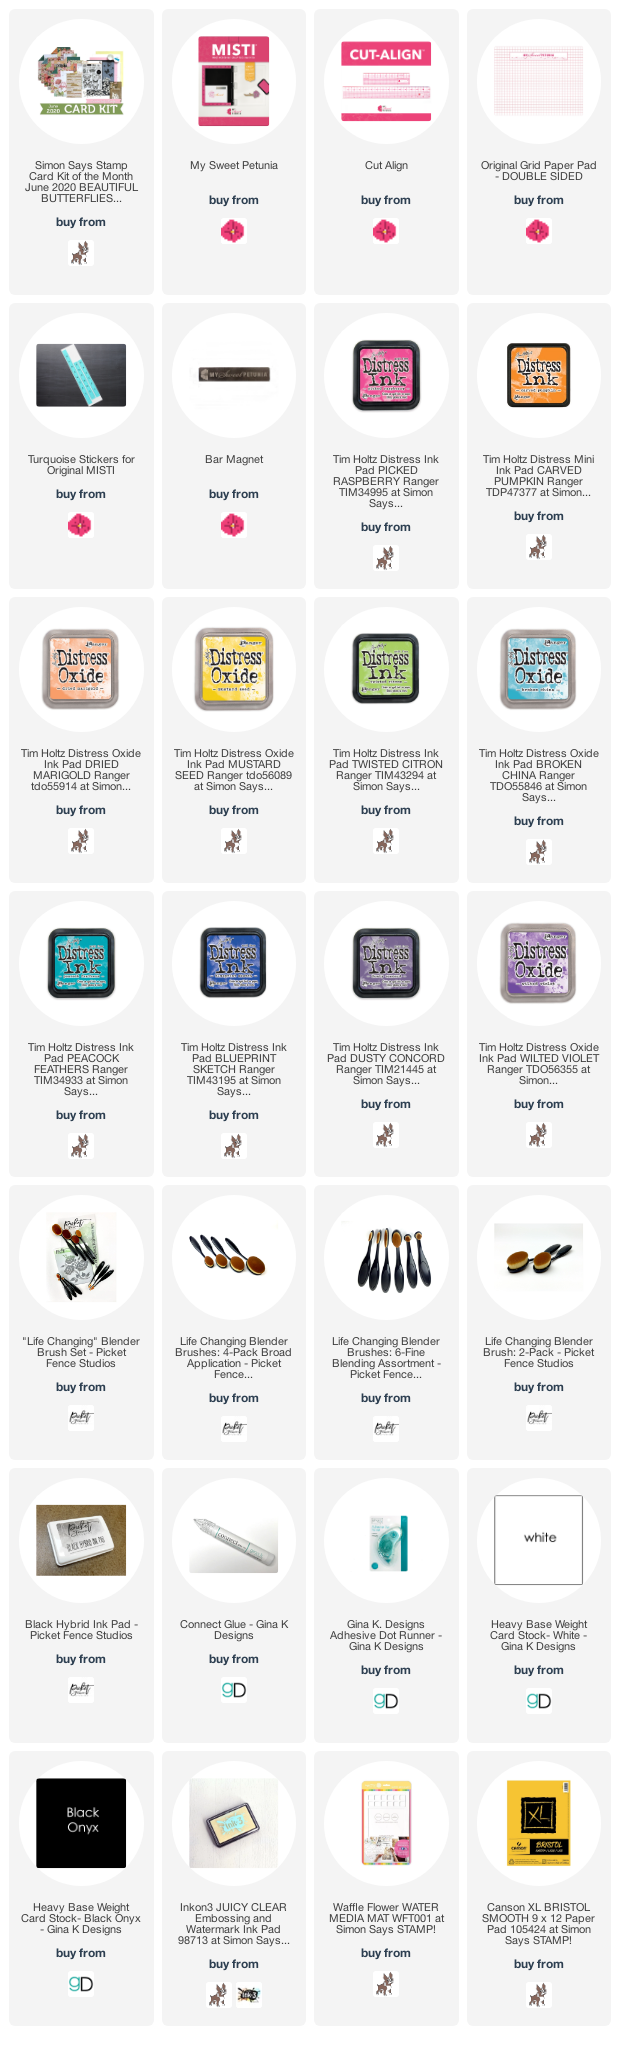
I started with a white top folding card bases, a couple black onyx panels, two bristol panels and the stamp set from the the June card kit by Simon Says Stamp.
For my first card I stamped the butterflies using distress ink and then went over them with Liquid Pixie Dust that I had added to wa water brush, this spread the color out a little. to finish the card I adhered the focal panel to the black panel and then onto the base. I added a greeting from the same set. 

For the second card, I randomly stamped  butterflies all over the panel and embossed them using clear embossing powder. After they were all done I added some distress ink using the Life Changing Blender Brushes in Picked Raspberry, Carved Pumpkin and Mustard Seed. To finish the card I added a greeting by stamping it on black onyx card stock, embossing it in white and the using the Cut-Align to cut it out. 


Friday, May 22, 2020

MISTI: No Tomorrow

As I am writing this post, I am thinking about how coincidental the title is to today's uncertain situation.  However, I am fully confident that everything is going to be just fine.   So let's move forward and get to today's card.

I won't bore you with the details and just let you enjoy the video.  Obviously, you have no where to go.


Affiliate links to supplies used: