Tuesday, February 19, 2019

Team Tuesday with Giovana: Thank you for being there

Hello friends!
Giovana here today with a flowery card, I am dreaming with flowers and warm weather, we got a winter storm, snow storm, blizzard and everything else, in my 13 years living in this part of the PNW never experienced anything like this, anyways, I have snow to give away, lol.
So I can't wait to see flowers and warm weather, Spring is my favorite season and I can't wait for it.

Anyway, today I have an easy card, using your MISTI to full potential.
Love my MISTI, I use it in every single project I make.

Start stamping the Peony Solid Image on a piece of light pink cardstock in Rose Ink.
Repeat the stamping until you cover the entire panel.


Stamp Precious Peony on Peony Solid in Chocolate ink.
I used the panel that comes with the stamp-a-ma-jig to stamp the outline peony, the image doesn't fit exactly to solid image, but gives an amazing detail. 


Stamp the Being There sentiment on white cardstock in Chocolate Ink. 
Use your Cut-a-Align to get the perfect straight line.


Use the Chain Wave Stencil to give the background a little extra texture.
Add thin white tap and Gold and Dandelion Yellow Nuvo Drops to embellish.


Here is a look of the finished card.


Hope you like this project!
Have a fantastic day!


Tuesday, February 12, 2019

Tea Tuesday with Ceal: Marbled Turnabout


Hello everyone,

Its Ceal, here today on the My Sweet Petunia blog for Team Tuesday.
Today I am sharing some cards I made using the marbled Turnabout by concord & 9th.  The turnabouts were made especially for the Misti's and I love using them. I made several backgrounds first and then turned a few of them into cards and still have a couple left over. I love having all types of backgrounds on hand so when I need card I can grab those, add to them and have a card in no time at all.


To create the backgrounds I started with the Marbled Turnabout stamp and the new turnabout jig with is amazing! they also have guides for all their turnabouts as well.  I made a couple pink ones, one I only turned three times, the other two I turned all four rotates but added gold embossing to one, this particular one I haven't made into a card yet. I used some grays to make a masculine birthday card, I also added some silver embossing on one of the turns. I haven't made the blue into a card yet either but I can see another masculine card stemming from it.

Here are three cards I created using the backgrounds

For the first one, I turned three times for the main background and four times for the square background and the three for the letters. For the "LOVE" I used the Love You So bundle also by Concord & 9th.


For the second one I used some gray Altenew ink to make a masculine birthday card. The greeting is from the Birthday Basics Turnabout.


The last card I used one of the background as a mat for this punny valentine, because it reminds me of lava sorta. The stamp set I used on this one is by Heffy Doodle


Tuesday, February 5, 2019

Team Tuesday with Kia ~ Monogram

 Hello everyone! Kia here with you today to share this Monogram card I did using the new Cut-Align Rulers from My Sweet Petunia. As soon as I received the rulers I thought of Monograms. I am in need of a new craft knife as the one I have hurts my hands to hold. But, in the mean time, I decided I would do this card using what I had. 
 I have some pictures following my card that show the process of what I did to make this card. I am very happy with the outcome, and kept the card very simple. I think the floral and leaves inside the block K soften the letter up.
 I used Distress Inks for the stamping and die cut the panel with my wonky rectangle. I attached it to my pale pink base using fun foam.
 On the inside I also stamped the die cut sentiment, then brushed on pink ink.
 What I loved first about the ruler was that it was a full ruler of measurement. The Omnigrid ruler shown in the picture is what I used to use. But as you can see, it lacks all the measurements necessary for card makers. It is a sewing ruler. But it is made from the same material as the Cut-Align rulers. Heavy duty, manufactured to last. I used the inches side of the ruler as I needed to have exact measurements for my K.
 Once finished I transferred the K to some masking paper using Graphite Transfer paper, then I used the ruler to cut out the K from the masking paper along the lines.  I peeled off the backing and attached it to my card front die cut card panel.
 I picked some smallish stamps from various stamp sets and proceeded to stamp using different colours of distress inks until the letter was full. 
 I die cut "Just a Note" which I also stamped in different colours, then brushed on pink ink to finish.
 Using my ruler I aligned the sides of the die cut panel for a straight line, taped the ruler and glued in the die cut sentiments.
I then went back to the block K and added colour with my Distress Ink markers to parts of the stamping that had only one colour, which can be seen clearly in the picture below.
I hope you have enjoyed today's card, and wish to thank you for dropping by.

Compensated Affiliate Links used.

Tuesday, January 29, 2019

Team Tuesday with Ilina: Sew Happy

Hi everyone,
Ilina here today taking over My Sweet Petunia blog for another Team Tuesday.
Today I am sharing two cards using one of the new Concord and 9th Turnabout stamps called Stitched Turabout along with the new Turnabout Jig which makes using the Turnabout stamps a breeze and you don't need to create your own jigs. 
To make the card I started by lining up only the center part of the stamp on the guide provided and the jig, lined it up in my MISTI and picked it up with the lid. I used few different colors to stamp. I wanted to make more elegant card, but at the same time I wanted one more cheerful. So ended up with two cards ;) Trust me, these turnabout stamps are addictive once you have them already set them up in your MISTI and so easy to mass produce! 
For my first card I used Twilight, Party Dress, It's a Girl and Versamark which then I embossed with Silver Embossing powder. For the second one I used: Tiki Torch, Aquatini, Lime Rickey and Party Dress, then stamped the sentiment in Black! 
If you haven't tried this turnabout stamps and the MISTI I hope you'll give it a go ;) 


Sunday, January 27, 2019

Cut-Align


I am excited to show you my new product....


This product has been in development for over a year and a half.  I wanted to have it for Creativation 2018 but it wasn't perfected.  So I decided to wait until this year.  

How it came to be was that I needed a product to fit a need I had.  I like to do banner strips and cutting them with a paper trimmer was difficult.  When I used a ruler and craft knife, my blade would go off on its own.  

I went through several samples.  I tested out different thicknesses of acrylic.  I tested out different lines on the ruler and I finally came up with this.   Here is a video that shows some of the ways to use the Cut-Align.


Affiliate links to supplies used:

Tuesday, January 22, 2019

Team Tuesdays with Susan


Hi, Today I am up on the My Sweet Petunia blog for Team Tuesdays. I have obtained the newest tool - the Cut Align - it is fantastic. I have trouble cutting small strips and the Cut Align makes this so easy.  I also have a card featuring the new Picket Fence Studios Aeonium African Succulent. I will be back soon with a video on the Cut Align!

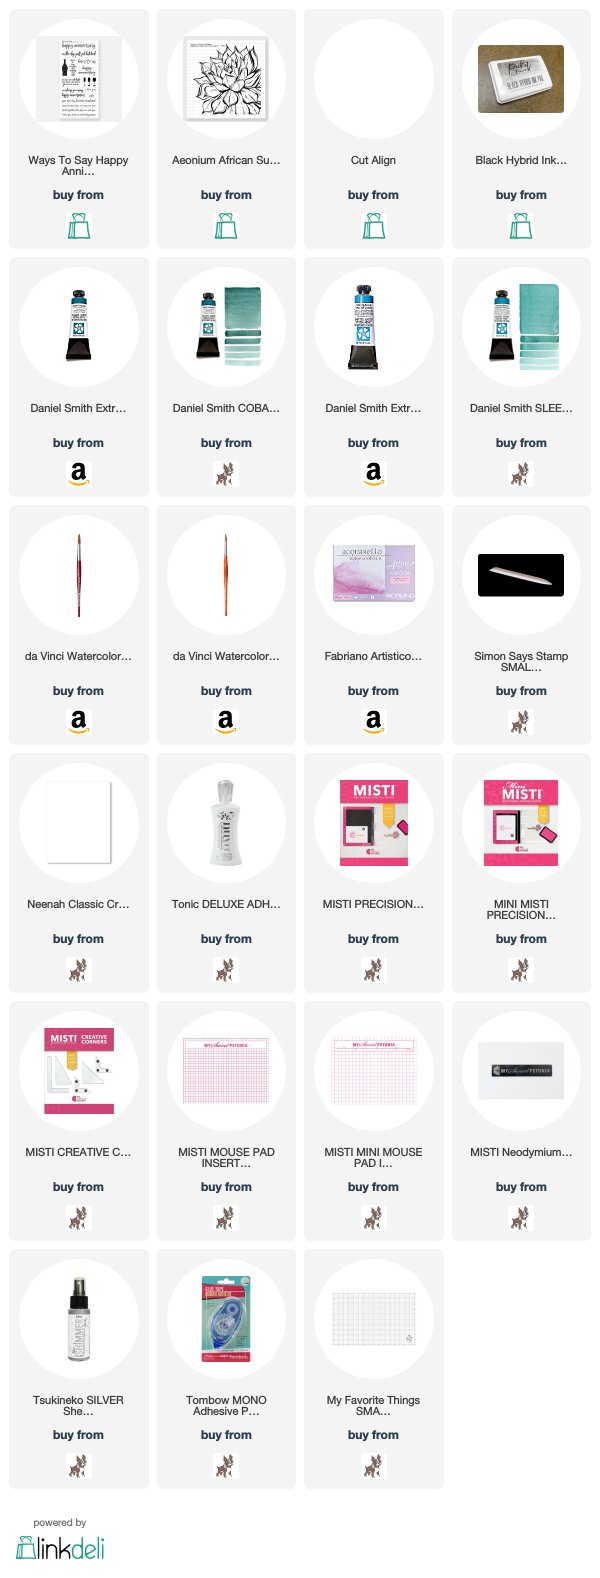
I stamped the image with Picket Fence Black Hybrid ink using my Misti to get a more precise image. I then loosely water colored the image with three shades of blue green. It was so easy to do. I think took one long sentiment from Ways to Say Happy Anniversary and split it using the Cut Align. I then used the Cut Align to cut the then sentiment strips. I have a You Tube tutorial below.


Thanks for stopping by;
Susan

Products Used: I am using compensated affiliate links at no further cost to you. I received the stamp as part of my design team work for Picket Fence Studios. The Cut Align was a gift.

Friday, January 18, 2019

My Favorite Things Blog Hop & Giveaway

Remember, back in the old days of stamping when we had to actually measure and cut and score and fold and engineer our own treat packaging?

I'm THRILLED that those days are gone, and companies come out with cute little dies with windows that take all the math and engineering off our hands so we can just have fun.

We are collaborating with My Favorite Things today, and when I saw their nugget die and matching shaker pouches, I squealed - I used to spend hours constructing little nugget boxes, as they are one of my favorite treats to decorate and give out at drive throughs, etc. 

So I went to work on this adorable treat tag by doing the following. 

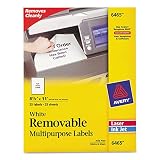
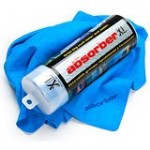
First, I used my Life Changing Blender brushes to apply Picked Raspberry, Spiced Marmalade, Mustard Seed and Peacock Feathers Distress Inks to a full sheet of label paper, which I cut in half after using this stencil and a wet Absorber to put the heart pattern subtly all over it. I took one half of the paper and stuck it down to white cardstock. I then cut two of the main tag die shapes out of this. Then I took the window portion of the nugget die and cut a window out of one of the tags. If you then take the window piece that it cuts out, you can use the tag topper die on that piece and save a little paper! So that's what I did. Then I lined the two tags up back to back, and I traced the window from the front of the tag onto the back of the other tag. I held the tag up to my magnifying desk lamp and positioned the die that cuts the opening along the trace line and taped it down for die cutting. I set the front tag with the topper up in my MISTI and stamped the sentiment from this hilarious set in Nocturne on the bottom of it.

Next, I took the other half of the label paper and I cut three label wrappers from it with the wrapper die. I did not put this paper on cardstock - I wanted it to be thinner. I lined those up in my MISTI and I stamped the little heart from this set onto each of them. Then I removed the liner from the label paper and wrapped the nuggets - I got the assortment bag so I put one of each in there. 

Then I slipped the insert into the tag with the topper. To make it easy to secure, I put 1/8" Scor-Tape around the lip of the little nugget insert. Then I ran Connect Glue all around the edges of the first tag. 


 I lined up the two tags and glued them together! Here's what the back looks like with that fun opening slot from the nugget die. I finished it off with some turquoise glitter ribbon.

Die-namics Treat Tag
[ MFT ]
Die-namics Nugget Label, Window, & Frame
[ MFT ]
Nugget Trio Shaker Pouches
[ MFT ]
Stencil Lots of Heart
[ MFT ]
Sassy Pants Love
[ MFT ]
Tweethearts
[ MFT ]
Heavyweight Card Stock Smooth White
[ MFT ]
Avery 6465 Removable Multipurpose...
[ AMZUS ]
Life Changing Blender Brush 2-Pack -...
[ PFS ]
Ranger Distress Oxide Ink Pad, Picked...
[ ELH | JGG | SSS ]
Ranger Distress Oxide Ink Pad,...
[ ELH | JGG | SSS | CRF ]
Tim Holtz Distress Oxide Ink Pad...
[ SSS | CRF | JGG ]
Ranger Distress Oxide Ink Pad,...
[ ELH | SSS | CRF | JGG ]
Turquoise Glitter Ribbon: 5/8 inch...
[ CNS ]
Gina K Designs CONNECT GLUE Adhesive...
[ SSS ]
Scor-Tape 1/8”
[ MFT ]
MISTI Stamping Tool
[ MSW | HA | SSS | ELH | MFT | UNT ]
Absorber - Synthetic Cleaning Cloth
[ AMZUS ]
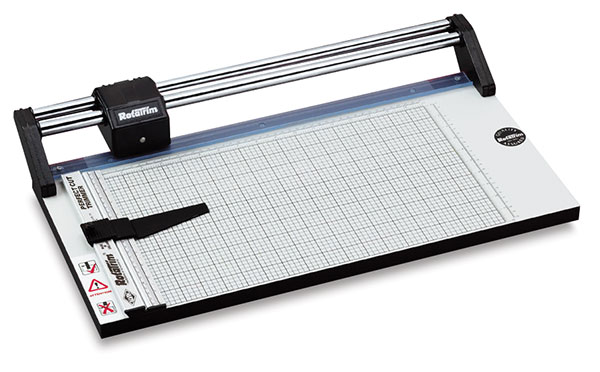
Rotatrim Professional Series Cutter -...
[ BLIC ]
LightView 2in1 LED Magnifier for...
[ BRG ]
Mudder 10 Pack White Buffer Sanding...
[ AMZUS ]
Xyron ADHESIVE ERASER 23675
[ SSS | ART | AMZUS ]
Essentials by Ellen Storage...
[ ELH ]
Die Storage - Clear Storage Pockets...
[ CHC ]
XL Stamp Storage Pockets
[ ELH ]
Teflon Bone Folder - Ellen Hutson LLC
[ ELH | SSS ]
Ink Off Cloth
[ INK ]
Card Making Supplies - Brand New | My...
[ MFT ]


Our team and the MFT team have lots of inspiration for you today. Here is what the MFT team has cooked up.


We both have giveaways, so to be entered to win one of three $50 shopping spree at our store, and one of three $50 gift certificates from My Favorite Things, just leave us a comment telling us what your favorite papercrafted giftable is to give! 

Thanks for stopping by.