Showing posts with label partial inking. Show all posts

Tuesday, July 21, 2020

Anemone Floral Background with Channin


Hello all!! It's Channin here and today I have a layered floral card to share!! This card also combines my two absolute favorite MISTI stamping techniques pattern stamping and partial inking!!

To create this card I first stamped the background with Anemone Stamp Set from The Stamp Market. I first positioned the outline layer for the three flowers on the left half of an A2 top-folding white card base. I then picked up the stamps with my MISTI and then stamped them in Versafine Onyx Black. Next, with stamps unmoved and still on my MISTI, I then rotated my card base 180 degrees and stamped the other half of my panel in Versafine Onyx Black as well. With both halves stamped, I then moved onto the next layer for the flowers, the solid layer. 


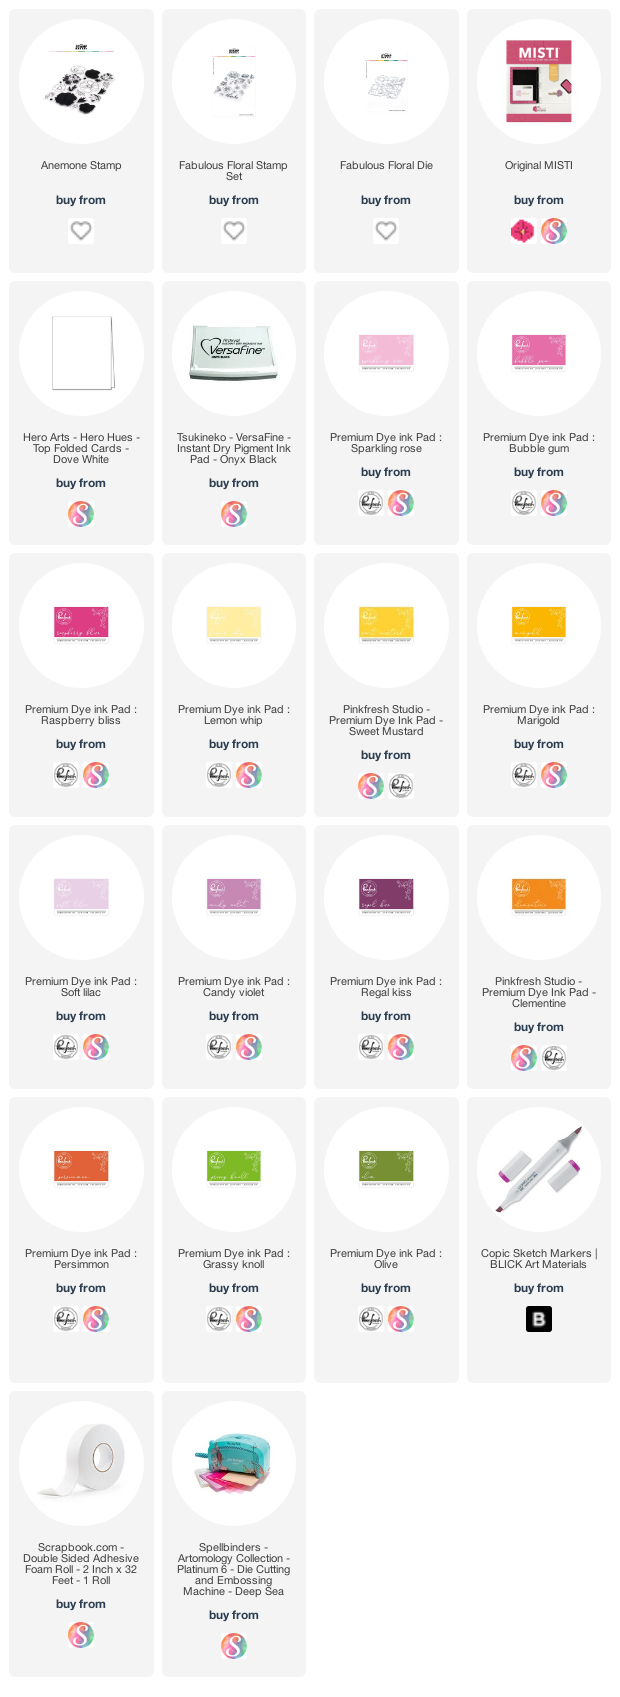
I first positioned them, picked them up with my MISTI and then stamped them in either Sparkling Rose, Lemon Whip, or Soft Lilac Pinkfresh Studio Ink. Then with the solid layer stamps unmoved in my MISTI, I then partially inked up each flower in a slightly darker shade (Bubble Gum, Sweet Mustard, or Candy Violet) and stamped to create a gradation. To partially ink up a stamp, you hold the ink pad at an angle so only a portion of the ink pad comes in contact with the stamp. I like to partially ink up the edge of the stamp, meaning the ink pad makes the most contact with the edge and then lessens towards the center, and again this is done by simply holding your ink pad at an angle. Once I finished partial inking and stamp the solid layer, I then rotated my panel and then repeated the process for the other half of the card. 


When I was finished stamping the solid layer on both halves I then positioned the detail layer and then stamped them in either Raspberry Bliss, Marigold, or Regal Kiss. Next, I rotated my card base and repeated the process for the other half. I then finished the flowers by stamping the centers first in Clementine and the partially in Persimmon. Once I had finished stamping the centers for all the flowers I then moved onto the leaves with Grassy Knoll and Olive. When I had finished all the leaves I filled in the negative space with by adding little dots with a copic marker (G43). Next I created my sentiment by stamping “thanks” from the Fabulous Floral stamp set in Versafine Onyx Black on white cardstock. I then die cut it out with the matching die and adhered it to my card front with foam tape. 

I hope you enjoyed my card! Thank you so much for stopping by!

~Channin

Supplies:
Tuesday, June 23, 2020

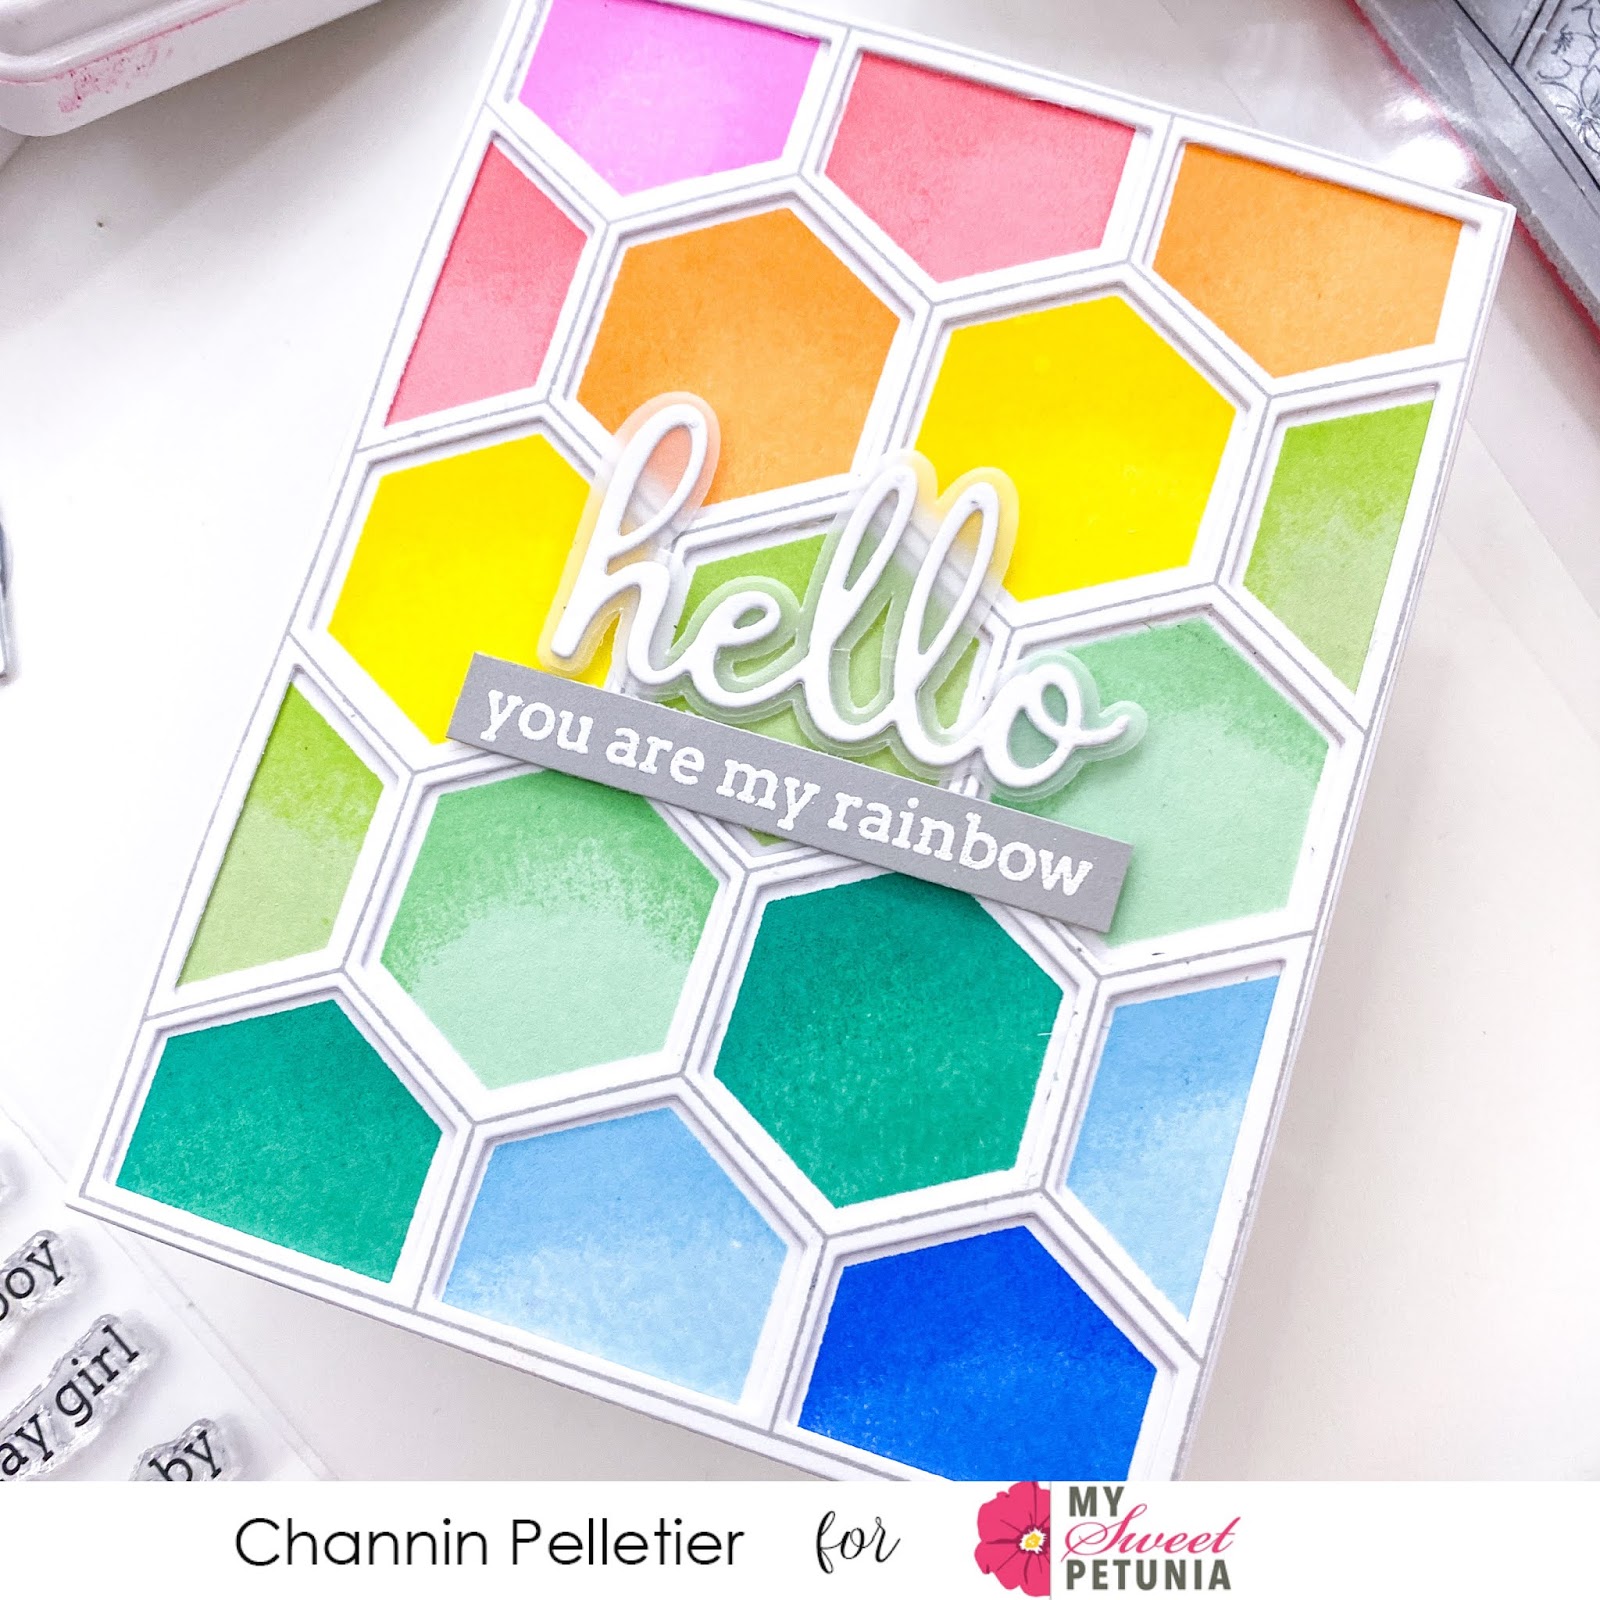
Hexagon Rainbow Card with Channin Pelletier


Hello all!! It's Channin here and today I have a fun rainbow card to share!! This card combines one of my favorite stamping techniques, partial inking with the one of the new pop out cling stamp sets from Pinkfresh Studio!

To create this card I first die cut the hexagon panel twice out of white cardstock using the Simply Hexagons Die. I then used one of the diecut panels to help me position the solid hexagon stamp from the Pop Out Hexagons Cling Stamp Set. Once I had the stamp positioned within one of the openings of the panel I then picked it up with my MISTI and then popped in an A2 top-folding card base of white cardstock into the well of my MISTI.


I picked out two shades of inks, a light and a dark, for each color I chose to use for the hexagon pane. I started with pink and first inked up the stamp in Sparkling Rose (my light) and then stamped. Next, I partially inked up the upper left corner of the hexagon by angling my ink pad (Bubble Gum) so only a small portion comes in contact with the stamp and then stamped, this creates a subtle gradation. I then repeated this process for all the hexagons with my different ink combos.

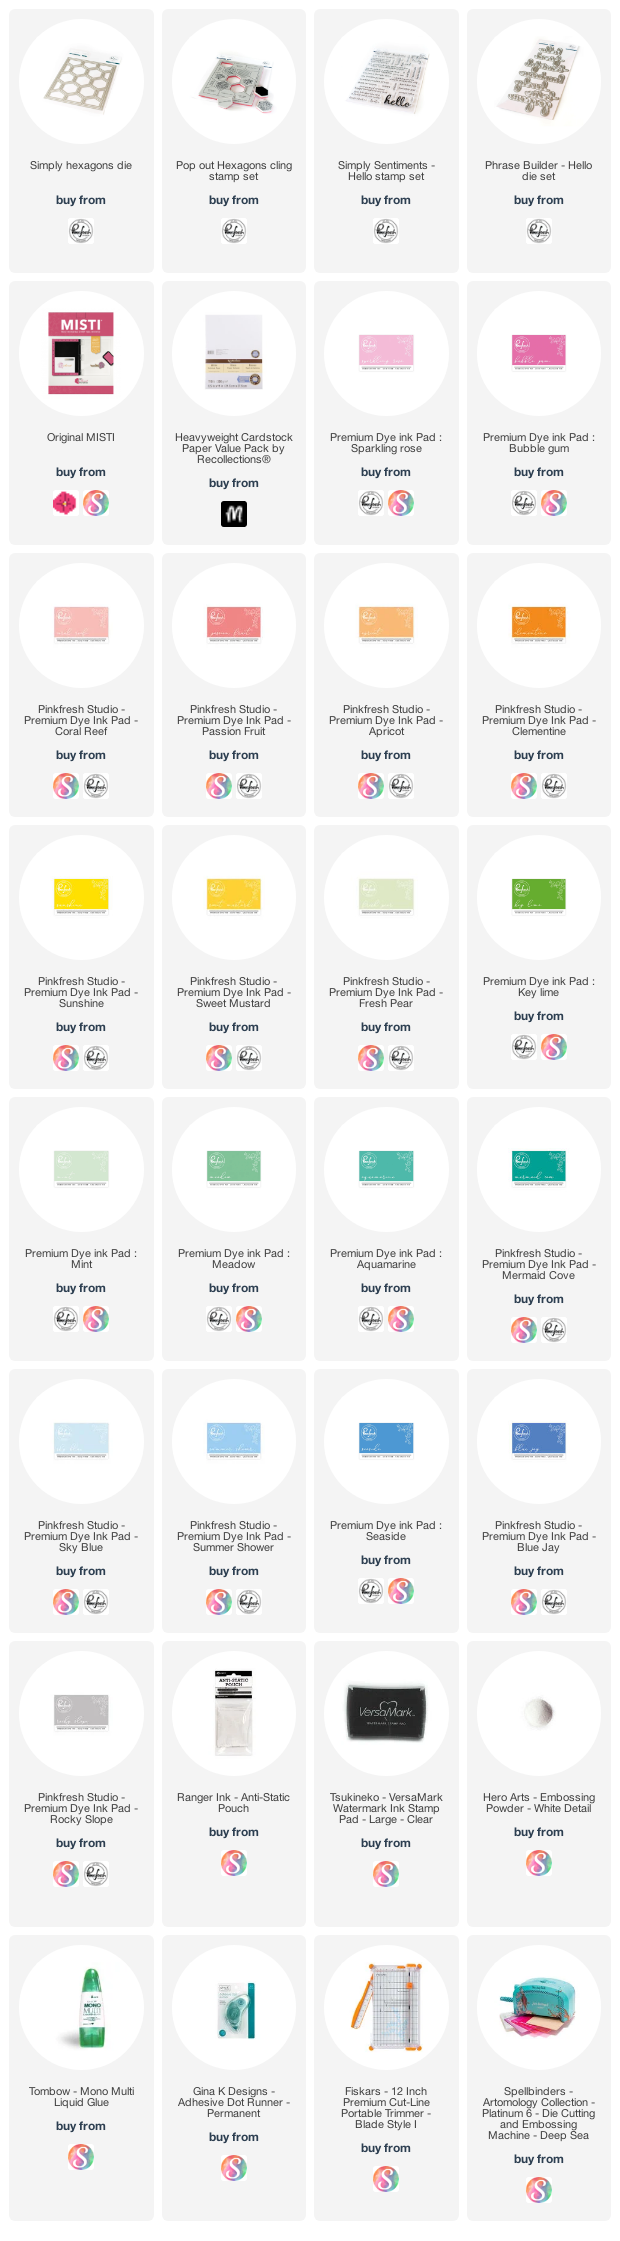
Pink: Sparkling Rose + Bubble Gum
Red: Coral Reef + Passion Fruit
Orange: Apricot + Clementine
Yellow: Sunshine + Sweet Mustard
Light Green: Fresh Pear + Key Lime
Green: Mint + Meadow
Blue-green: Aquamarine + Mermaid Cove
Blue: Sky Blue + Summer Showers
Dark Blue: Seaside + Blue Jay

With my card base all stamped I then used one of the die cut hexagon panels to help me position the large hexagon frame stamp from the Pop Out Hexagons Cling Stamp Set and then picked up the stamp with my MISTI. I then inked up the stamp with Rocky Slope and stamped it over the die cut panel.


I then adhered the two hexagon panels together and then adhered them onto the card base. Next, I die cut "hello" twice out of white cardstock and then the shadow out of vellum using the Phrase Builder - Hello Die Set. I then adhered all three layers together by sandwiching the vellum layer between the two cardstock layers and then adhered the "hello" to the card front. Next, I stamped and heat embossed a sentiment from the Simply Sentiments: Hello Stamp Set onto gray cardstock and then trimmed down to a strip. Lastly I finished the card by adhering the sentiment strip to the card front.

And that's it!! I hope you enjoyed my card! Thank you so much for stopping by!

~Channin

Supplies:

Tuesday, March 31, 2020

Team Tuesday with Channin: Mass Production Tips & Tricks


Hello friends! It's Channin here and today have a video on mass producing cards with the MISTI. In the video, I'll share some of my tricks for mass producing cards and even pass on some my favorite partial inking tips as well!

VIDEO: Mass Production Tips & Tricks


To create these cards, I first die cut several bouquets out of white cardstock with the Layered Bouquet matching die, saving one of the negatives to turn into a jig. I then added tape to the backside of my jig and placed it inside my MISTI. I then place a die cut inside, positioned the first layer for the Layered Bouquet stamp set, and then stamped in light ink for my chosen color family. I then partially inked the bottom portion of the same stamp with my medium shade and then stamped again.


I then removed the die cut, popped another one in stamped in the same manner with a different color family. I repeated this process till I had all my die cuts stamped with my first layer. I then positioned the next stamp for the bouquet, the detail layer for the flowers and stamped in my darkest shade and repeated for all the die cuts.


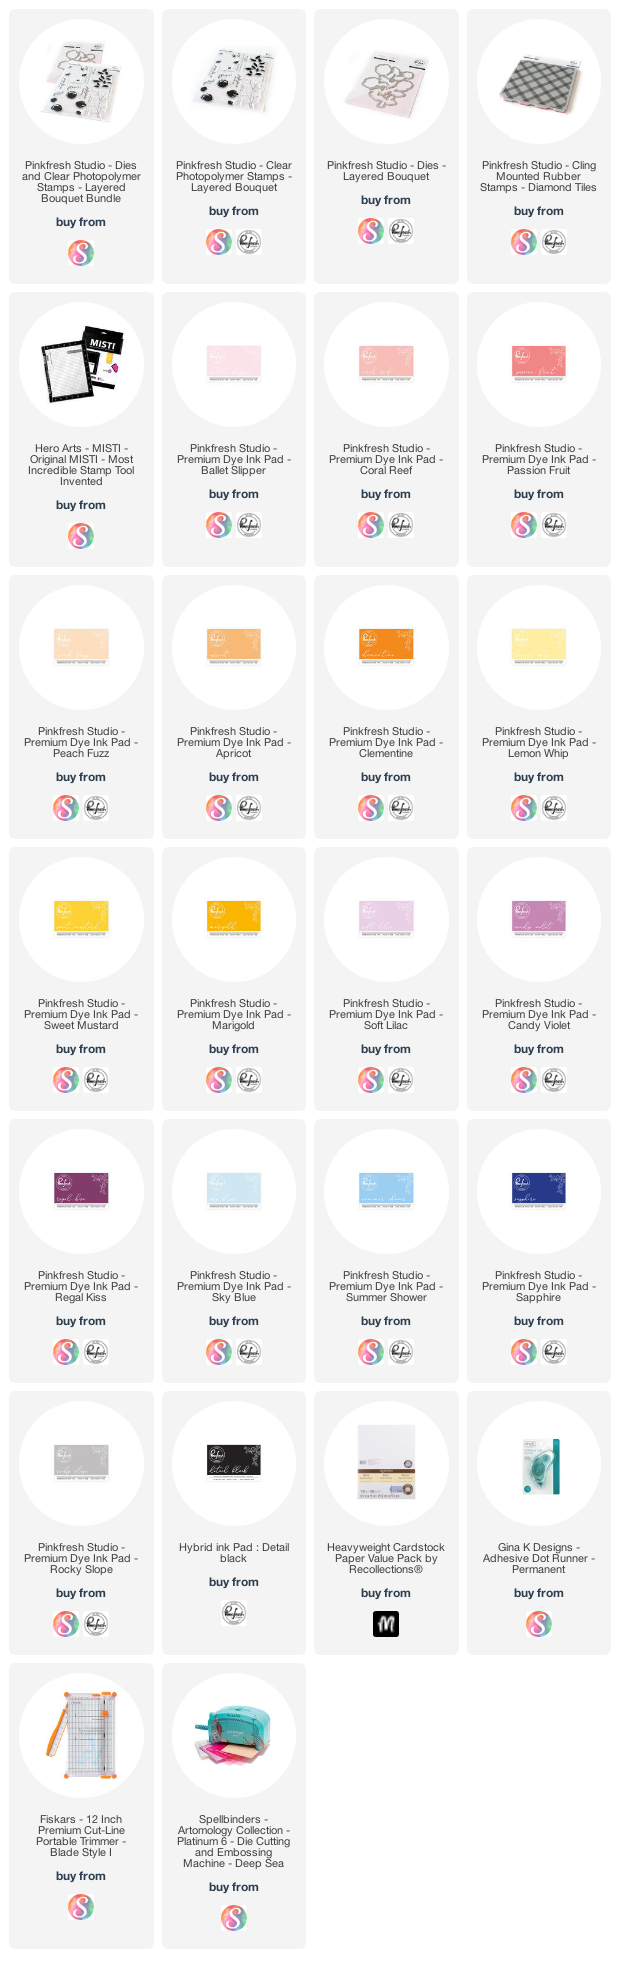
You can find the ink colors I used for each flower listed below.

Pink/Red
L: Ballet Slipper; M: Coral Reef; D: Passion Fruit

Orange
L: Peach Fizz; M: Apricot; D: Clementine

Yellow
L: Lemon Whip; M: Sweet Mustard; D: Marigold

Purple
L: Soft Lilac; M: Candy Violet; D: Regal Kiss


When I finished the with flowers I then stamped the leaves. I stamped the leaves in Sky Blue first and then partially inked them in Summer shower and stamped again. I then finished the bouquets by stamping the stems in Sapphire.

Next I die cut white craft foam with the Layered Bouquet matching die four times and then adhered each die cut onto the craft foam.


I then stamped four A2 white panels with the Diamond Tiles stamp in Rocky Slope and stamped a sentiment in black. I finished the cards by adhering the panels onto four A2 top-folding white card bases and then adhering the flowers on top.

I hope you enjoyed my cards and video! Thank you so much for stopping by!!

~Channin Supplies: