Tuesday, March 31, 2020

Team Tuesday with Channin: Mass Production Tips & Tricks


Hello friends! It's Channin here and today have a video on mass producing cards with the MISTI. In the video, I'll share some of my tricks for mass producing cards and even pass on some my favorite partial inking tips as well!

VIDEO: Mass Production Tips & Tricks


To create these cards, I first die cut several bouquets out of white cardstock with the Layered Bouquet matching die, saving one of the negatives to turn into a jig. I then added tape to the backside of my jig and placed it inside my MISTI. I then place a die cut inside, positioned the first layer for the Layered Bouquet stamp set, and then stamped in light ink for my chosen color family. I then partially inked the bottom portion of the same stamp with my medium shade and then stamped again.


I then removed the die cut, popped another one in stamped in the same manner with a different color family. I repeated this process till I had all my die cuts stamped with my first layer. I then positioned the next stamp for the bouquet, the detail layer for the flowers and stamped in my darkest shade and repeated for all the die cuts.


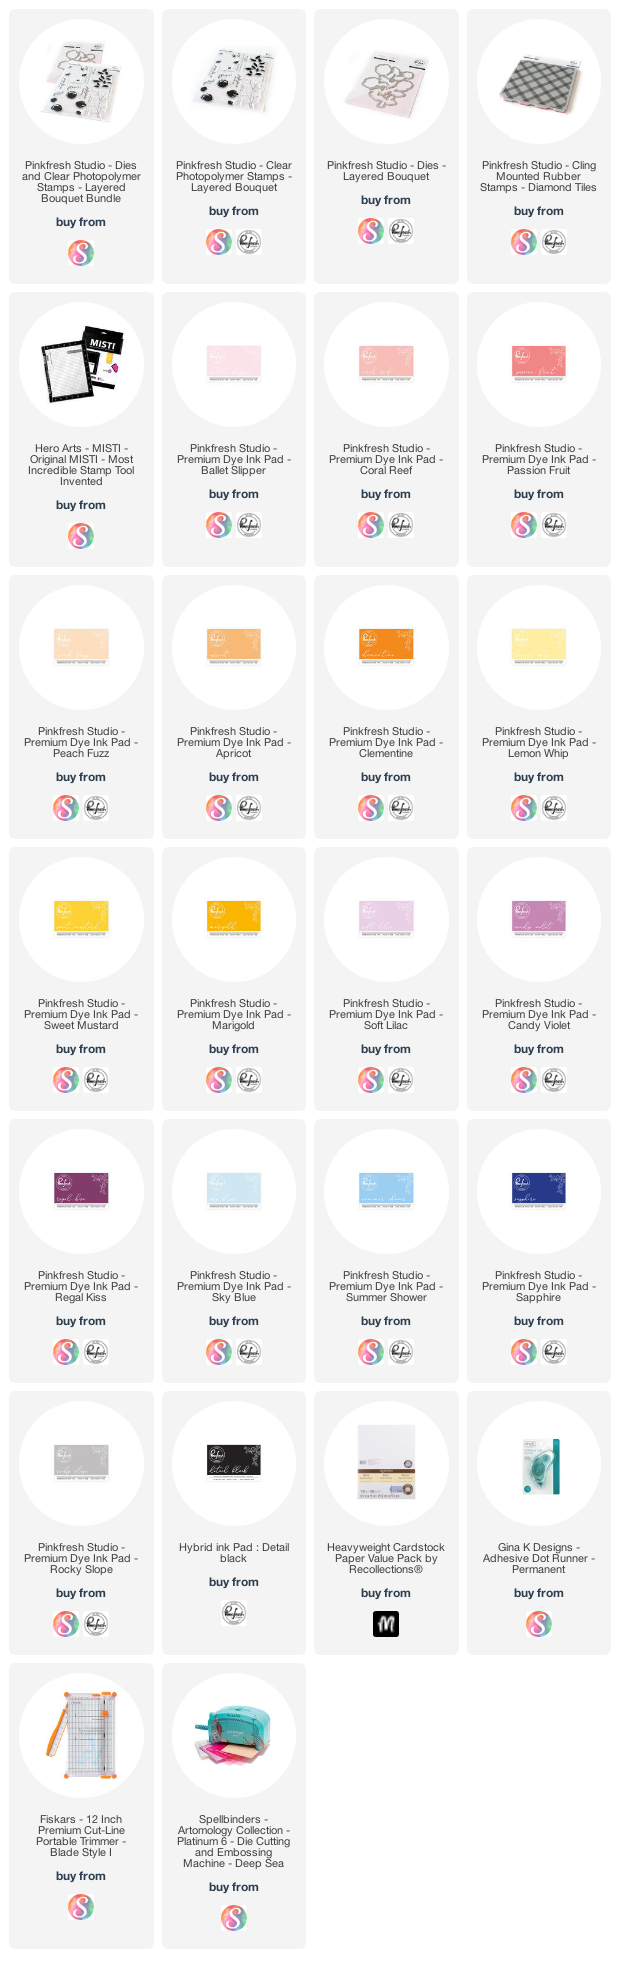
You can find the ink colors I used for each flower listed below.

Pink/Red
L: Ballet Slipper; M: Coral Reef; D: Passion Fruit

Orange
L: Peach Fizz; M: Apricot; D: Clementine

Yellow
L: Lemon Whip; M: Sweet Mustard; D: Marigold

Purple
L: Soft Lilac; M: Candy Violet; D: Regal Kiss


When I finished the with flowers I then stamped the leaves. I stamped the leaves in Sky Blue first and then partially inked them in Summer shower and stamped again. I then finished the bouquets by stamping the stems in Sapphire.

Next I die cut white craft foam with the Layered Bouquet matching die four times and then adhered each die cut onto the craft foam.


I then stamped four A2 white panels with the Diamond Tiles stamp in Rocky Slope and stamped a sentiment in black. I finished the cards by adhering the panels onto four A2 top-folding white card bases and then adhering the flowers on top.

I hope you enjoyed my cards and video! Thank you so much for stopping by!!

~Channin Supplies:
Tuesday, March 24, 2020

Team Tuesday with Mindy Eggen: Stamping Die cuts


Welcome everyone! It's Mindy Eggen here with you today to share a bright and glittery project with you today.

I'm working with the new Neon Glitz Glitter Gel from Rina K Designs and Thermoweb and how to use them on dark colored card stock.

I have a video that you can view down below or HERE on my Youtube channel.


Since these images have multiple layer to them, I die cut the images first. I then used the Misti to stamp my layers in a variety of Neon colors. In the video I only show a couple of the popsicles but when I really sit down to play, I stamp a TON of these all at once. 


Be sure the watch the video on all the tips and tricks on applying the glitz glitter gel to dark cardstock. 


I tied everything together by stamping a sentiment in an embossing ink and heat embossing with white embossing powder. 

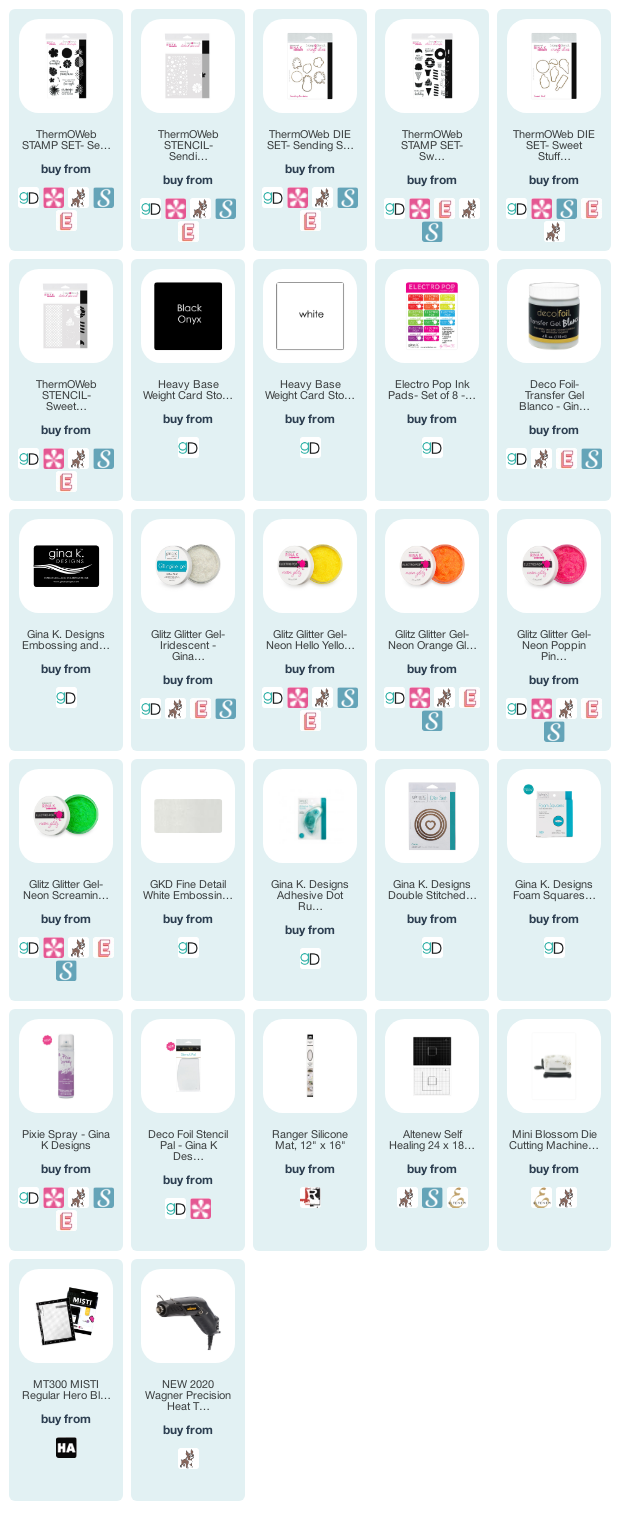
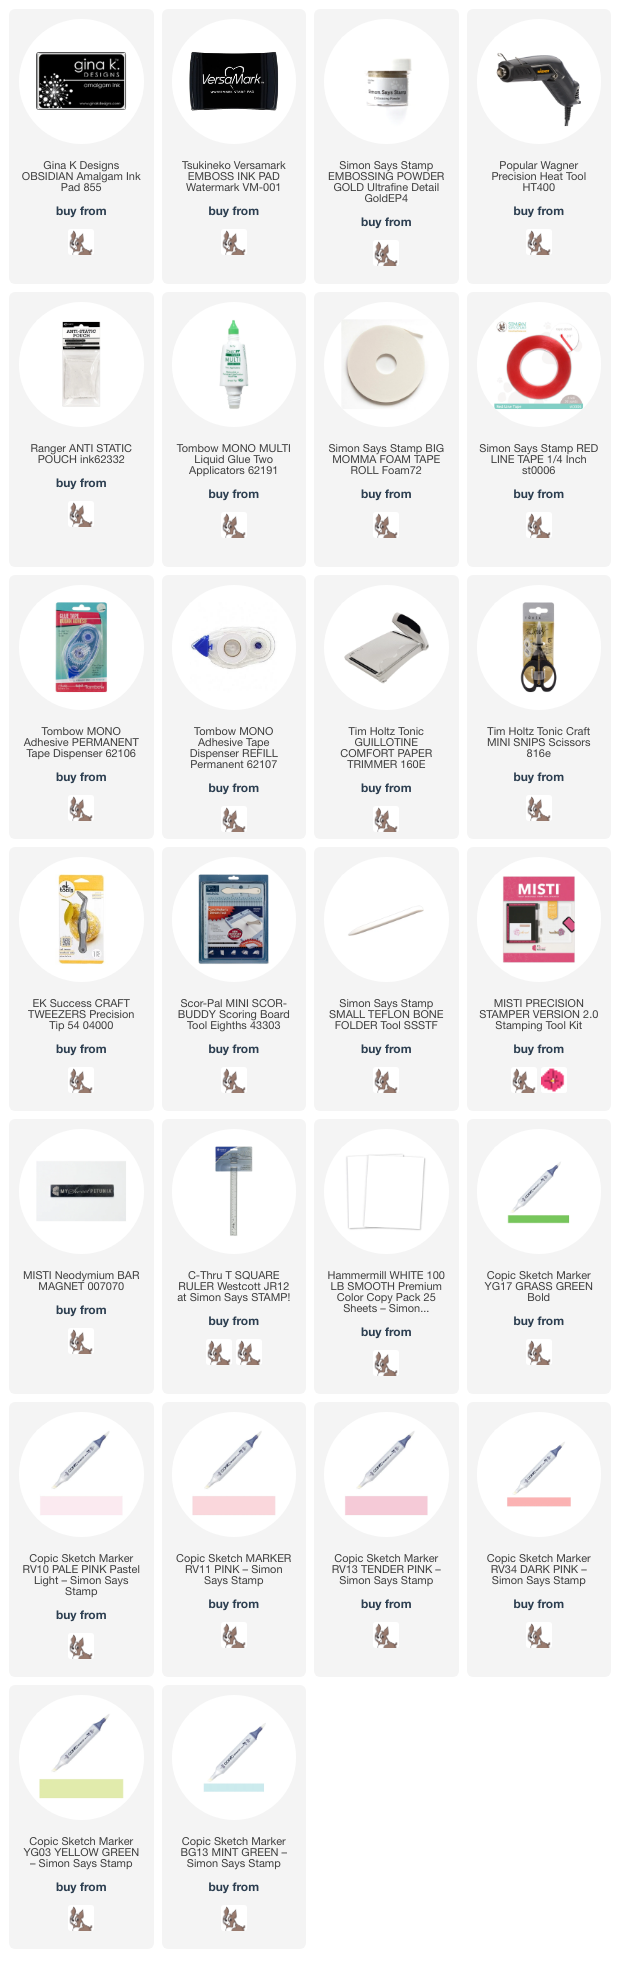
Below you will find links to the products used. Click the icon to start shopping. Compensated Affiliate links are used at no additional cost to you. Your support helps me to keep bringing you new projects and videos. Thank you!


Tuesday, March 17, 2020

Team Tuesday with Ceal: You Are Enough

Hello Everyone!
Ceal here! Today I am sharing a card that I created using new products by Erin Lee Creative
To create this card I started with a white top folding card base, placed it in the Original Misti inked up up the gorgeous rose from the Sketched Floral set using Fadeout Ink by Ink on 3. 
I created a mask, cut it out and covered the rose, then used the New Houndstooth stencil to create a subtle background with Soft Stone ink and the Life Changing Blender Brushes. 
I do this in the Misti because I can place the card and the stencil in the corner of the Misti and ink blend without my card moving around. 


I removed the mask and colored the Rose from the Sketched Florals set using Copic markers and Polychromos pencils. To finish the card I added the die cut greeting  "You are Enough" which is also a new product by Erin Lee Creative.


The Misti makes it so easy to get precision stamping and can be used for so many other things like stenciling. 

Wednesday, March 11, 2020

Sweet Layered Tulips

Hi crafty friends and welcome back.  Sandi here with a new Sweet Layered Tulips video share for you.
Today's project is two step stamping.  The Misti Stamping Tool is perfect for this technique as it makes lining up the stamps a breeze.
I'm using the  NEW  Layered Tulips stamp set from Simon Says Stamp.  There is a base solid image stamp for the leaves and the tulips and a second overlay stamp for each, which stamps just the shadow highlights.
All you need to create these beautiful art pieces are four ink pads and a piece of card stock, the stamps and the Misti do all the heavy lifting

So grab your supplies and stamp along with me, The cards are super quick and easy and take less than 10 minutes each to create.
NOTE, in the video I start with the purple tulips first, and then the pinks.

Purple Card:  White card stock  3-1/4 x 6, 
Mounted onto a 7 x 10, score at 5, card base.
Light and dark Turquoise ink for leaves
Wilted Violet Distress Oxides for the tulips

Pink Card:  White card stock 4-1/4 x 5-1/2  - cut down to 3-1/2 x 4-3/4 after stamping
Pink card base:  5-1/2 x 8-1/2 score and fold at 4-1/4
Here is the short video walking you through the technique


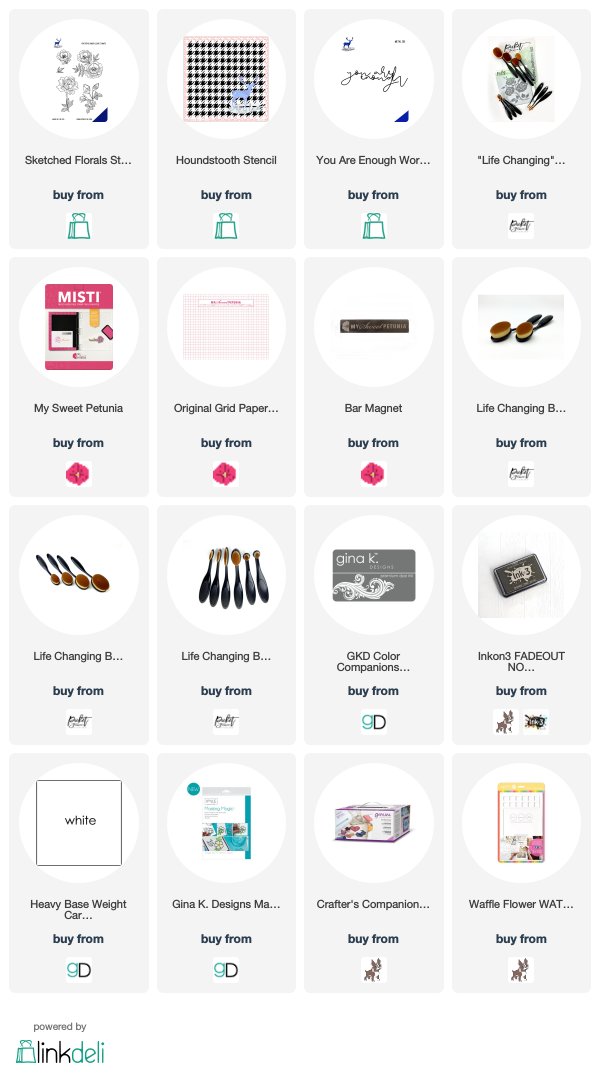
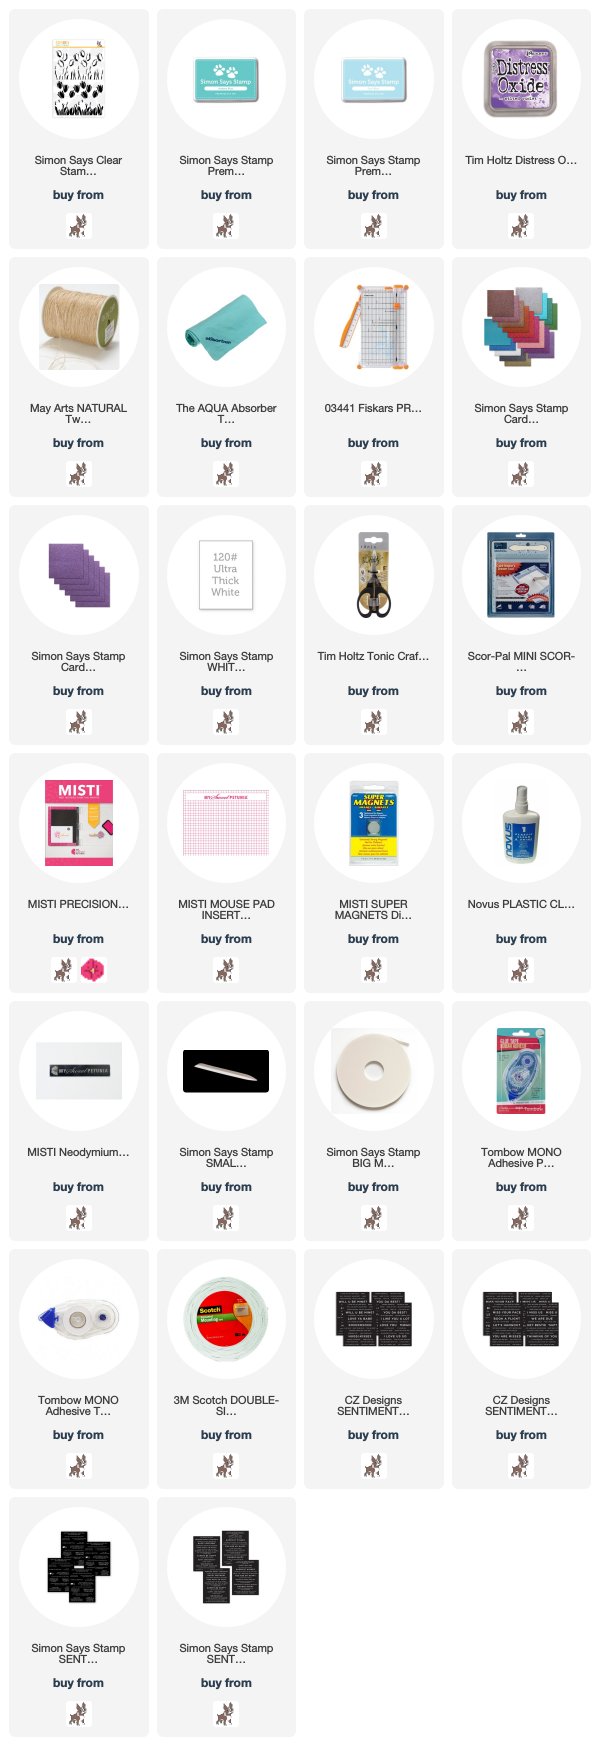
Want to know what supplies I used in the video?  The list is below for you, affiliate links used where possible and thank you for watching.


Supply list for the Sweet Layered Tulips Cards

Tuesday, March 3, 2020

Team Tuesday with Ilina: HeroScapes Color Layering

Hi everyone!
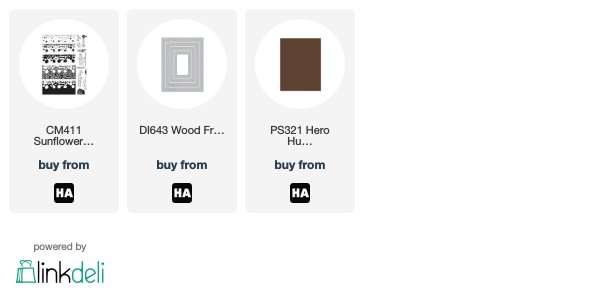
Ilina here! Today I am sharing a fun card created one of the new Hero Arts sets HeroScapes Sunflower Fields! The HeroScapes and the MISTI and match made in heaven!!!!
They are so easy to layer together and stamp in the MISTI. Once I had all the layers positioned in my MISTI I was able to stamp bazillion sunflower fields.
To make the card start by stamping the lightest green layer first, then the darker one, followed by yellow, orange/rush and lastly brown. Once you have your panel stamped trim it down and using the life changing blending brushes blend in some yellow and pool reactive inks for the sky. Put the panel back in the MISTI and stamp sentiment and birds.
Die cut woodgrain frame from brown cardstock, ink up with Embossing ink and emboss using Ultra fine clear embossing ink. Repeat few times. Assemble your card onto yellow side folding note card.


Saturday, February 29, 2020

Penny Black Copic Markers and Heat Embossing

Hello crafty friends, it's Sandi MacIver here and welcome back to the blog.  My share today is Penny Black Copic Markers and Heat Embossing.

Yes I know, Copic Markers and Heat Embossing don't necessarily go together.  Embossing powder is made with small shards of plastic and even though we heat and melt it to attach it to our cards, it still has sharp edges and coloring around it with our Copics can tear up our tips.

So, today I'm sharing some tips on a fun and easy solution to that issue, using the Misti.
It's also impossible to get this type of an image coloring with copics on dark card stock, so there's a simple solution for that as well.

Here's a quick video sharing how I used the Misti to create today's card tricks, along with a quick lesson on Copic Markers Flicking Technique which I used on the flowers.


That's it for me today and I hope you enjoyed my share..  Below is a list of supplies used to create today's card.  Affiliate links to various stores are shared at no additional cost to you.

Tuesday, February 25, 2020

Video: Faux Watercoloring with a MISTI


Hello friends! It's Channin here with a new card and video to share!! In this video I share how to create a colorful bunch of flowers and leaves with a faux watercolor technique using a MISTI. This easy technique gives your florals that watercolor look with very little actual painting.


Faux Watercoloring with a MISTI

Watch below on my YouTube channel.


To create this card I first stamped several leaves from the Peony Bouquet Stamp Set onto a panel of watercolor paper. I partially inked the top portion of the leaves in Peeled Paint distress ink and then stamp. Next, I inked up the bottom portion of the leaves in Pine Needles distress ink and then stamped. I then inked up the top of the leaves again in Peeled Paint, then spritzed with water and then stamped. I then inked up the bottom of the leaves with Pine Needles, spritzed with water, and then stamped. 


Next, with a brush I quickly colored in the open areas of the leaves with the water downed ink. Then I used my heat gun to dry the ink and then stamped the leaves one last time with two inks to enhances the details in the images.


Next, I basically repeated this process for flowers from the Peony Bouquet and the Zinnia Stamp Sets with different distress ink colors. After I had finished stamping my flowers I then die cut them and the leaves out with the matching dies. I then created my sentiment by stamping "hello" from the Simply Said 1 Stamp Set in VersaFine Onyx Black and then heated embossed it in clear. Next, I die cut the sentiment and two unstamped "hellos" out and then adhered them all together to create a dimensional sentiment. 


I then splattered white watercolor paint over the front of a Kraft A2 card base. Once the paint had completely dried I then adhered the flowers with foam squares and then the sentiment with liquid glue. 

I hope you enjoyed my card and video! Thank you so much for stopping by!

~Channin

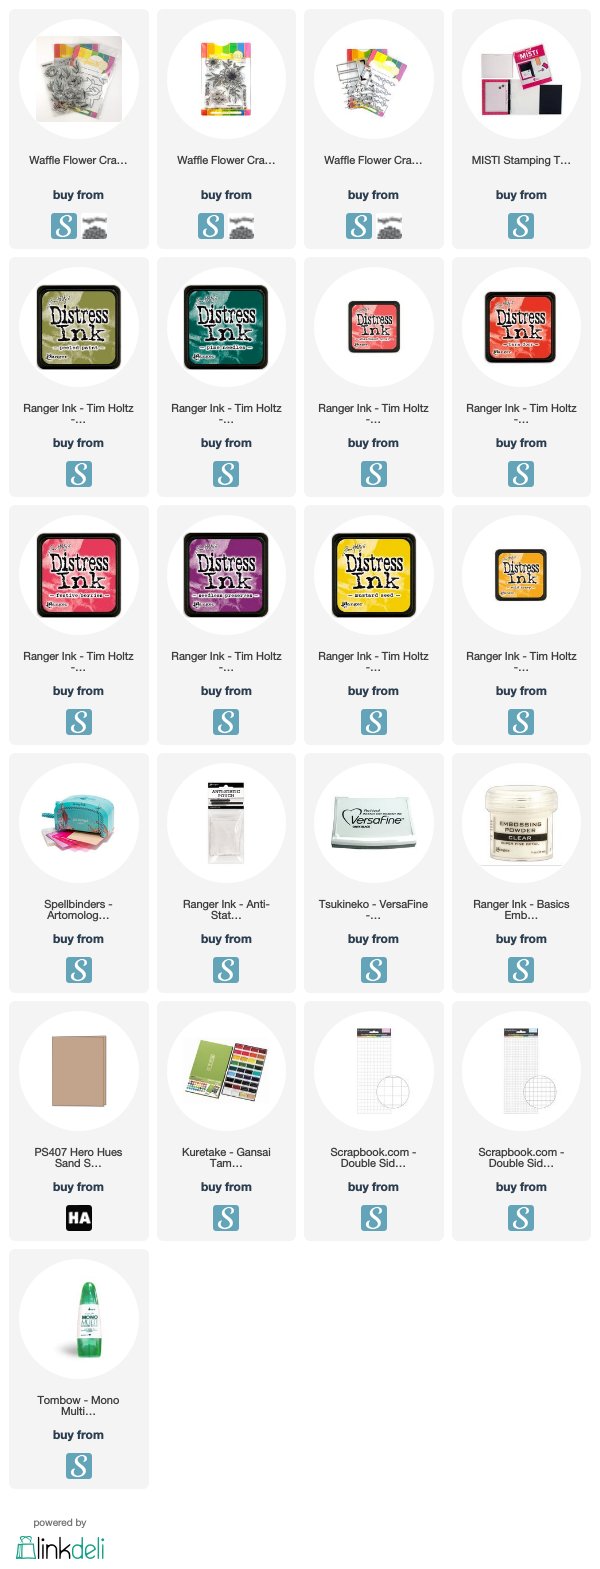
Supplies:
Watch below or on my YouTube channel.

Video