Wednesday, January 9, 2019

Concord & 9th Everyday Bouquet Turnabout Kit


This is my first post for the new year so..... Happy New Year!   I hope it has been a good start.   It has been a slow start for me.  I am a routine person and when my routine is broken it takes me a while to get back into my groove. 


I had fun using the new kit from Concord and 9th.  The template in the kit is super helpful and it keeps you from having to use a ruler and marker to align the turnabout stamp.  All future turnabouts will have a new printed backer sheet that will make it easier to line up.   Past turnabouts will have backer sheets available.

I also figured out a new way on stamping multiples with the turnabout.  It is at the end of the video.  Leave me a comment and tell me what you think of the new way to turn.


Affiliate links to supplies used:

Everyday Bouquet Turnabout™ Toolkit -...
[ C&9 ]
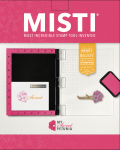
Original MISTI
[ MSW | AMZUS ]
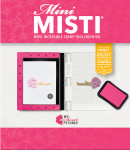
Mini MISTI
[ MSW | AMZUS ]
Brutus Monroe Embossing Powder, Pink...
[ ELH | SSS ]
VersaFine Clair Ink Pad, Nocturne -...
[ ELH | AMZUS | SSS ]
Ink On 3 Ink Pads, Juicy Clear...
[ ELH | SSS ]
Gina K Designs CHERRY RED PREMIUM DYE...
[ SSS | GNK ]
Simon Says Stamp Premium Dye Ink Pad...
[ SSS ]
Simon Says Stamp Premium Dye Ink Pad...
[ SSS ]
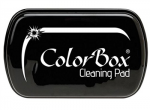
ColorBox Stamp Cleaning Pad
[ MSW ]
Inkadinkado Embossing Magic Bag
[ ELH | SSS ]
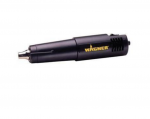
Hero Arts Embossing Gun
[ ELH | SSS ]
Ranger Liquid Pearls, Rose Gold -...
[ ELH | SSS | AMZUS ]
Gina K Black Onyx Cardstock
[ GNK ]
Heavy Base Weight Card Stock- White
[ GNK ]

Tuesday, January 8, 2019

Team Tuesday with Chris


Good Morning!  Happy Tuesday!

Chris here with you today, sharing a watercolored and inked card.


I stamped this rubber cling image, Just... Sorry from Unity Stamp Company and the greeting with black waterproof ink from Inkon3 onto a 5"x7" piece of  Fabriano Artistico cold press watercolor paper using my original MISTI.  

I like to watercolor right in my MISTI, using the magnet to hold my paper flat.  I used Daniel Smith watercolors to very quickly paint the panel.


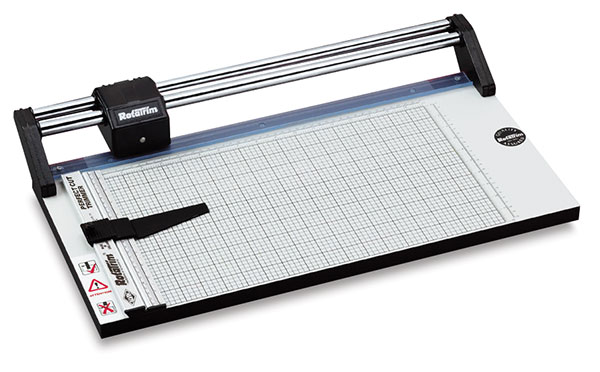
When fully dry, I used my Rototrim to trim the panel down to 3 3/8" x 5 1/2". and cut both a black and a white mat just slightly wider than the panel.

 I used the Mod Rectangle stencil from A Colorful Life Designs stencils, to create a pattern down the left side of a white top fold card base.  I used Therm O Web's Purple Tape to secure the stencil to my card base, as well as used my MISTI bar magnet to help secure the project down inside my MISTI while I inked it up.  I used a 1" blending brush from Picket Fence Studios to do my inking, first with Gina K. Red Velvet ink, then adding Cherry Red to the far left edge.  I had to move my stencil to complete the whole edge of the card base, but the repeating pattern in the stencil was very easy to match up and ink seamlessly.

My doing my inking right inside the bottom surface of my MISTI, it made it very easy to clean up any ink.  I just used a baby wipe to wipe up any ink.


Lastly, I assembled the card with liquid glue.


Thanks for stopping by!  
Have a great week!

Monday, December 31, 2018

One Technique Two Ways - Seasons Givings Blog Hop & Giveaway


Hey everyone! Welcome to the 7th annual Seasons Givings Blog Hop. This hop was created by Latisha Yoast as a way for bloggers to thank their readers for all the kindness you have shown all of us through your comments throughout the year - just a  way to give back to our community. 

So after you see the projects below, stay tuned for details on how you can win our prize tonight!

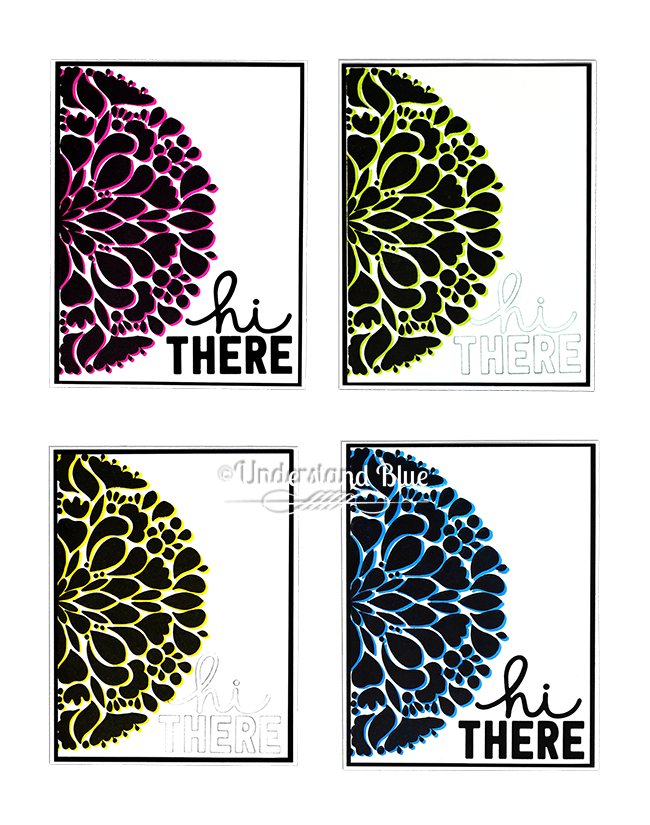
I wanted to show two simple ways you can use your MISTI for a drop shadow technique with a bold background stamp - this beautiful set. 

You have seen how you can stamp an image in one color, shift your paper slightly and then stamp again in a second color to create the effect. But I wanted to make a card SET to start the New Year so I just made one simple tweak.

I set the stamp up in the Original MISTI - that's what you will need to use for large background stamps like this one, and I positioned it so that I was only using half the stamp. Then I stamped four card fronts with Passionate Pink, Key Lime, Wild Dandelion and Blue Raspberry Inks. Then I cleaned the stamp, and with one of the fronts in the MISTI, just shifted the stamp up and to the left, picked it up with the lid, and quickly stamped all four in Nocturne. This was a much quicker way and more precise for multiples than moving the paper each time - it was so easy and fun. I used this die two different ways - cutting through the white panel for two, and then cutting and re-piecing on the other two for a subtler look.
Gorgeous You - Picket Fence Studios
[ PFS ]
Geometrics dies
[ C&9 | SSS ]
Tsukineko VersaFine Clair NOCTURNE...
[ SSS | CST | ELH ]
GKD Color Companions Ink Pad- Wild...
[ GNK | SSS ]
GKD Color Companions Ink Pad- Key...
[ GNK | SSS ]
GKD Color Companions Ink Pad-...
[ GNK | SSS ]
GKD Color Companions Ink Pad- Blue...
[ GNK | SSS ]
Heavy Base Weight Card Stock- Black...
[ GNK ]
Heavy Base Weight Card Stock- White -...
[ GNK ]
Mini MISTI
[ MSW ]
MISTI Stamping Tool
[ MSW | HA | SSS | ELH | MFT | UNT ]
Bar Magnet
[ MSW ]
Sizzix BIG SHOT EXPRESS Gray and...
[ SSS ]
Rotatrim Professional Series Cutter -...
[ BLIC ]
LightView 2in1 LED Magnifier for...
[ BRG ]
Mudder 10 Pack White Buffer Sanding...
[ AMZUS ]
Xyron ADHESIVE ERASER 23675
[ SSS | ART | AMZUS ]
Essentials by Ellen Storage...
[ ELH ]
Die Storage - Clear Storage Pockets...
[ CHC ]
XL Stamp Storage Pockets
[ ELH ]
Teflon Bone Folder - Ellen Hutson LLC
[ ELH | SSS ]
Tombow MONO MULTI Liquid Glue Two...
[ SSS | ART | BLIC | ELH ]
Blog - Picket Fence Studios
[ PFS ]

If you love this stamp as much as I do - head over to the Picket Fence Blog to see another, completely different look with this image.

Would a MISTI or two help YOU do fun special effects more productively? Well you're in luck - our prize for this hop is a bundle of an Original MISTI, a Mini MISTI and two bar magnets. 

To win - leave a comment on this post telling us something that would make your crafting life simpler! Leave your comment by Monday January 7th, and it will be announced on our blog on January 8th.

Then - hop along to all of these wonderful places for more inspiration and more opportunities to win!

Tuesday, December 25, 2018

Team Tuesday with Giovana

Hello friends! 
First, I want to wish you all a very Merry Christmas! 
Hope you are having a great time with your family and friends, that's the best gift we all can get, the love from the ones around us.

Now, let me tell you about my project.
Valentines is just around the corner and I have the perfect card for you!

This card uses brand new stamps from Impression Obsession.
Position your stamp on your Original Misti, then stamp the Baby's Breath Large on the front of a white card base in Bubblegum Ink.
Color little flowers with a pink marker.
Mist a watercolor panel ,then stamp Seven Million Smiles in Chocolate Ink. 
Die-cut stamped panel and add it on top of a pink panel, then add it to card base with foam tape.
Finally, add little drops of Rhurbarb Crumble Nuvo drops.


I hope you like it.
Have a wonderful day!