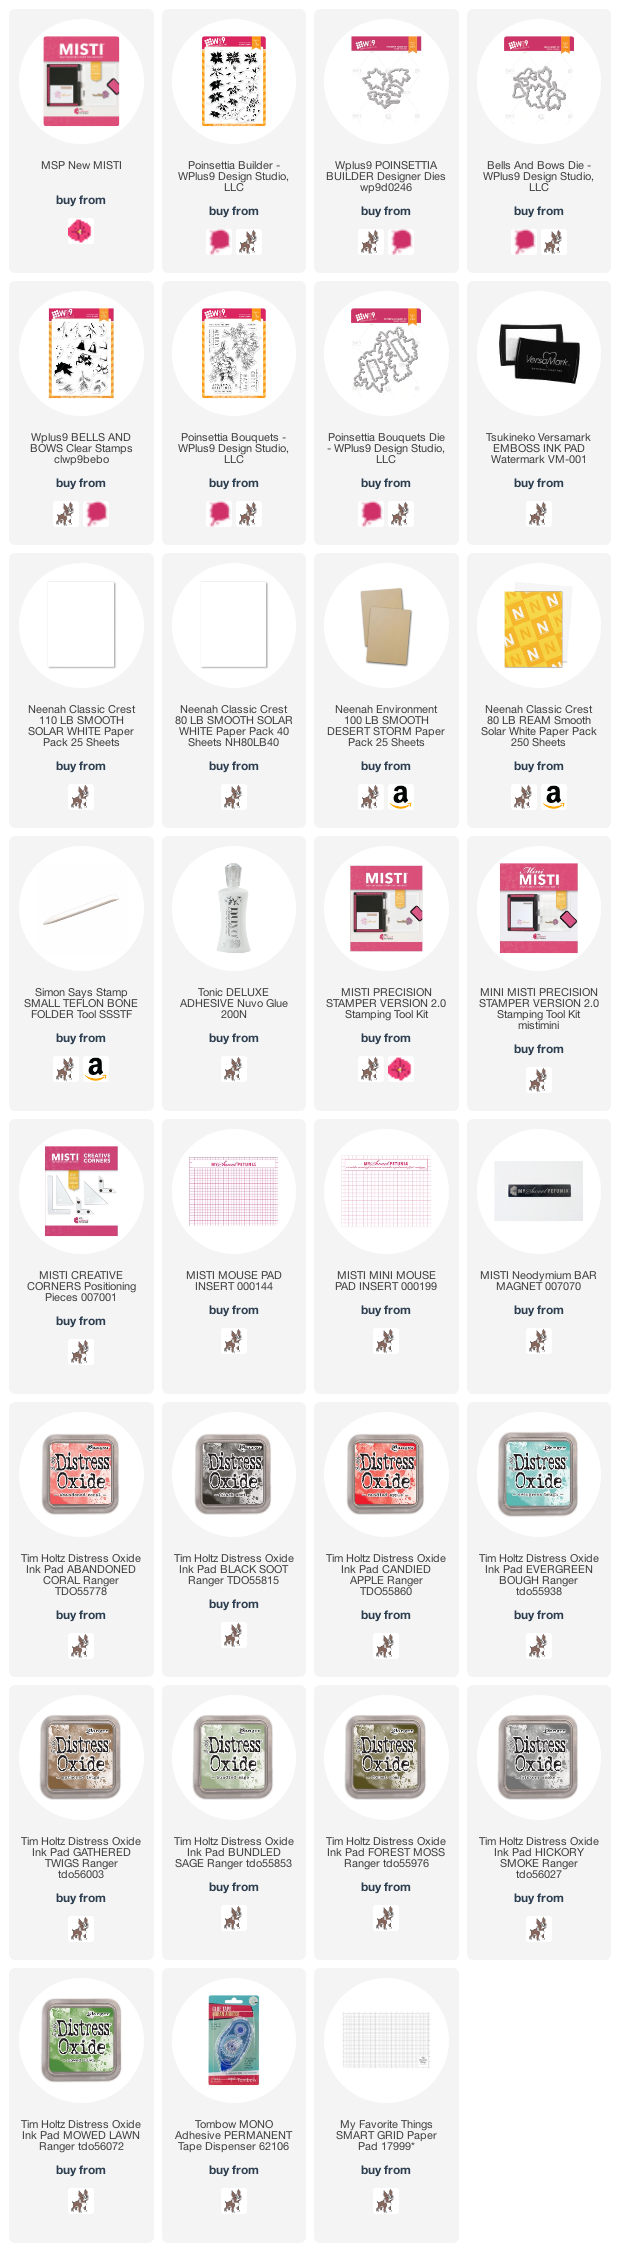
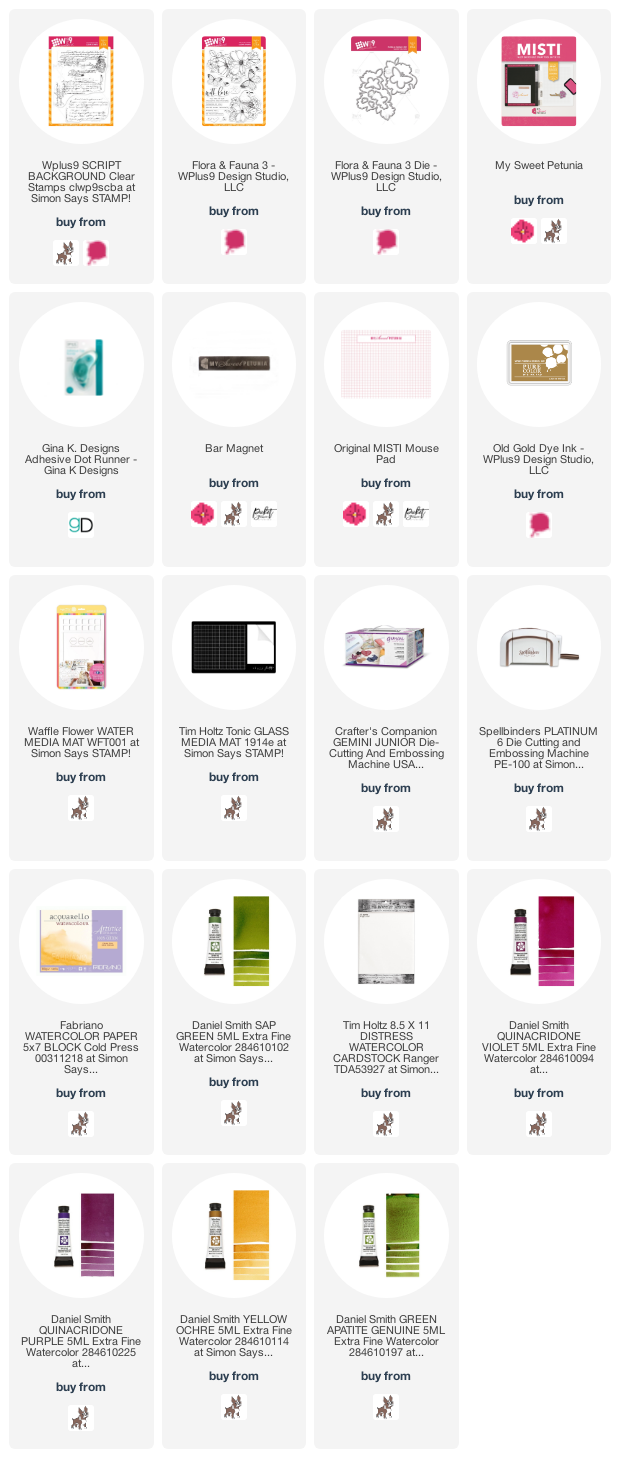
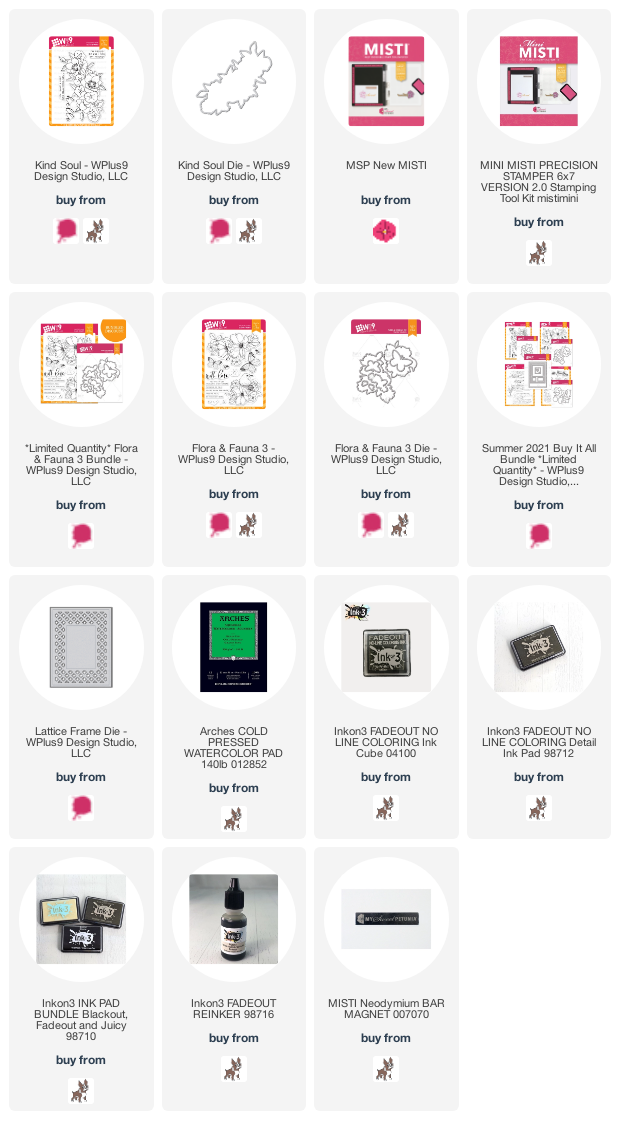
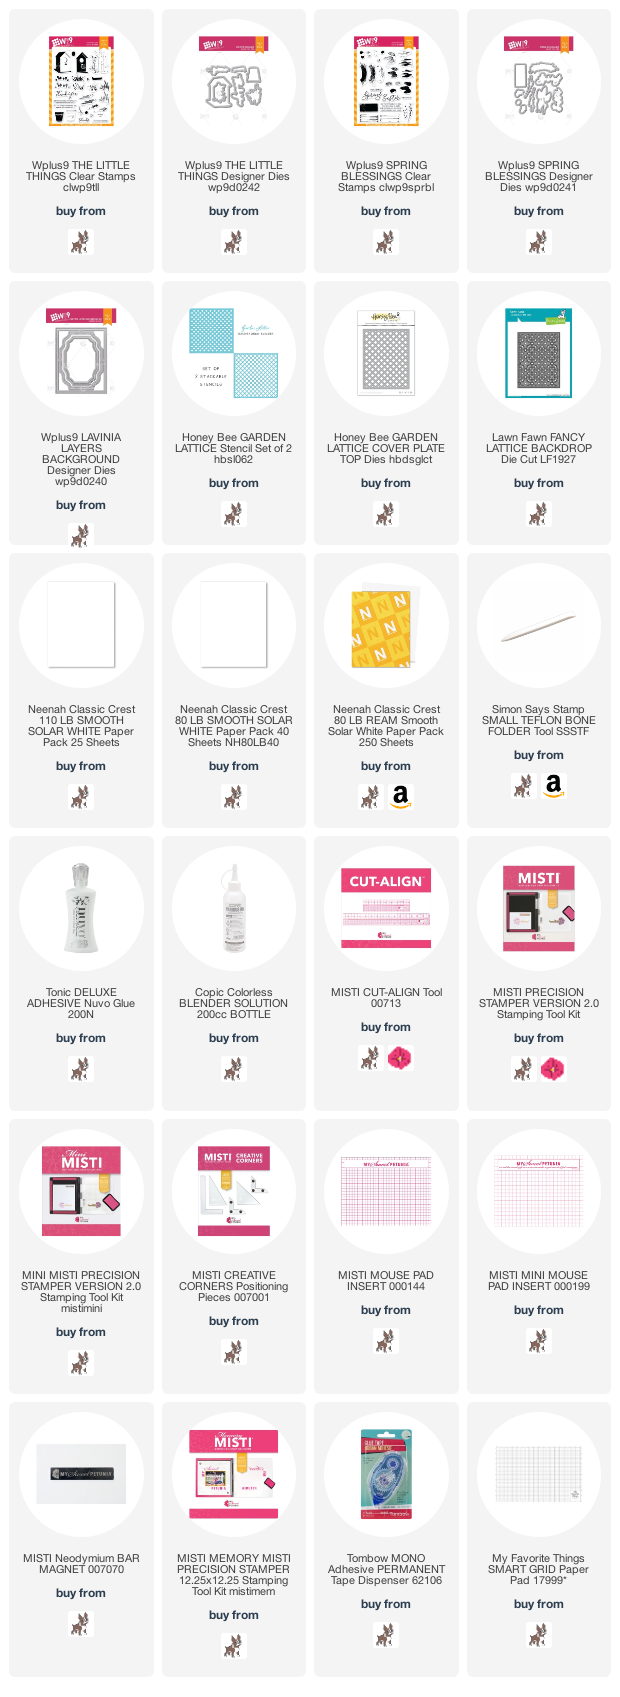
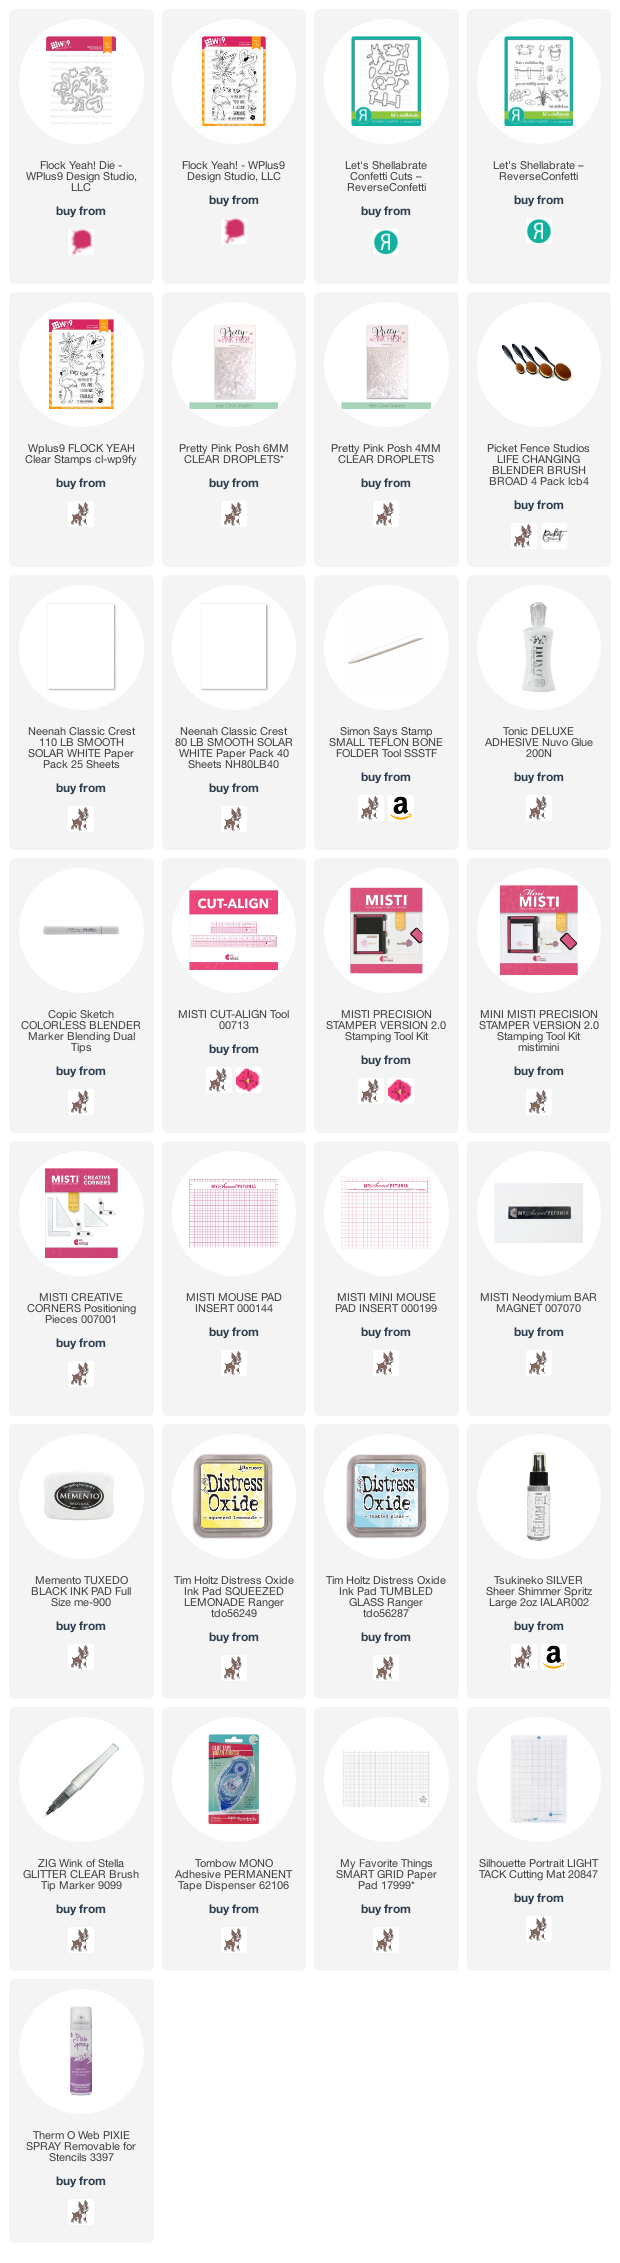
All products are linked below using Affiliate links where possible at no cost to you but a little commission for me when you shop using them.
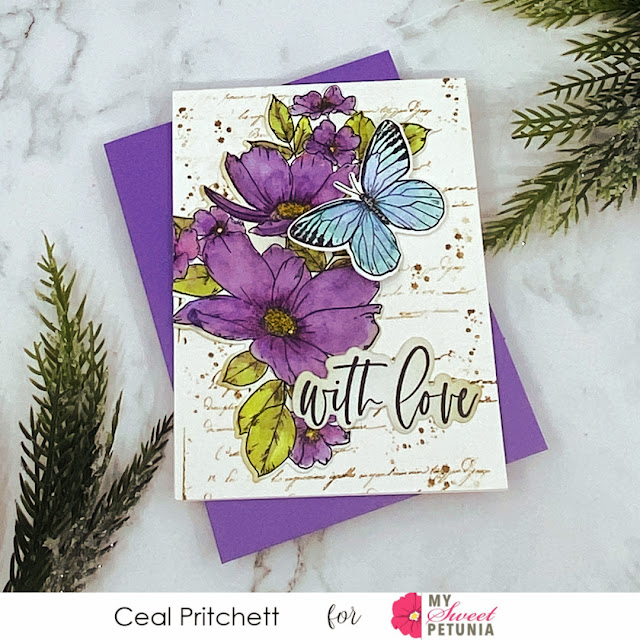
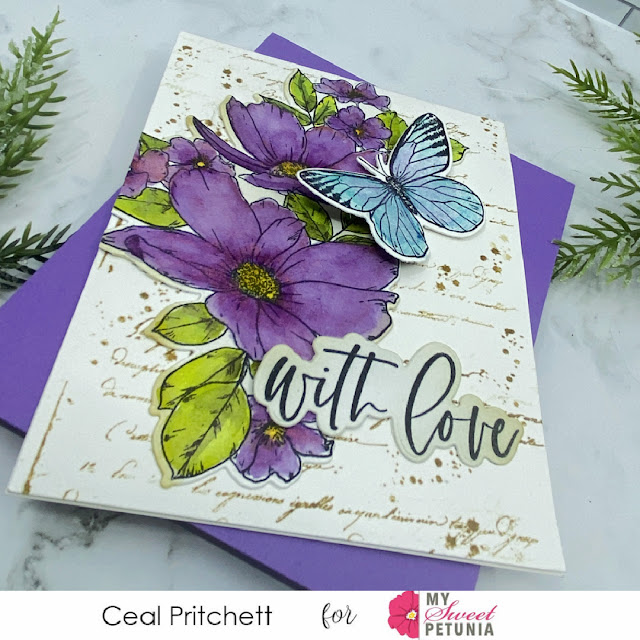
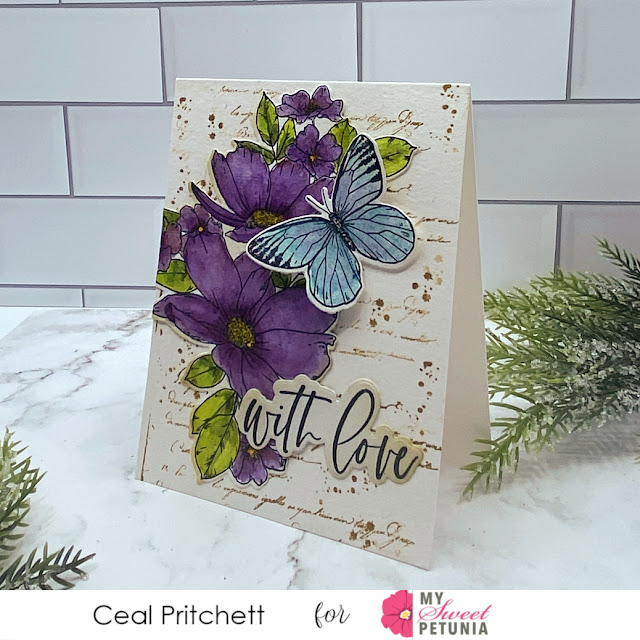
For the main image I used Kind Soul stamped onto Arches 140lb cold press watercolor paper using Fade Out Ink from InkOn3. I did use my MISTI to stamp this about 4 times before my old eyes could see the image enough to paint! I then pulled out my Daniel Smith watercolors and my DaVinci Cosmotop Rounds #4 and #6. Once I felt it was complete, I tried to fit the bouquet as a whole on some sort of interesting background. That wasn't going to happen. So after about 4 hours of painting not including drying time, I cut the bouquet!!!! This allowed me to strategically place each section. I did allow the leaves and blooms to hang off the edges of the card as I will be delivering this card in person.
For the background I used Vintage Script after I had distressed a piece of watercolor paper with Distress Oxides and water splats. The frame was die cut using Postage Layers die set and then a rectangle from Hero Arts Infinity Rectangles. The sentiment is from Flora and Fauna 3.
Thanks for stopping by;
Susan
Products Used:
I am using compensated affiliate links at no further cost to you. I make a small commission on each sale again at no further cost to you.
Hi,
This is Susan on the blog today. I needed to make a very special birthday card for a dear young woman. She is expecting her fourth child so I needed to knock this out of the park. The pink butterfly represents their daughter and the 3 bees are their sons. The third bee, who is not quite here yet, is just tucked under the large "mama" flower. As you can see on the detail shot, I used a lot of 3M Foam tape.
I got out my standard sized MISTI and stamped out WPlus9 Designs Flora and Fauna 3 onto Arches 140 lb cold pressed water color paper. The MISTI is great for water color paper as I often have to stamp 3 times to get the image fully stamped. The MISTI keeps everything lined up until I am done with the stamping. I wanted a no-line look so I used InkOn3 Fade Out ink. I think used my water color palette to color everything in. Most of my paints are by Daniel Smith. The flower color is mostly Quinacridone Coral.
This card and the inspiration for it were from Facebook Lives by Dawn Woleslagle of WPlus 9 Designs. You can find her group here. This card has lots of layers as I was CASEing a card by Dawn. Most importantly, what I learned during that class was another way to make a lot of die cut florals quickly.
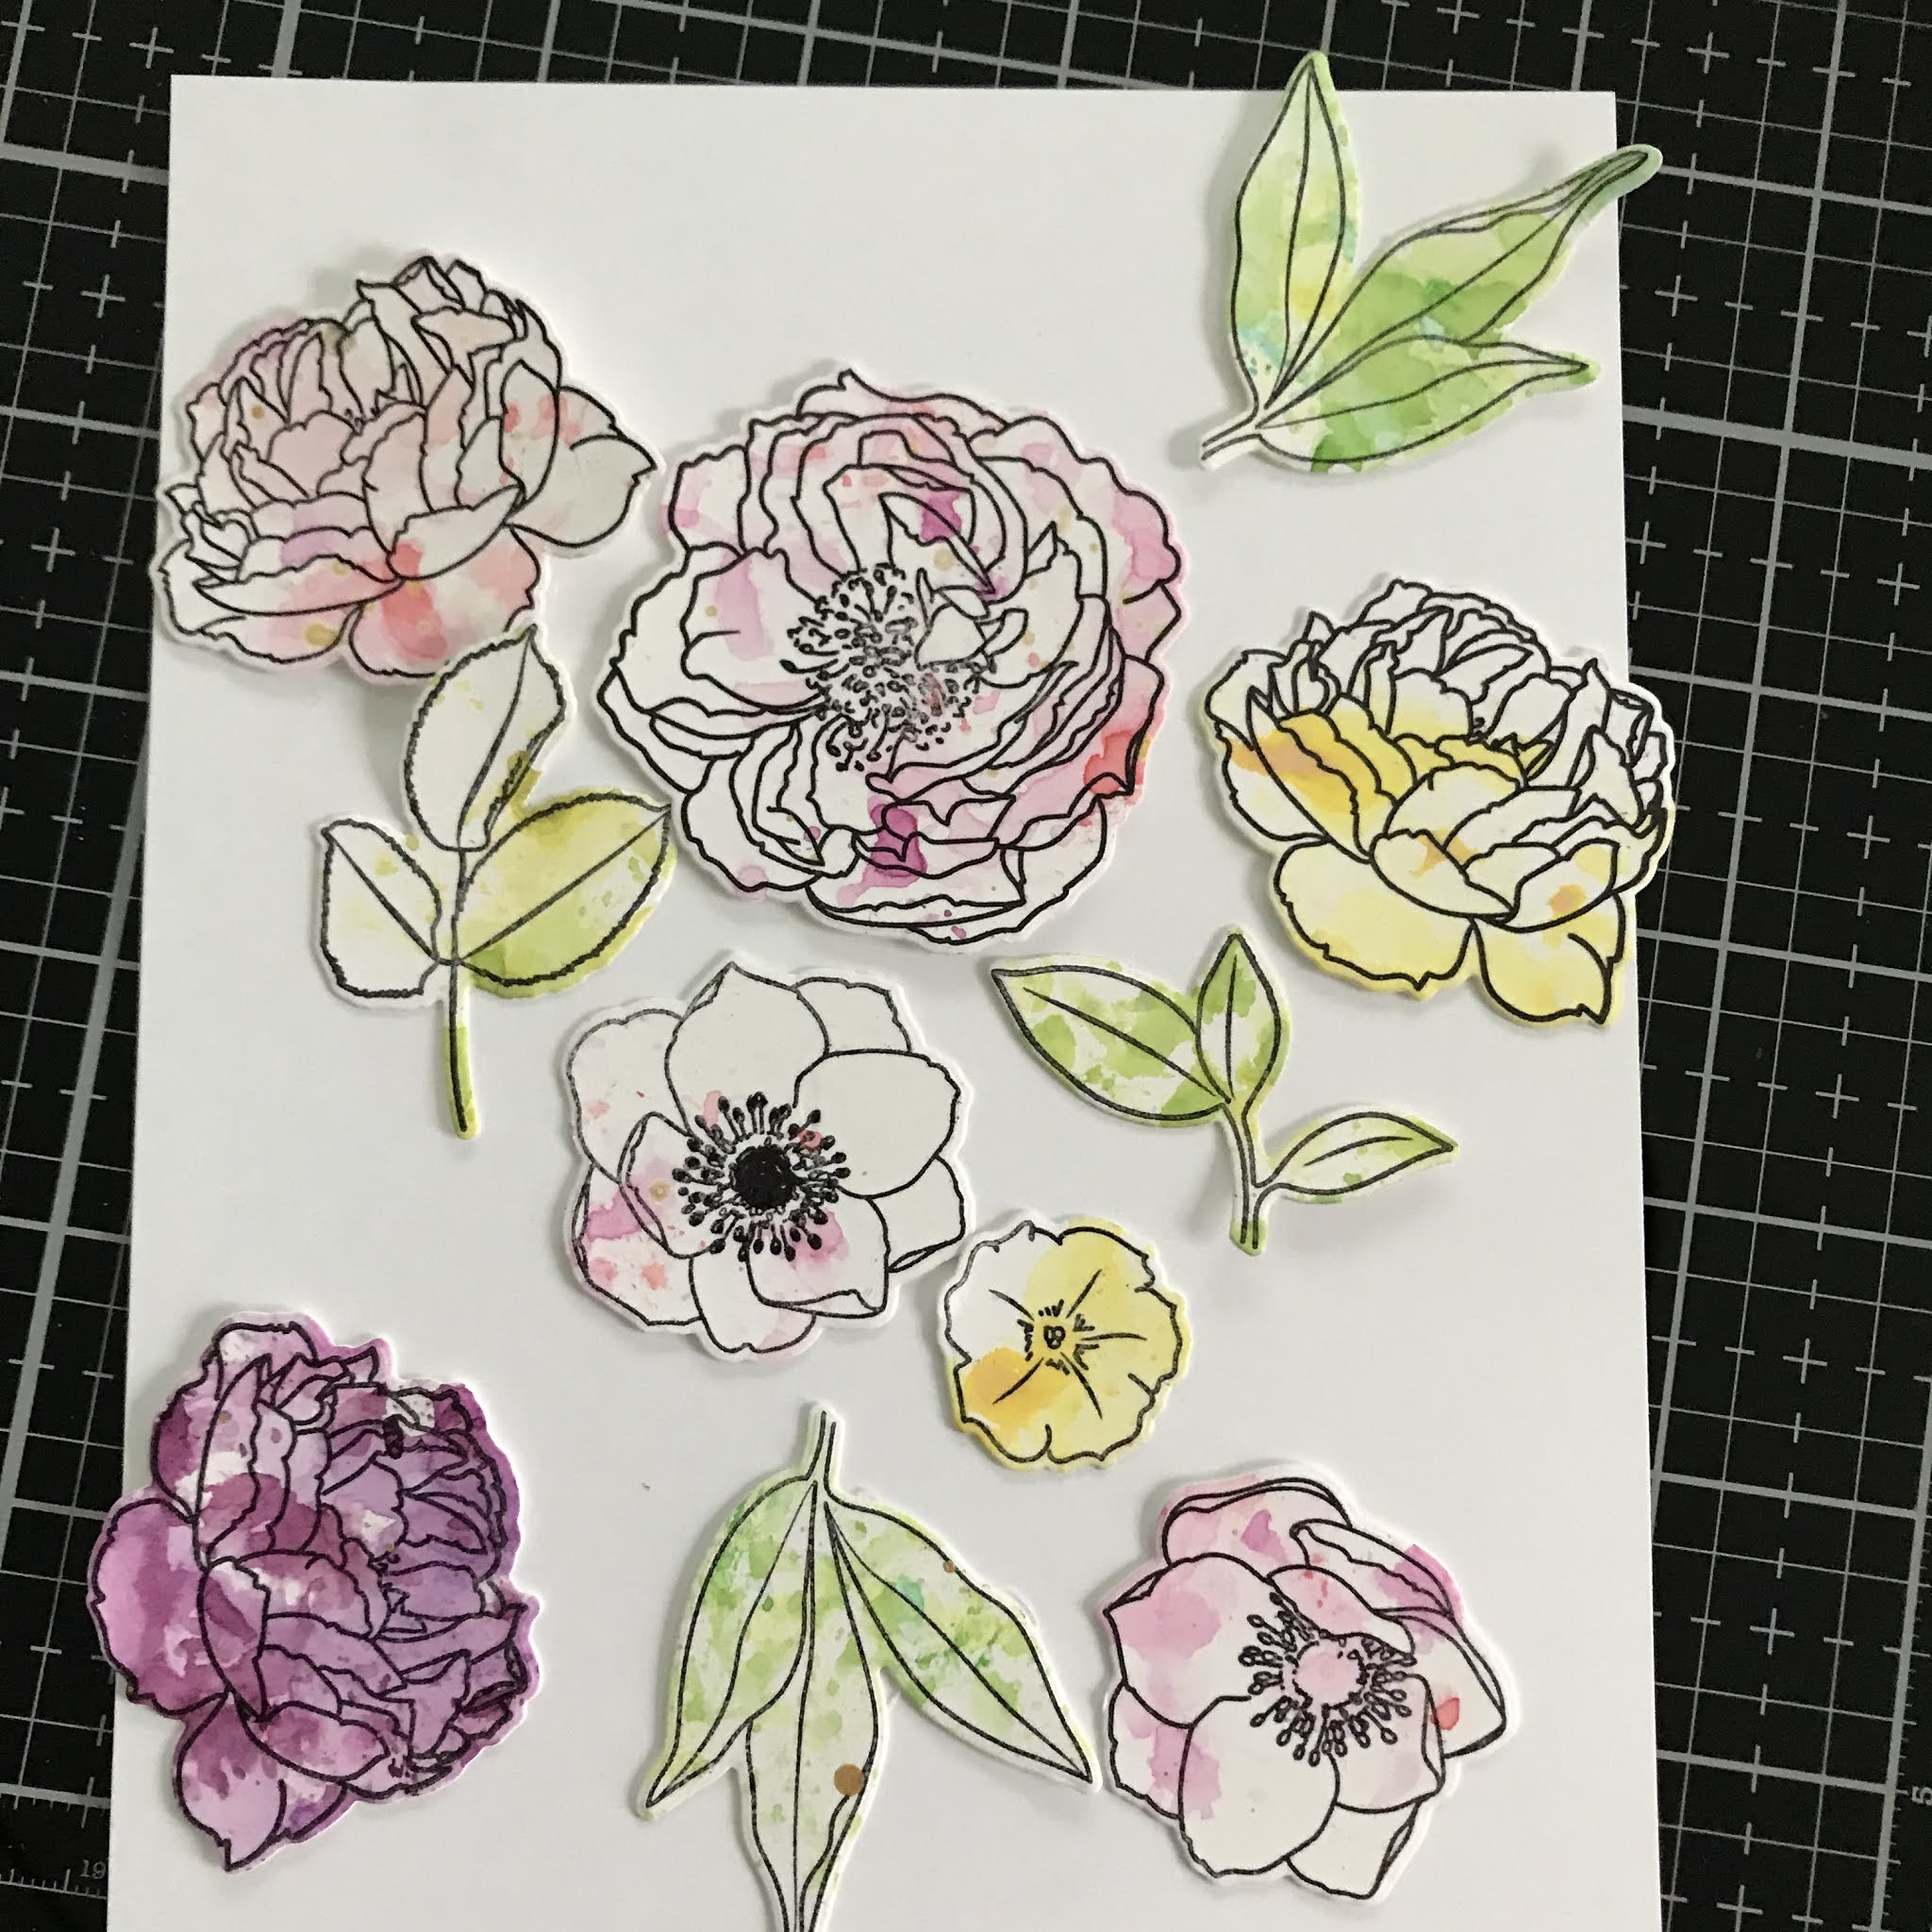
I first made a 6x6 panel of ink smooshing with various similarly colored Distress Oxides or Hero Arts Reactive Inks. I used Vicki Bouton's Foundations paper for all of these panels. I was careful to leave some areas of the paper white or with little to no ink.
Hi, This is Susan up for Team Tuesdays! I have been spending most every Tuesday and Thursday evenings watching Facebook Lives from Dawn Woleslage from WPlus9 Designs. Her group can be found here. I have learned a lot watching the lives and she has a technique for making a jig for layered florals or other images - here. I was doubtful when I started making them but wow it is a game changer!!! I can die cut and stamp so much at one time now. I think in one stamping session I stamped 20 poinsettias and 10 bows and bells!!! That is pretty much a record for me.
To make and use the jigs you MUST HAVE A MISTI. There is no other way to make the jigs and use them properly. I have a picture below which shows my messy jig and my dirty MISTI but both were very busy in the craft room. For each image, I counted the number of layers and die cut that many. I trimmed out the negative images. I then followed Dawn's tutorial. To use the jig just move the die cut through the negative images until you are finished the stamping all the layers. You can see a the final silver bell on the far right.
Colors:
Reds: Abandoned Coral Distress Oxide, Candied Apple Distress Oxide, Fired Brick, smidge of Black Soot with a dauber
Greens: Mowed Lawn Distress Oxide and Peeled Paint
Boughs: Evergreen Bough Distress Oxide and Pine Needles Distress Ink
Silver: White Pigment ink daubed with Hickory Smoke Distress Oxide, Black Soot Distress Oxide, Black Soot Distress Ink
Browns: Gathered Twigs Distress Oxide and Walnut Stain
The background is a mixed media piece using a technique from Lydia Fielder. I applied grey acrylic paint to Neenah 110 lb card stock and let it dry. I then applied a thick layer of Elmer's Glue - yes the stuff we used in school. I allowed this to air dry until tacky. I then applied a layer of white chalk paint. I left this out overnight and probably longer to dry. As it dried the cracks formed making it look like birch bark. I decided though that birch bark was boring. I added splatters of Black Soot Distress Oxide. Then I squeezed some Versamark reinker out onto my craft mat and used a brush to apply dots of ink around the background. I added Wow Metallic Platinum embossing powder and heat embossed. I also heat embossed the edges. Finally, I added some thin layers of Black Soot using a dauber. To add some sparkle to the bough, I added matte medium and Rock Candy Distress Glitter.
Thanks for stopping by;
Susan
Products Used: I am using compensated affiliate links at no further cost to you. My Sweet Petunia supplied the MISTI used in this project. I purchased the remaining supplies myself.