Tuesday, May 25, 2021

Large Floral Card with Channin


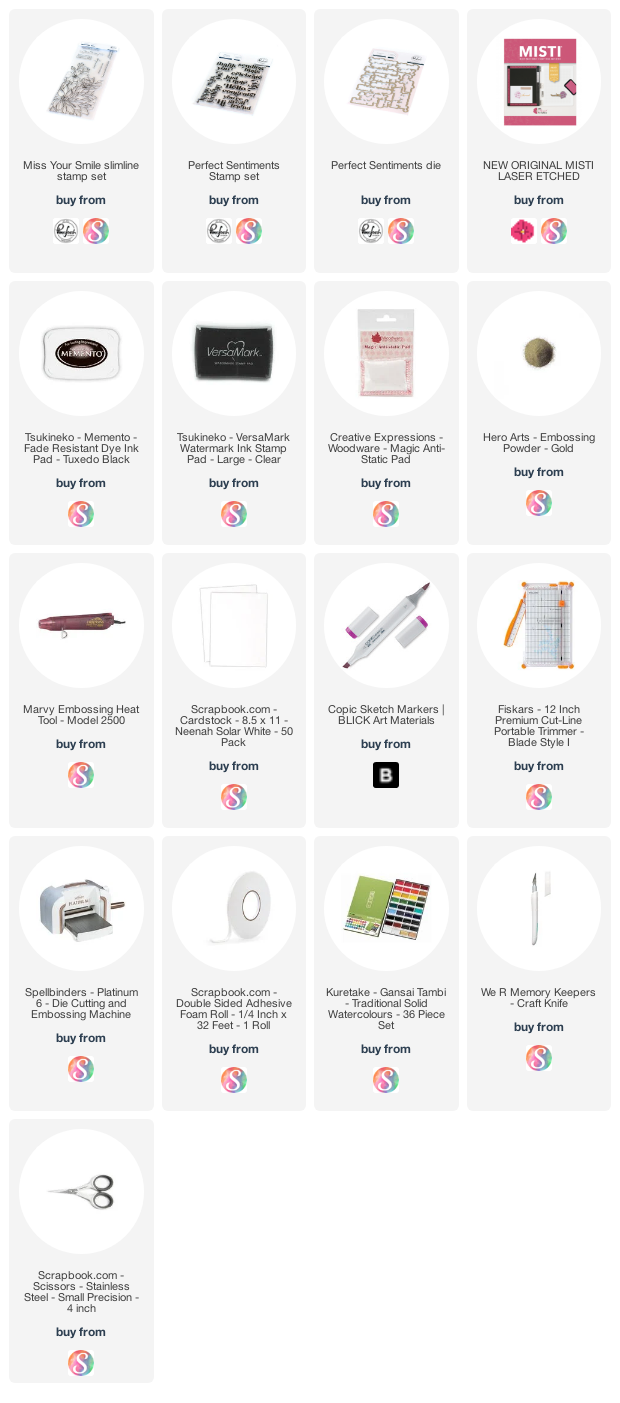
Hello friends! It's Channin here and today I have a floral card to share. For today’s card I use the beautiful but large Miss Your Smile Stamp Set This from Pinkfresh Studio. This set is actually designed to be used for slimline cards but I modified it just a bit to work with an A2 card design.


To create this card I first stamped a large panel of white cardstock with the floral image from the Miss Your Smile Stamp Set in Memento Tuxedo Black. After I stamped the image I then drew in the missing parts with a copic marker and then copic colored the image in.


Dark Pink Flowers: RV25, R85, & R39 

Light Pink Flowers: R20 & R22

Yellow Flowers: Y21 & YR23

Leaves: YG67 & G99


When I finished coloring the image I then fussy cut it out. Next, I stamped and gold heat embossed a sentiment from the Perfect Sentiments Stamp Set. I then die cut the sentiment out with the matching die. 


Next, I splattered gold Gansai Tambi paint over the front of an A2 top-folding white card base. I then finished the card by adhering the flowers and sentiment to the card front with foam adhesive. 


I hope you enjoyed my card! Thank you so much for stopping by!


~Channin


Supplies:

Thursday, May 20, 2021

Sending Smiles

Hello!  Angie here sending you smiles!  
One thing that really makes me smile is creating projects with my MISTI!  I would not want to try to stamp on watercolor paper without a MISTI as this required double stamping to achieve complete ink coverage. I would never have gotten the stamp to match exactly without a MISTI and that would have meant wasted paper and time!
  Once, I stamped the image I used the Misted Watercolor technique.  When using dark cardstock for the card base I like to add a Double Dip Notepaper on the inside.  Not only does it create a nice place to add a sentiment but it lets the recipient know it's ok to pass the card on! Head to the MISTI Shop for MISTIS, fun stamping tools, and more!


If you would like details on the technique I used for this card you can visit me at I Would Rather Be Stamping.  :)  


Tuesday, May 18, 2021

Layering Tulips with Ceal


Hello Everyone! 

It's Ceal here with you for the today's Team Tuesday post. 

Tulips are one of my favorite flowers and when I seen the Stamp/Stencil combo by Unity I just had to have it. This gorgeous set has a cling stamp as well as a layering stencil. 

To make this card I placed the stamp in the Original Misti and stamped it with black ink. Next I layed the stencil over it still having it placed in the corner of the Misti to ensure it stayed lined up. 

I always use the Misti when I craft, whether it's to actually stam or ink blend using a stencil, the Misti is great for all! 

For all the details on my card, head over to my blog Simply Beautiful


Tuesday, May 4, 2021

MISTI How I Love Thee


I honestly cannot craft without my MISTI. From the stamping to arranging of layers and straightening items, I use my MISTI. I most often use my new standard MISTI and my Creative Corners. This card was no exception. 

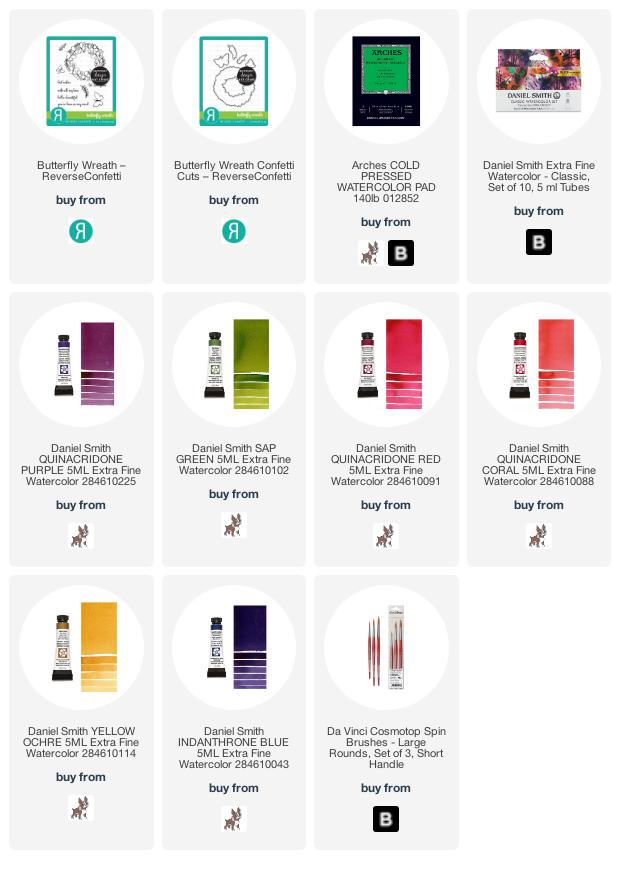
For this card, I stamped Reverse Confetti's Butterfly Wreath and some extra butterflies onto Arches Cold Press watercolor paper using Versafine Onyx Black ink. Because I used the textured side I had to use the MISTI 3 times to get a good image. I also stamped the sentiment in the same manner. 

I fussy cut everything out because I had not purchased the Confetti Cuts for the wreath. For the back panel I trimmed a pieces of Arches to 3 7/8" x 5". I added some water to the panel and just added drops of color. Honestly, I do not even remember what colors I used. I blended them all together and then splattered Lunar Blue and Indio over the panel. I added some of my favorite Pink Fresh Studios clear drops and a pretied bow. 

Thanks for stopping by and leave a comment telling me your fav use for your MISTI;

Susan

Products Used: I am using compensated affiliate links at no further cost to you. 


Thursday, April 29, 2021

To Craft or not to Craft?

 Hi! I am Angie and the MISTI is my favorite stamping tool! I am delighted to share with you my first post as a team member!  

Recently a friend gave me a couple of wreath building stencils so I thought this would be the perfect time to showcase a fun way to utilize the MISTI.  


First, I took three small stamps from the I Work for Watercolor stamp set and arranged them on a corner of a 3 3/4 inch square piece of cardstock.  I closed the lid of the MISTI to pick up the stamps, then inked and stamped.


Then, I turned the cardstock so that the next blank corner was in the top right-hand corner of the stencil.  I inked the stamps and closed the lid to stamp.


Next, I continued turning the paper and inking until I had stamped all four corners.


 I colored the image, then cut it from corner to corner and layered the triangles on black cardstock measuring 3 3/4" x approx 5 1/4" leaving an opening in the middle.  In the middle, I added a sentiment strip with a fun sentiment from Crafty Lifestyle and sprinkled a few Irish Coffee Sequins. You can find lots of wreath-building ideas from Gina K on Youtube!

To visit the My Sweet Petunia site for a full list of products, click HERE!

You can find me at I Would Rather Be Stamping.

Thanks so much for stopping by! 


Wednesday, April 28, 2021

Adding Colour to Your Life with Judy

Hello stamping friends!

Judy here with my first post as a team member and I am excited! Today I am sharing a colorful (or as they say in the UK, colourful!) card using my MISTI and products from Visible Image Stamps (based in Wales).

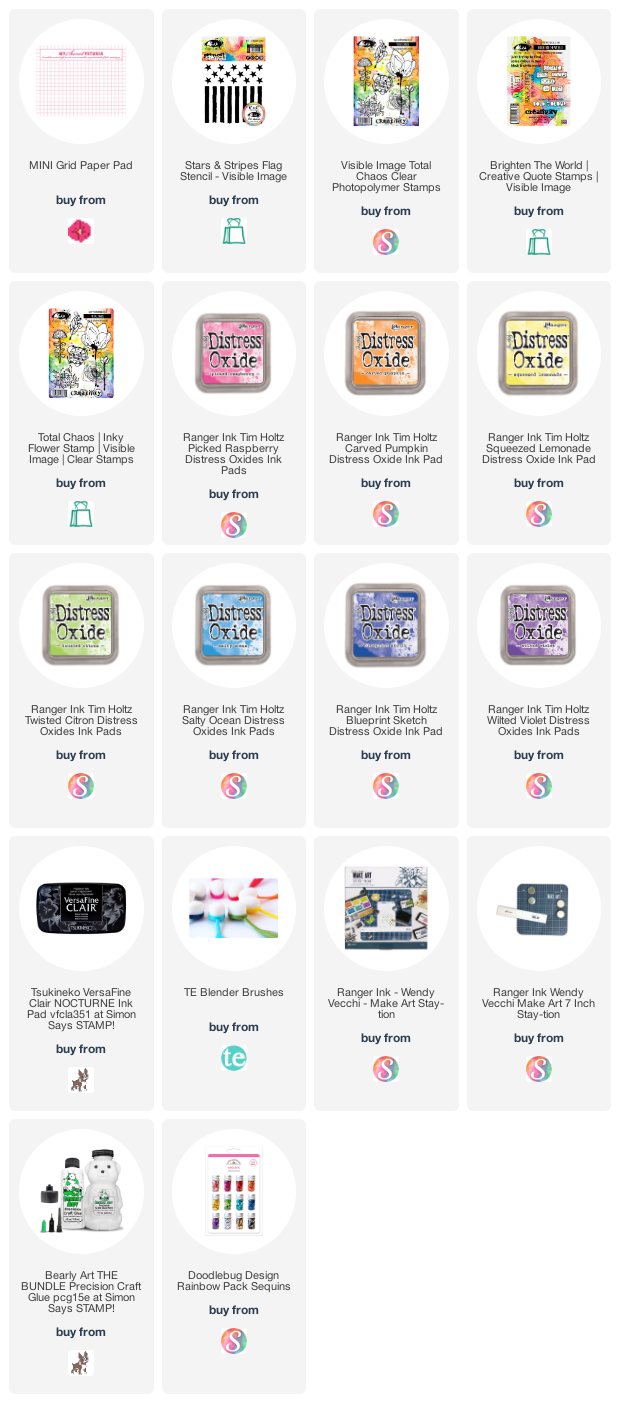
I started off by using the Stars and Stripes Stencil, and a hue of rainbow colored Distress Oxide inks, and blended them through the stencil using a blender brush. I love the edge of the stencil that looks like a little bit of torn paper. It adds some interest to an otherwise "flat" looking surface.  Next I added the sentiment from Brighten Your World and the small flower from Total Chaos. I used my Mini MISTI and stamped each using VersaFine Clair Nocturne (my most favorite black ink!). Finally, I added sequins to match the stripes colors and gave my card a lime green base.
I love having the convenience of a Mini MISTI right on my desk all the time! Not only does it help my stamping to be precise and clear, it helps me keep my card bases straight after the intial scoring. I score the line, then fold with the card bases against the MISTI corner, and then crease with the bone folder. Keeps everything nice and straight!

You can find more of my projects on my blog, Joy in a JAR, and on my Facebook and Instagram too! Thanks for stopping by!


Thursday, April 22, 2021

Coffee and Friends

 Hi everyone,

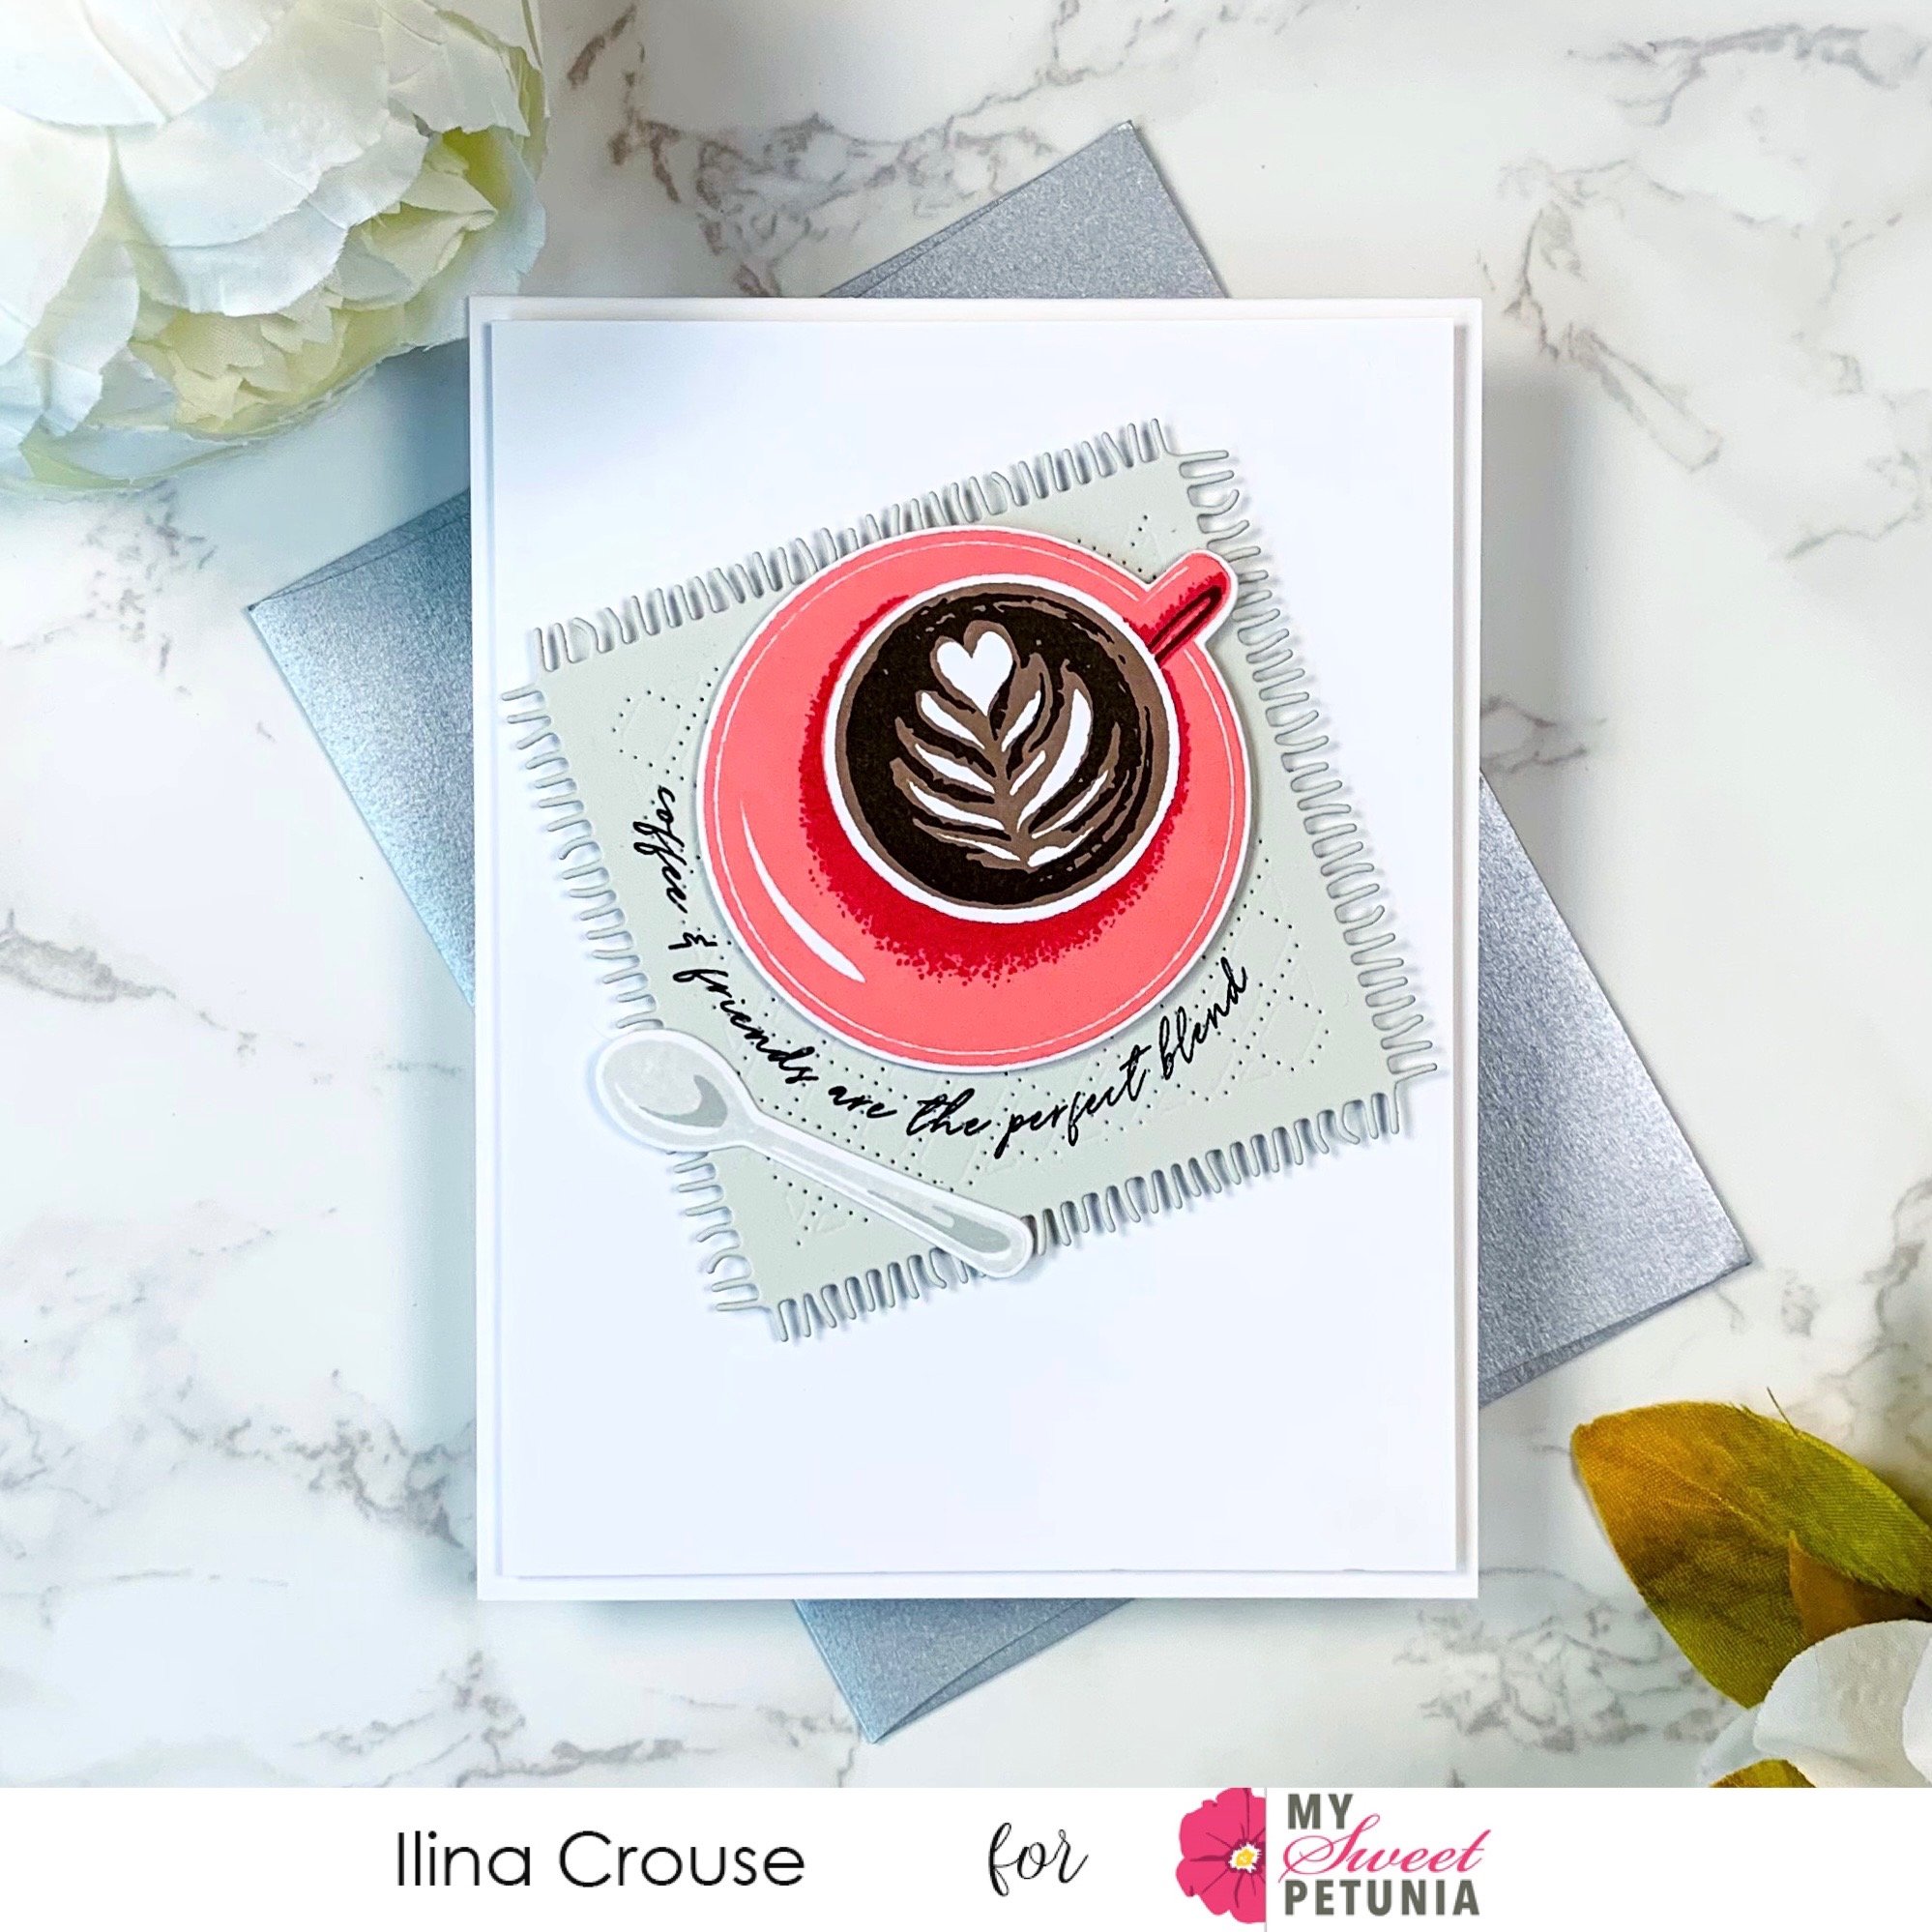
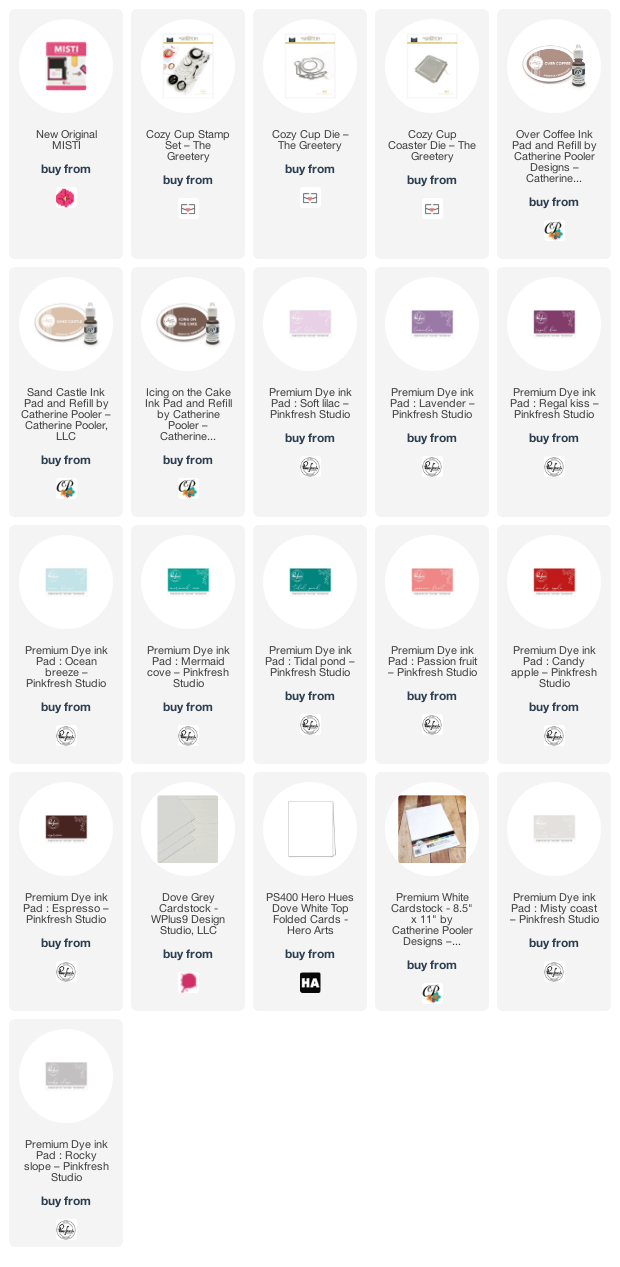
Ilina here. Today I am sharing a set of card using Cozy Cup Stamp set from The Greetery along with the coordinating dies and the Cozy Cup Coaster die.

To make the cards I started by die cutting bunch of the dies from white card stock, also a template of the die cuts to use in my MISTI to mass produce the images. Once I had everything die cut, I positioned my template from the negative die cuts and stamped the images. Usually when I do this technique I stamp bunch of images, way more than needed and save for later use. 

Once I had stamped them, I set them aside. Die cut coasters from Dove card stock and stamped sentiment in black. All I had left to do was to assemble my cards. I made four and saved the rest of the stamped images for later use.