Tuesday, March 12, 2019

Team Tuesday with Stephanie

For today's cards, I had fun using both my MISTI and my Cut-Align with some Technique Junkies Coffee Stamps.

I started by stamping my Technique Junkies Bunch of Beans Coffee Background using three different colors of Brown Versafine Clair Inks onb Ivory Cardstock.  I used the lightest brown in the center and worked my way out to the darkest.  I love how my MISTI makes blending the ink for Ombre Stamping so very easy.


Next I used my Cut-Align to cut my Beans into five strips ... it makes it so easy to get things lined up to cut the same width with all of the various horizontal and vertical lines.  


To keep my strips in order, I numbered them in pencil on the back.  Next I used my Cut-Align and the ruler on my cutting mat to line of up strips 1, 3 & 5 using a repositionable adhesive.  I love the flexibility the longer Cut-Align ruler gives me to position and cut pieces for larger cards.


Next I used my Cut-Align to make sure everything was lined-up top-to-bottom, so everything is perfectly centered on my card base before trimming off the excess kraft cardstock.


Next I used my MISTI to stamp my focal image ... Technique Junkies First Coffee ... in the lightest brown Versafine Clair Ink on Ivory Cardstock.


I used my Cut-Align to cut a perfect mat of brown card stock.


I assembled my finished card with a wrap of Coffee Twine.


For my second card I versed my inking using the darker brown at the center of the Bunch of Beans Stamp.


Next I performed a little stamp surgery to remove the sentiment from my First Coffee image, so I could pair the cute cat with another Coffee Sentiment.  If you cut carefully, it is easy to reassemble the image and sentiment using your MISTI for future stamping.


Back to my Cut-Align for more sentiment trimming.


And with an orange image mat for this one, a second Coffee Bean card was born.


Can't wait to see what backgrounds and sentiments you cut-up with your Cut-Align.


Stephanie Severin

Tuesday, March 5, 2019

Team Tuesday with Chris: Washi Tape ideas

Hi everyone!  It's Chris here with you today for MISTI Team Tuesday.  I have two cards to share with you that give some ideas for using wide washi tape in your cardmaking.

But before we get to the cards, I'd like to announce the winner from last Thursday's Ink Blot Shop and My Sweet Petunia Collaborative Blog Hop:

MadeByMeghanK, 
you are the winner of this awesome Blog Hop prize package from My Sweet Petunia!

An Original MISTI and a set of Cut-Align rulers!


To claim your amazing prize package, email hello@mysweetpetunia.com and put MSP/Ink Blog Shop Hop Winner in the subject line.

Now on to the cards I have to share with you...

Today I am using wide washi tape in my cardmaking. I've used washi tape to dress up envelopes for many years.  Occasionally I've even used it to add a strip of color as a border on a card or tag.  But lately, washi tape has hit the market in wider rolls that open up lots of options to use as a very quick and easy background.  Today I'd like to show you a few possibilities for using as focal images.


For this card, I used the new 4.5" wide, Pink Peonies washi tape from The Ton Stamps to do a bit of paper piecing as if it were patterned paper.

I first applied the washi to a 8.5" x 5.5" piece of layering weight cardstock. Then placed it into my Original MISTI.  I wanted to use the pretty Pink Peonies as a floral gown with the Haute Gala Dress stamp set.  I carefully place the stamp over the patterned areas that I felt best fit my image.  In this case, I chose to use the pink of the large peony as the bodice of the girl's dress.

I picked up the stamp with the lid of my MISTI and carefully stamped with Stazon Cloudy Sky ink.  I needed a solvent ink for it to stick to the coated surface of the washi.   I chose the pale gray as the lines would be dark enough to be able to fussy cut, but still pale enough to not be too obvious on my card.  I carefully inked only the edges of the dress, taking care not to ink up the shading lines on the skirt.

I carefully hand cut out the dress.


I used the other half of my sheet of layering weight cardstock to stamps my girl image again.  This time using Caviar Hybrid ink.  I only focused on inking the upper portion of the image, so I wouldn't have any black showing at the hemline of the dress once I assembled the images together.

I then colored the skin and hair with Copic Markers.


Now here is where my plans changed.  I'd originally planned to use this piece as my card base, but I my wished I'd stamped a background.  Rather than mask over my coloring and attempt to line up a background stamp, I decided to paperpiece all of my image.  I cut out the portion that I'd colored too, to add along with the dress to my finished card.

Since I needed to stamp the whole 8.5" x 5.5" piece of cardstock with a 6" square background stamp, I knew I would need a way to carefully line up the cardstock for the second stamping.  I cut a piece of printer paper 8.5" x 6.5" to make a template.  I removed the Mouse Pad from my Original MISTI to accommodate the depth of the rubber cling stamp,  placed the Geometric Lattice Cling Background stamp and paper in place, and stamped the 6x6" onto that printer paper.  Now I could line up my actual cardbase piece easily by choosing one of the stamped lines to line up my cardbase piece, and securing the cardstock with magnets before stamping with Rose Quartz ink.


After I'd stamped the first impression twice for even coverage, I shifted my cardstock up, extending it outside the frame of the MISTI, and used the stamped lines on the template and the first stamping to match up the repeating pattern.  I secured the cardstock in place with my magnets so I could stamp the remainder of the cardstock,  continuing the pattern seamlessly.


Now I was able to score and fold my cardstock and assemble my paperpieces.  I made sure to score the dress piece prior to glueing, so it would fit well at the fold when the card was closed, then I secured the pieces with liquid glue when the card was folded shut.  Lastly, I added the greeting with Soft Garnet ink.

My second card also uses the washi tape as a focal image.  This time I used the 3.5" wide Wildflowers Washi Tape over a layering weight cardstock.  I loved this larger peony and rose image, so I die cut a small square that featured just that portion using a Double Stitched Square die.


I found a piece of Bazzill cardstock that I felt worked well with the greenery and cut a small layering mat for my focal square.


I loved the subtle texture of the Bazzill and decided to continue that on my background.  I used the Fresh Linen Cling Background Stamp and Crystal Pewter ink to create a subtle background on my cardbase.


I adhered my washi focal image at an angle to my cardbase with liquid glue, then cut out the Fabulous Word Die from the same Bazzill cardstock. Once I'd removed it from the die, and had reshaped the word, I used a placed a strip of Glad Press'n Seal over the front of the diecut to hold the shape and to be able to pick it up easily without stretching the delicate diecut out of shape again.


After carefully adding tiny dots of liquid glue to the back of the die cut, the Press 'n Seal allowed me to place the die cut, and once the glue had set a few seconds, I was able to peel it away.


My last portion of my greeting is a sentiment strip with the line from Seriously Amazing Sentiments.  I stamped it onto a small piece of white cardstock, then used the Cut-Align and a #15 Pen Blade to easily trim it down to a very narrow strip that I could add to my card.


Thanks for hanging out with me today!  Enjoy your week!
Happy stamping!

Monday, March 4, 2019

A Delayed Team Tuesday with Jeanne

Happy Monday!

I have a card to share today using some fun stamps from Picket Fence Studio! 
I just love this quirky flamingo stamp set. It's called That's Flocking Great. 


I made my background using Color Burst and then when it was completely dry I used a 
stencil (Marvelous Masks Heart) to add a heart shape with a Life Changing Blender Brush in pink.


Next I used my Mini MISTI to stamp the Flamingo.


I stamped my sentiment on my Mini MISTI and cut with my Cut-Align ruler (I used the 6 inch)


Perfecto!

I colored my flamingo with Arteza Real Brush pens and then cut out with scissors. 
I assembled my card and then added Nuvo Glow drops to the accent the heart. 


Products used:

Have a great day!
Jeanne

Saturday, March 2, 2019

Stuck On You


We have had a horrible winter and I have been dreaming of warmer weather.  Unfortunately, this is as close as I am going to be until vacation time.  I pulled out the Stuck on You stamp set  and the Barnwood Background from Concord & 9th.  I also used the Unity/Brutus Monroe background called Barn Wall.  At first, I was planning to use Copic markers to color in the Cacti, but my mid-tone color was dry.  I had to think of another way to add color.


I had not made anything with my alcohol inks.  So I decided to pull out three different shades of green and see what I can come up with.    Since it had been a while since I had seen a demo or used them, I just winged it.  You will see from the video that I ended up changing my mind a couple of times.


For the clay pot, I just used two different shades of alcohol ink.  Once I had my alcohol panels done, I stamped out the image with Staz-on Ink.  I ended up fussy cutting the images and adding foam tape to the back.   For my background,  I ended up using Distress Inks to distress the panels. 


I hope you enjoy the video below.  It has proof that cardmaking can end up taking you a different route than when you started.  If you have any tips for me on how to use alcohol inks, please leave me a comment.  Thanks for stopping by!


Affiliate links to supplies used:

Thursday, February 28, 2019

No-Line Florals + Ink Blot Shop & MISTI Giveaway

Hey everyone - I'm a guest on the blog today with a no-line watercolor project for you. 

This gorgeous border set came out today and I knew it's going to be a go to for cards AND for envelopes, so I'm bringing you one of each. 

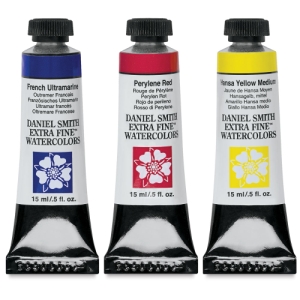
I stamped the image in Fadeout ink, and watercolored it with Daniel Smith watercolor before adding the sentiment in Nocturne.

The envelope is easy in the MISTI, because these beautiful Key Lime envelopes are ever so slightly tapered on either side of the flap. So you can open the flap and square the envelope up in the corner of the MISTI, and be able to have this stamp hang off either edge if you want to. It's kind of fun to see these side by side - the nice crisp lines of the image with the softer, watercolor look. It's quite versatile! The card base is Key Lime as well. She sells pre-cut cardstock, which is my favorite. More time to stamp.


Ink Blot Shop Clear Stamp Set...
[ SSS | INK ]
Heavy Base Weight Card Stock- Key Lime
[ GNK ]
Envelopes 10 pack- Key Lime - Gina K...
[ GNK ]
Fadeout No Line coloring Detail Ink
[ INK ]
VersaFine Clair Ink Pad, Nocturne -...
[ ELH | SSS ]
Daniel Smith Extra Fine Watercolors
[ BLIC ]
Escoda Versatil Brushes, Travel Round...
[ UTR | BLIC | INK ]
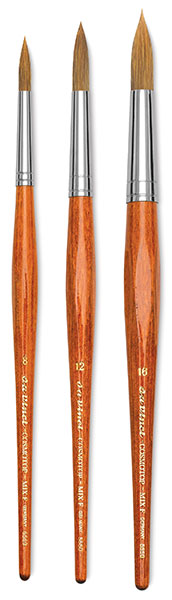
Da Vinci Cosmotop Sable Mix F Brushes...
[ BLIC | ELH ]
Fabriano Extra White Cold Press...
[ BLIC ]
MISTI Stamping Tool
[ MSW | HA | SSS | ELH | MFT | UNT ]
Cut Align
[ MSW ]
Lawn Fawn STAMP SHAMMY Cleaner LF1045
[ SSS | ELH | CST | ART ]
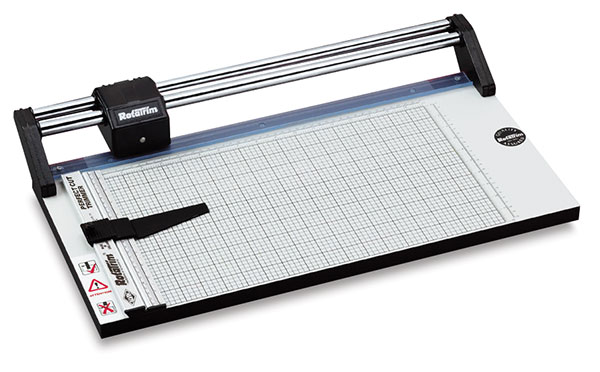
Rotatrim Professional Series Cutter -...
[ BLIC ]
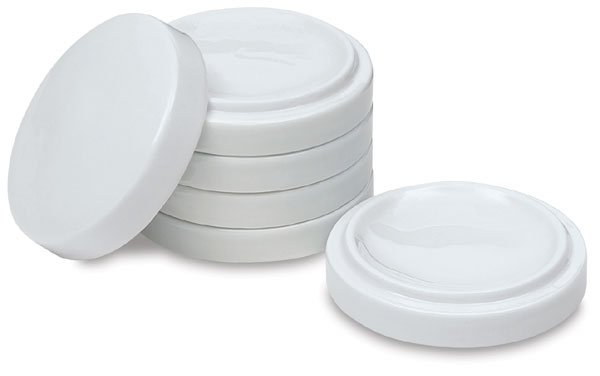
Nesting Porcelain Bowls - BLICK art...
[ BLIC ]
My Favorite Watercolor Sketchbook
[ UTR ]
Tombow MONO MULTI Liquid Glue Two...
[ SSS | MFT ]
LightView 2in1 LED Magnifier for...
[ BRG ]


The girls on the My Sweet Petunia design team are collaborating with Ink Blot Shop for this release, so we have lots more inspiration for you below.

But of course we have giveaways too! Tifany is giving away these stamp sets to one lucky commenter:


We will be giving away a MISTI and a Cut-Align to another lucky commenter! Winner of our bundle will be announced on our blog on Tuesday, March 5th.

Here's the full hop list today - have fun!