Showing posts with label Technique Junkies. Show all posts

Tuesday, March 12, 2019

Team Tuesday with Stephanie

For today's cards, I had fun using both my MISTI and my Cut-Align with some Technique Junkies Coffee Stamps.

I started by stamping my Technique Junkies Bunch of Beans Coffee Background using three different colors of Brown Versafine Clair Inks onb Ivory Cardstock.  I used the lightest brown in the center and worked my way out to the darkest.  I love how my MISTI makes blending the ink for Ombre Stamping so very easy.


Next I used my Cut-Align to cut my Beans into five strips ... it makes it so easy to get things lined up to cut the same width with all of the various horizontal and vertical lines.  


To keep my strips in order, I numbered them in pencil on the back.  Next I used my Cut-Align and the ruler on my cutting mat to line of up strips 1, 3 & 5 using a repositionable adhesive.  I love the flexibility the longer Cut-Align ruler gives me to position and cut pieces for larger cards.


Next I used my Cut-Align to make sure everything was lined-up top-to-bottom, so everything is perfectly centered on my card base before trimming off the excess kraft cardstock.


Next I used my MISTI to stamp my focal image ... Technique Junkies First Coffee ... in the lightest brown Versafine Clair Ink on Ivory Cardstock.


I used my Cut-Align to cut a perfect mat of brown card stock.


I assembled my finished card with a wrap of Coffee Twine.


For my second card I versed my inking using the darker brown at the center of the Bunch of Beans Stamp.


Next I performed a little stamp surgery to remove the sentiment from my First Coffee image, so I could pair the cute cat with another Coffee Sentiment.  If you cut carefully, it is easy to reassemble the image and sentiment using your MISTI for future stamping.


Back to my Cut-Align for more sentiment trimming.


And with an orange image mat for this one, a second Coffee Bean card was born.


Can't wait to see what backgrounds and sentiments you cut-up with your Cut-Align.


Stephanie Severin

Tuesday, January 15, 2019

Team Tuesday with Stephanie

The MISTI is fantastic for mass producing cards ... today I used it to combine multiple stamps for background stamping.  My snowflakes and sentiments are from Technique Junkies Snowflakes Set (you can use my code TJ10Stephanie for 10% off anything in the Technique Junkies Store).

I positioned the snowflakes to cover my watercolor panel, and then inked-them with Gina K. Designs White Pigment Ink.  I used my Creative Corners, Bar Magnet and Round Magnet to hold my paper in place and allow the snowflakes to overlap the edges of the paper.


After I inked, I clear embossed the background. My next step was to spray the backgrounds with Shimmering Bliss Spray for a resist technique.  I've used the same long cardboard box for spraying for years.  The one on the left is Ocean Depth and the right is Lapis Lazuli.


After the Shimmering Bliss Spray dried, I began assembling my cards.  I love the gorgeous shimmer with my snowflakes.  This one used Dolphin Cove Spray on the background and my punched snowflake.


I added a large felt snowflake and sticker sentiment.

I'm linking this card up at Just Us Girls Emboss Resist Challenge.


The MISTI also allows me to stamp the group of sentiments from the Technique Junkies Snowflake Set all at the same time, emboss at the same time, and then trim ... speeding-up the process.


For my next card, I used this week's  Fusion Card Challenge Inspiration Photo & Sketch for my card.


Since one of the sentiments said "A Snowflake is Winter's Butterfly", I thought it would be perfect.  I pulled in the vibrant colors from the photograph to create my card.

I embossed my pink panel with more snowflakes and added a snowflake punched from watercolor paper for my accent.


Next I used this week's TGIF Challenges Sketch for my design.


I combined the Dolphin Cove Colored Background with three shades of brown ink inspired by the cozy inspiration photo from the January Elemental Challenge at Daring Cardmakers.


I wrapped my card with a variegated brown twine and then added some gems to the centers of my punched snowflakes. 


Another way to do a MISTI background is use a single stamp and move the paper around in the MISTI.  I did that with the Large Snowflake.


For this one I sprayed it with Mardi Gras Purple Shimmering Bliss ... how pretty is that purple.  I combined it with some lighter purple cardstock to let the background shine.

I hope I've given you some ideas about how to create backgrounds with your MISTI ... go forth and STAMP.


Stephanie Severin

Tuesday, September 25, 2018

Team Tuesday with Stephanie

Today I'm sharing one of my favorite MISTI Techniques. I like to stamp multiple times with various colors of ink to *paint* a large image ... today I'm using the new Autumn Blessings image designed by Janine Tinklenburg from Mitten State Stamps exclusively for Technique Junkies.

The current Technique Junkies Challenge is to create using *HOT* Colors.  My favorite hot colors are found in the palette of Autumn Leaves ... my favorite time of the year.  


I started by inking the edges of the tree trunk with VersaFine Clair Pinecone Ink.


I use watercolor paper because it works well for the multiple layers of stamping, but any cardstock will work.  

To get a similar effect prior to the MISTI, I had to color the entire stamp with ink or markers (and then huff and huff to make sure all of the inks were wet enough to stamp).  

Being able to layer on each color with multiple inkings with my MISTI makes it so much easier.


Next I used VersaFine Clair Acorn ink to color the inside of the tree trunk.


I started with the lighter *hot* colors to *paint* my leaves.


First I stamped with Cheerful and then with Verdant.


Next I added lots of Tulip Red including the sentiment.


I finished with Summertime Orange making sure I got the entire frame inked as well as that tiny leaf hiding up there between the tree trunks.


While I had my stamp & MISTI set-up, I went ahead and created a second card.  


For this one I used one of the Browns on the sentiment and a little more brown ink on the frame.


I just love this stamp ... it reminds me so much of the Autumns growing-up in the Missouri Ozarks.

Remember, you can use my Discount Code TJ10Stephanie for 10% off anything in the store (the store is also carrying the wonderful Versafine Clair Inks that I used for my projects).


Stephanie Severin

Tuesday, July 17, 2018

Team Tuesday with Jeanne


Hi! Jeanne here today.
I have an easy technique card to share today using my Mini MISTI.


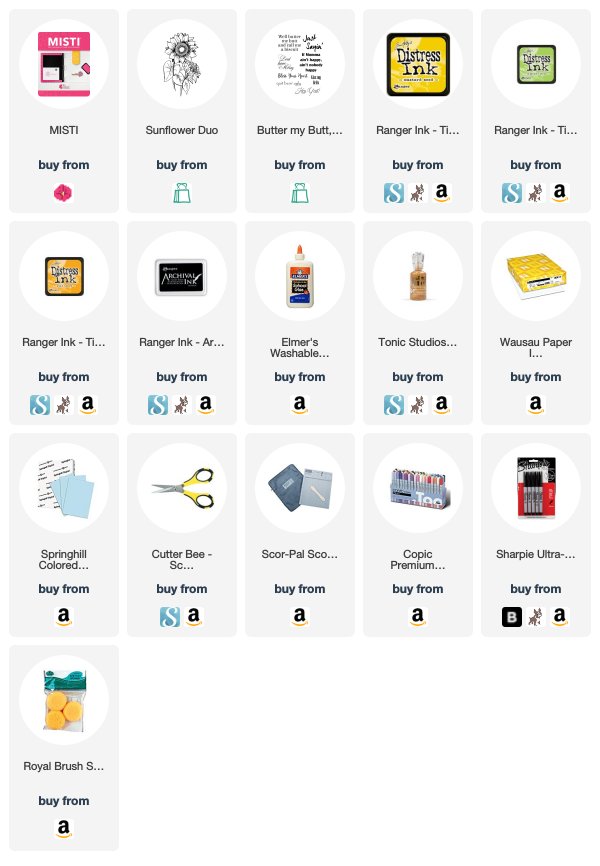
Products used (see links below):
white glue
cardstock (white and light blue)
craft sponge 
inks (Distress inks or dye inks)
MISTI (or Mini MISTI)
Nuvo Glitter Drops Golden Sunset
black fine pen


I used a fun technique called Distressed Glue to make my background. 
Sponge at least two colors of lighter ink on your cardstock. I used Ranger Distress Mustard
 Seed and Twisted Citron for my project. You can add ink in any pattern you like.

Spread white glue onto your sponged panel. Leave some spaces open. You can make a
pattern or just smear it on. I squirted a few lines straight from the bottle and smeared it
 across my paper with a scrap piece of cardstock.


Once your glue is dry (mine took about an half hour) sponge a darker color over the panel. 
I used Ranger Distress Wild Honey for my card. Wipe off extra ink.


Using my MISTI Stamp Tool I stamped the sunflower (Sunflower Duo
and  colored and restamped to bring out the details in the outline (always leave 
your stamps in the MISTI until after you've colored! 

I also stamped the Bless Your Heart sentiment from Butter My Butt (set of 8)


Here's a closer look at my finished card.


Want a discount? Use code TJ10Jeanne for 10% off at Technique Junkies!

Have a great day! Jeanne

Tuesday, June 5, 2018

Team Tuesday with Stephanie

Today I'm having fun with Vicki Boutin Crayons, Technique Junkie Background Stamps and my MISTI.

If you'd like to purchase any Technique Junkie products, you can use my discount code TJ10Stephanie at checkout for 10% off your order. (except the new June release, which are already 15% off through the 8th).

Using my MISTI makes it easy to create fun water-colory backgrounds.


I started with my MISTI, Watercolor Paper, Technique Junkies Stencil Rings Stamp, blue Vicki Boutin Crayons, and a spray bottle of water (one that has a fine mist is best).


I colored the background stamp, spritzed with water and stamped.  


I added a bit more color and stamped a second time to get the blend I wanted.  This technique works best with looser, more abstract stamps that are more forgiving.


The front of my card has some Color Burst Watercolored paper together with one-of-two Inside Out Live Forever Sentiments together with the Birthday Cat.

The inside sentiment with a strip of the Color Burst Paper is:


My second card uses the same TJ Stencil Rings Stamp with Greens.


Same water-spritzing and stamping with my MISTI (I got this one a little wetter, which causes the rings to spread a bit more for a slightly different look).


Even though the Inside Out Forever stamps are made to go on the inside & outside of the card, I also think it works well to include both sentiments on the front of the card like I did with this design.


I stamped the tequila glass from Technique Junkies Call the Girls and trimmed it to use as the embellishment on my design.  I used a light green marker to color the lime.

My final card uses the Technique Junkies Paint Rings Background Stamp with Red, Pink and Orange Crayons.


The circles reminded me of baseballs, so I used Versafine CLAIR Nocturne Ink to stamp the Technique Junkies Swing for the Fences Baseball Glove on top of the Paint Rings.  I stamped my coordinating sentiment in Mandarin Spice to pull a bit more orange into my design.


I matted my watercolored piece on black cardstock for my finished card.


This technique will also work with Fiber Castell Gelatos (and possibly other medium too ... let me know if you try one with your MISTI ... I'd love to see it).


Stephanie Severin