Ilina here today sharing super fun card using some Concord and 9th goodies.
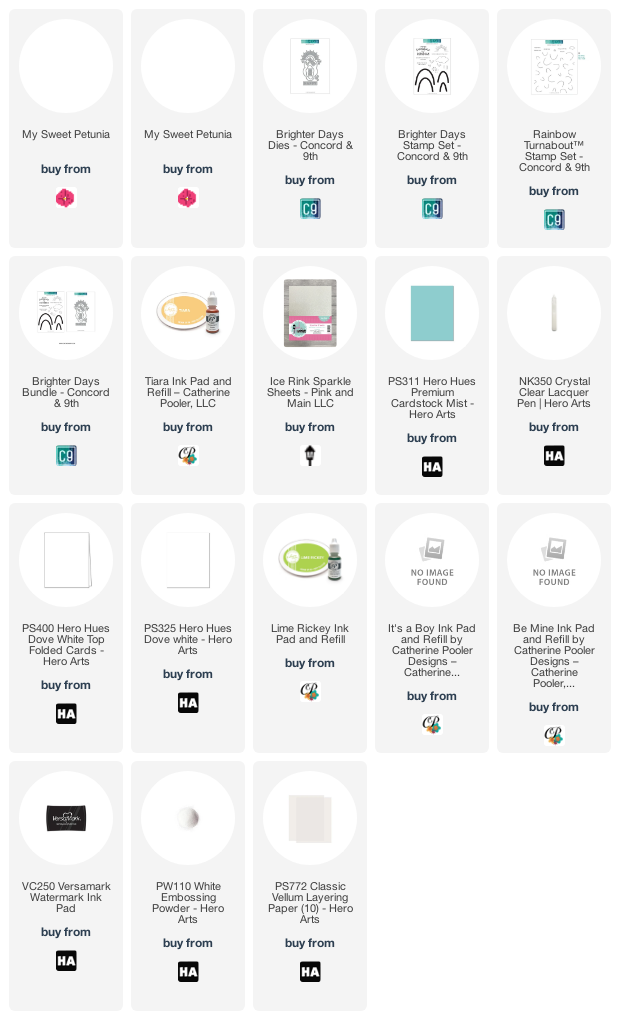
I am using the Rainbows Turnabout set along with Brighter Days set and dies.
To make the card start by creating the background using the Rainbows set and your MISTI. I used Tiara, Lime Rickey, It's a boy and Be Mine inks. Set aside. Stamp sentiment on light blue card stock and emboss in white. Die cut. Also die cut the sun rays, clouds and hearts. Assemble the panel and adhere to a top folding white note card using some fun foam.
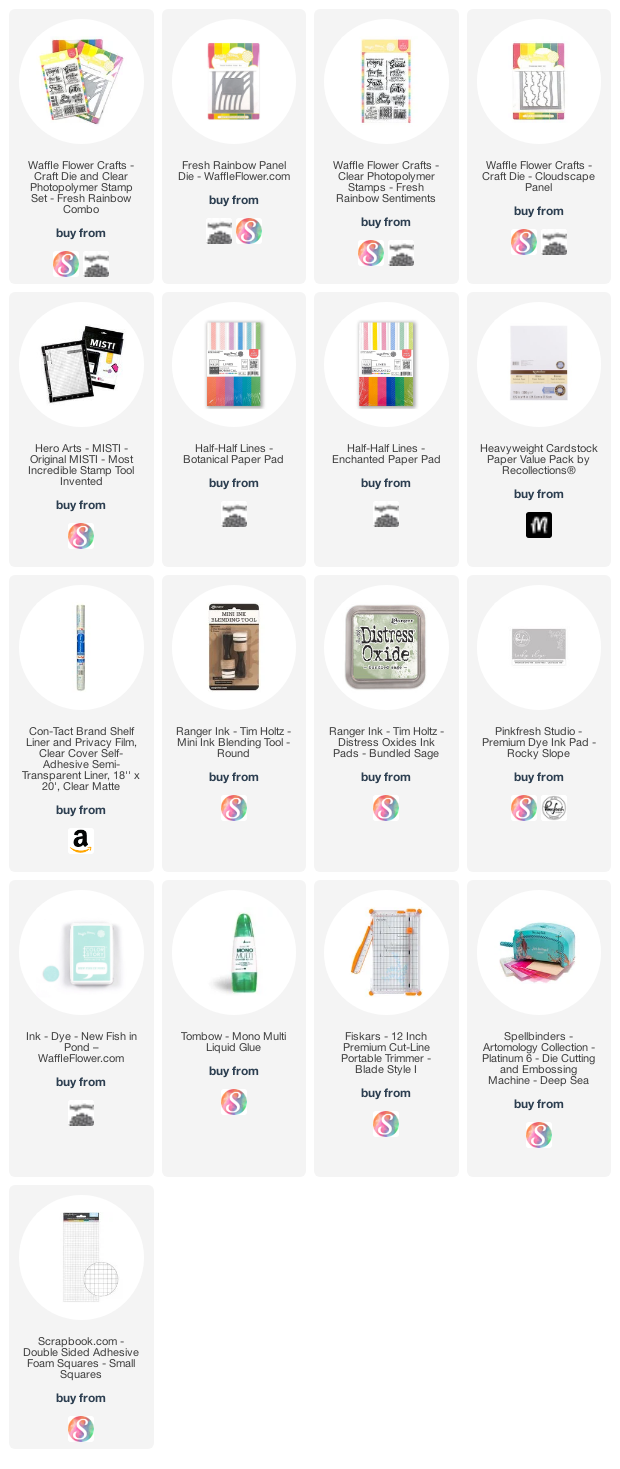
Hello friends!! It's Channin here with a bunch of cards to share! Today I create a group of cards with Waffle Flower Crafts Fresh Rainbow Combo Set. This set is perfect for our current times and because of that I decided to create a simple mass production card design with this set.
To create these cards, I first die cut five A2 panels of pattern paper with the Fresh Rainbow Panel Die and saved all the pieces except for the two negative pieces above and below the rainbow. I then die cut five A2 panels of white cardstock also with the Fresh Rainbow Panel Die but discarded the negative for the rainbow stripes. Next, I ink blended over the two negative pieces above and below the rainbow from all the white cardstock panels in Bundled Sage Distress Oxide with a mask I created out of contact paper with the Cloudscape Panel Die.
I then adhered the white rainbow frames onto five A2 top-folding white card bases. Next, I inlaid the pattern paper stripes, a different color for each stripe, for the rainbow and the ink blended sections. I then finished these cards by stamping a sentiment from the Fresh Rainbows Sentiment Stamp Set in Rocky Slope Ink.
I also created a sixth bonus card with the pattern paper frame scraps. I first adhered all the pattern paper frames together but each one slightly off-set. Next, I die cut one more fresh rainbow panel out of white cardstock and stamped a sentiment from in New Fish in Pond.
I also ink blended the top and bottom negative portions of the panel with the cloud mask and New Fish in Pond. I then trimmed off the overhang and added foam tape to support areas of the frame. Next, I adhered the stacked panels onto an A2 top-folding card base. Lastly, I finished the card by adhering the ink blended sections.
I hope you enjoyed my cards! Thank you so much for stopping by!
Welcome everyone! Today I'm sharing a card using a turnabout stamp from Concord & 9th that has been begging to be played with!
Turnabout stamps are great to pull out if you feel like you lost your mojo, which is where I've been lately. They make it easy to create a full background. All you need to do is pick out some colors.
The Original Misti stamping tool is quite essential when using the Turnabout stamps.
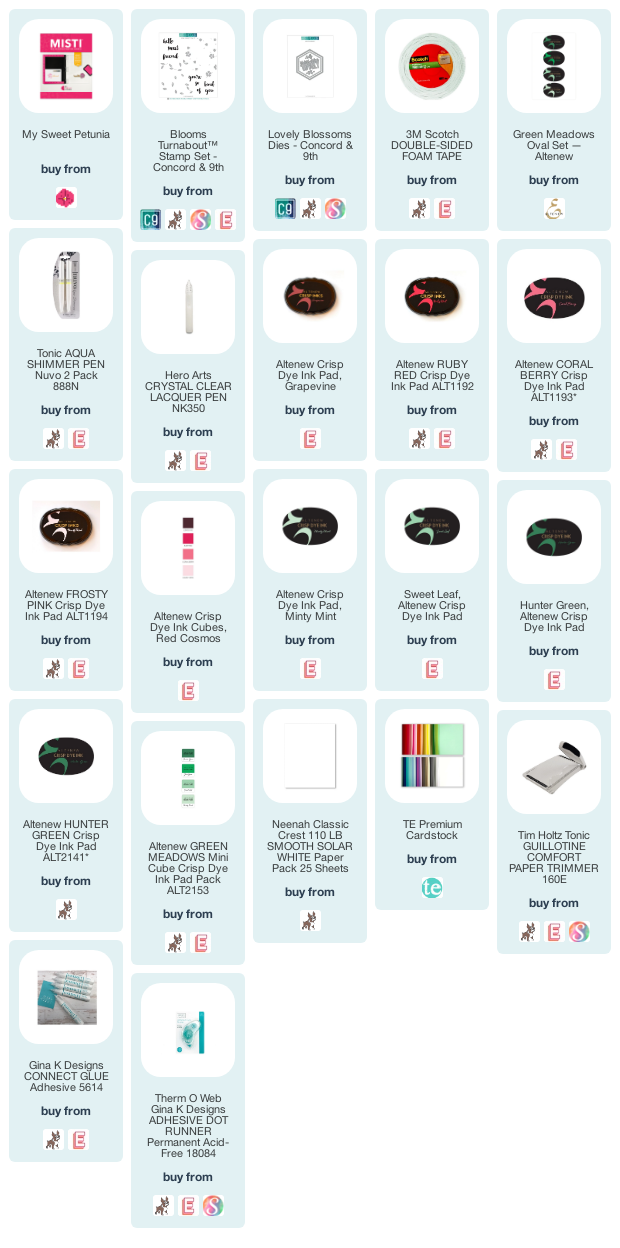
This card features the Blooms Turnabout which actually has two parts to it. You'll first stamp your flowers. I stamped mine in Red Cosmos Ink set from Altenew. The second part of the stamping is the leaves that I stamped in the Green Meadows ink set.
I used the Lovely Blossoms die set to cut the octagon shape from the background. Technically, I could have created two cards from this but I was in the mood for a lot of white space so I'm just using the shape piece for now.
I also die cut the sentiment from Black Oreo cardstock using the Lovely Blossoms die set. I picked out a Mint green cardstock to match my stamping and topped off the sentiment with an Aqua Shimmer Pen and a Lacquer Pen for shine.
Hope you enjoyed today's inspiration!
SUPPLIES
Below you will find links to the products used. Click the icon to start shopping. Compensated Affiliate links are used at no additional cost to you. Your support helps me to keep bringing you new projects and videos. Thank you!
Our small group usually visits a local nursing home once a month. Since the whole social distancing thing, we haven't been able to go and the activities director told us that they miss us terribly. So what we decided to do was to dress silly (not as clowns, because clowns are creepy) and make signs to hold at their windows to let the know they are loved and we miss them too.
They absolutely loved it, by the second window everyone was either standing or sitting by their window smiling and waving. It's the little things yall.
no worries there weren't that many of us and we stayed over 6 feet apart going from one window to the next.
I should have taken pictures to insert here so I'll insert another one of the cards
I got to thinking that lots of cardmakers (including myself) are making cards to be sent to hospitals, well the people that work here at the nursing home are on the front lies as well so I decided to make them a card to say thanks.
This is when you are so thankful for Iliana inventing the Misti.
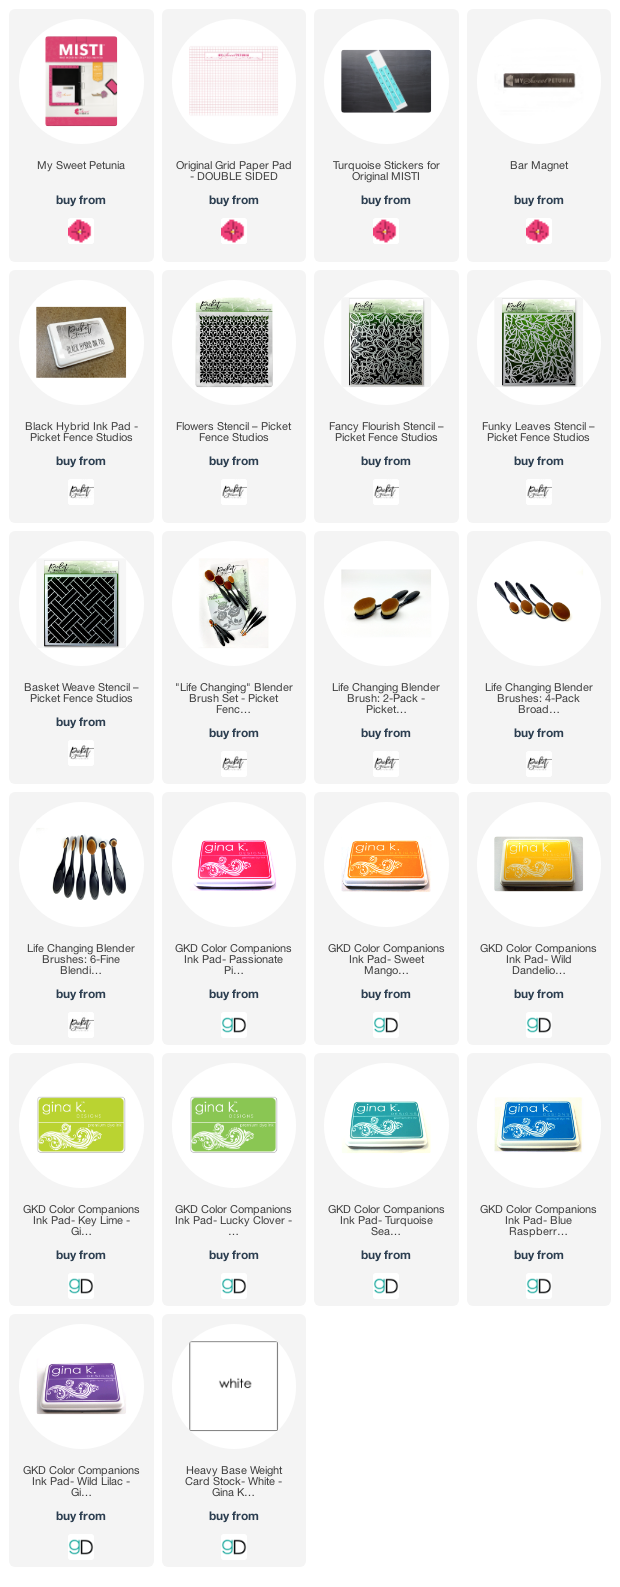
I had 130 cards to make so I made a simple design that could be mass produced. After I got done with the stamping I thought they needed a bit of color. Not only can you use the Misti for stamping but also for stenciling. I placed the stencil in the corner of the Misti and taped it down and then just placed my card under the stencil and added color with the Life Changing Blender Brushes.
I used a stamp set that I earned free by taylored Expressions and several stencils and the Life Changing Blender Brushes by Picket Fence Studios.
Hi crafty friends and welcome to a new week of creative fun. Sandi here and today's share is created with the Pinkfresh Lemon Lush and Zig Markers.
This stunning stamp is a whopping 6" x 6" red rubber, foam mounted background stamp. You may know that these big stamps have been very hard to stamp and get a good solid image. Thankfully, because of the Misti Stamping Tool, that is no longer an issue.
By removing the rubber mat inside the Misti to allow for the depth in the rubber and foam mount on the stamp, you get a perfectly stamped image each time. Check out the video below, I walk you through the steps for ink, and heat embossing.
Also due to the size of this stamp, with careful cutting, you can make two cards with one stamped and colored image. The one above is A2 finished sized, so I chopped off the left side at 4-1/4 x 5-1/2".
Which left a colored strip to create the "Spotlight" technique for my second card.
Here's the video walking you step by step through the stamping process and then I share a few coloring techniques I like to use with the Zig Markers.
I also have PDF downloads for both cards over on my blog if you would like them.
used for the Pinkfresh Lemon Lush and Zig Markers cards:
Want to find the products I used? I have them listed below. Compensated affiliate links used at no cost to you.
Thank you for your support, it helps to cover my blogging and video expenses.
Hope everyone is doing well during the self isolation period. I am sharing fun card today and a video using the new Beach HeroScapes set from Hero Arts. I used my MISTI to stamp the water and the Three sisters rock formation.
To make the card start by stamping the water using Hero Arts Reactive Inks in Pool Party and Blue Raspberry. Set aside, stamp the Three sisters rock formations using Soft Brown and Cup O'Joe. Die cut the water and rocks.
Next Ink blend Soft Brown and Cup O'Joe on piece of Dove White card stock and trim to same height as the water. Add some Embossing ink and emboss using Sand Embossing powder
Create mask for the sun and ink blend sun and sky. Stamp images, assemble and adhere to top folding note card!
Watch the video below (or click HERE) to see how this card came to be.
All supplies are listed on the bottom of this post!
Howdy! Lydia Fiedler here for the SIXTH anniversary party for Altenew! Can you believe it's been six years? I remember when they made their first HUGE splash in the industry like it was yesterday.
They are great people, and we are proud to be celebrating with them!
I started with a slightly smaller card base than normal - the card folded is 5.25 x 4 - so card front size.
Then I took the die and I die cut a piece of white cardstock, as well as a Gel Press print I made in high contrast colors.
I was careful to keep all the little pieces from the openings in the letters to piece them back in. This is an easy one to paper piece because the frame is all one piece! So fun. The black cardstock makes it pop. When you're adding glue to skinny frames like this - DO NOT WORRY if you get glue on your card base. It comes off totally cleanly with an adhesive eraser!
The cool thing about paper piecing is that it's a two for one technique! Once I had finished the card above, I had the colorful frame left over, so I repeated it on a white card and added a sentiment from this beautiful stamp set and some beautiful sequins to finish it off!
All the supplies I used are listed below along with a free shipping offer and a LONG list of prizes you can get a chance to win by leaving us a comment!
Altenew is giving away a $50 gift certificate to 6 lucky winners and one Altenew Academy class to 10 lucky winners. There are also 14 awesome companies/crafty friends who are celebrating with us, and they are offering the following prizes:
Be sure to leave comments by 4/12/2020 for a chance to win one of 37 prizes! To make the hop more exciting, start your comment with "Hi from (city or country where you're from)!". 37 winners will be chosen at random from the comments left on any of the blogs listed below and will be announced on the Altenew Card Blog on 4/18/2020.