Good Morning! Chris here with you today.
Today I'd like to start by announcing the winner of one of the Unity Stamp Company/My Sweet Petunia Collaborative Blog Hop prize packs.
Brianna J., you are the winner of a prize package of Unity's beautiful red rubber stamps, as well as a $60 gift certificate from My Sweet Petunia. Congratulations Brianna! Please set up an account at My Sweet Petunia, then email hello@mysweetpetunia.com and say you are the Unity/MSP blog hop winner! If you already have an account, just email to claim your prize.
Today I'd like to start by announcing the winner of one of the Unity Stamp Company/My Sweet Petunia Collaborative Blog Hop prize packs.
Brianna J., you are the winner of a prize package of Unity's beautiful red rubber stamps, as well as a $60 gift certificate from My Sweet Petunia. Congratulations Brianna! Please set up an account at My Sweet Petunia, then email hello@mysweetpetunia.com and say you are the Unity/MSP blog hop winner! If you already have an account, just email to claim your prize.
I make hundreds of cards thoughout the year, but very truthfully I actually mail very, very few. Instead, about 95% of the cards I make get donated to my church. My church has a cardmakers group. This fun group of women meet up once a month to create cards that are sold in the narthex of our church. We create cards for all occasions, and the proceeds of the cards sales go toward various financial needs within the church and community, such as funding youth activities, donating to the foodshelf or women's shelter, or even toward music ministry or the pastor's discretionary fund. I love being able to serve within my church in such a creative and enjoyable way
I also have been working as a volunteer with the youth confirmation program. For the past few weeks I have been teaching a card making class with a small group of younger teens, introducing them to card making and the card ministry within the church
I love to color, but coloring takes often considerable amounts of time. Throughout the year I have freedom to spend time creating unique and orignial cards, but this time of year, there is a large need for Christmas cards so I like to use some time saving measures to be able to create many holiday cards in a shorter span of time. Today I'd like to share a few of my holiday card mass production tips.
One of the best benefits of the MISTI is to be able to set up stamps on the lid of the MISTI and to be able to stamp both multiple times to get a crisp, sharp image, as well as to stamp consistently in multiples. I am making use of both today.
I have lined up all of the sentiments from My Favorite Things' Snow Globe Sentiments stamp set onto the lid of my original MISTI. I used the grid lines on my mouse pad to line them up straight.

I can now close my lid and pick up all of them at once, then also stamp them also at once. I've cut several pieces of 8 1/2" x 11" cardstock in half vertically, and tucking my paper into the bottom corner of my MISTI, and leaving the upper portion of the cardstock sticking out of my MISTI, I can stamp all the sentiments at once.

I can stamp a second time if needed to get a really nice ink coverage. And can now flip my cardstock and stamp it identically, or can clean my stamps while still in place on the lid, and stamps again in a different ink. I can also heat emboss over the top of my first inking with clear embossing powder, or on colored cardstocks too. These sentiments have a really simple block sans serif font that is great for heat embossing.

I've prepped many sheets of these sentiments, and have heat embossed them all too.
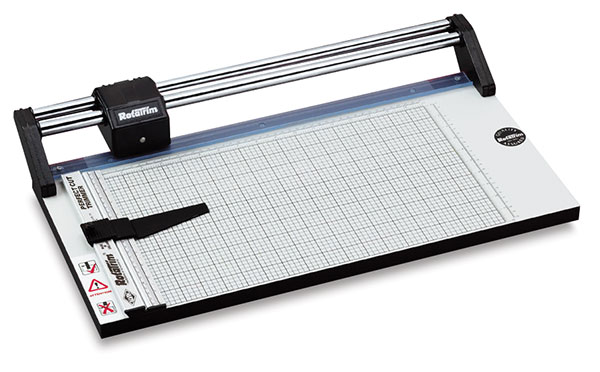
Now I can easily use my Rototrim paper cutter to slice them up into sentiment strips.

These strips will give me lots of choices once I get to the assembly process of my holiday cards.


Now I will begin to create a pile of backgrounds.
I've cut my layering weight paper down to 3 3/4" x 5" panels, and have assembled a selection of holiday and winter background stamps and inks.
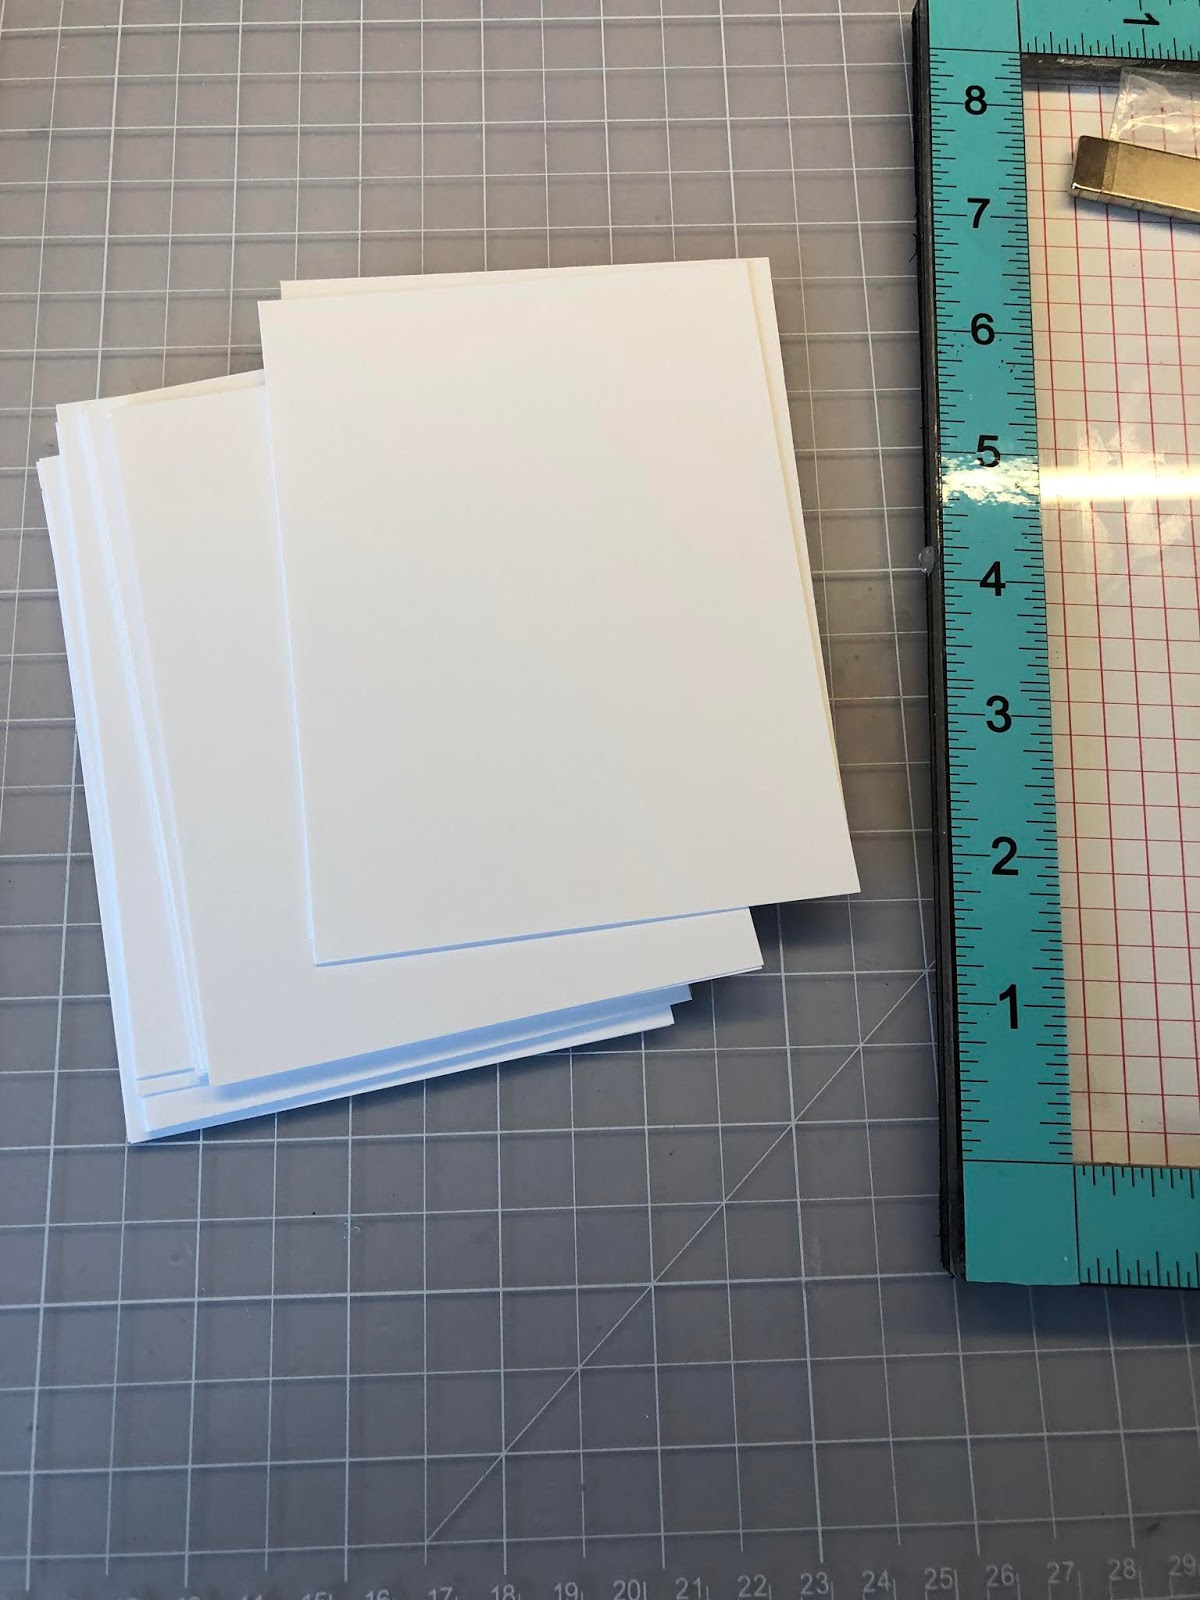

I can begin stamping and/or embossing. I am making at least 4-6 panels of each variety.


These backgrounds will make some really pretty cards with the variety of sentiment strips that I have already created.

I have a lot of background stamps to choose from, and a large pile of precut panels, so I continue stamping to make a big assortment. I can use embossing ink and powders to stamp on any color cardstock panel.

Once I feel I have created enough stamped background panels, I can cut cardstock mats to 4" x 5 1/4", and grab a pile of white card bases and get ready to assemble. I have cut a wide variety of shimmer, colored, and foiled metallic mats.
I literally have a bin that is labeled bits and pieces. I brought that out to my dining room table along with the items I'm just created as well. In this bin are small die cuts and leftovers from other projects I've worked on throughout the year. I can often go to this bin to find pieces or already colored images to create a card from, or to embellish a card. It's kind of a handy thing to have for this assembly time. You just never know! I may find the perfect "leftover" image in there to add to these holiday cards!

And here are several of the cards I've been able to quickly assemble using the panels and sentiment strips I created and various leftover die cuts and pieces!

I'll be using many of the remaining items to prepare kits for my youth class tomorrow night, and will bring the remainders to my church group cardmakers meetup today too to continue assembling!
Thanks for joining me today! Happy Holiday creating!