Thursday, June 27, 2024

You and I

Hello!  Today I am sharing a fun tip when using stencils.

**Affiliate links may be used at no cost to you!** 

I placed a piece of cardstock in the middle of a Sticky Mat, then positioned the stencil over the cardstock and pressed the sides of the stencil onto the Sticky Mat. The Sticky Mat holds the stencil in place without tape or Pixie Spray! This technique works best on a Sticky Mat that has been used a few times and isn't as sticky as brand new.  However, I have used regular cardstock with new Sticky Mats.  To release the cardstock without tearing, I bend the Sticky Mat away from the cardstock.

The rest of the card is pretty simple.  I used a Mini MISTI for the sentiments and an Original Black MISTI for the stencil/Sticky Mat and image.  

 I also used the following tools:


Thanks so much for stopping by,


Tuesday, June 11, 2024

Team Tuesday with Ceal

(Our team uses affiliate links when possible)
Hey friends! 
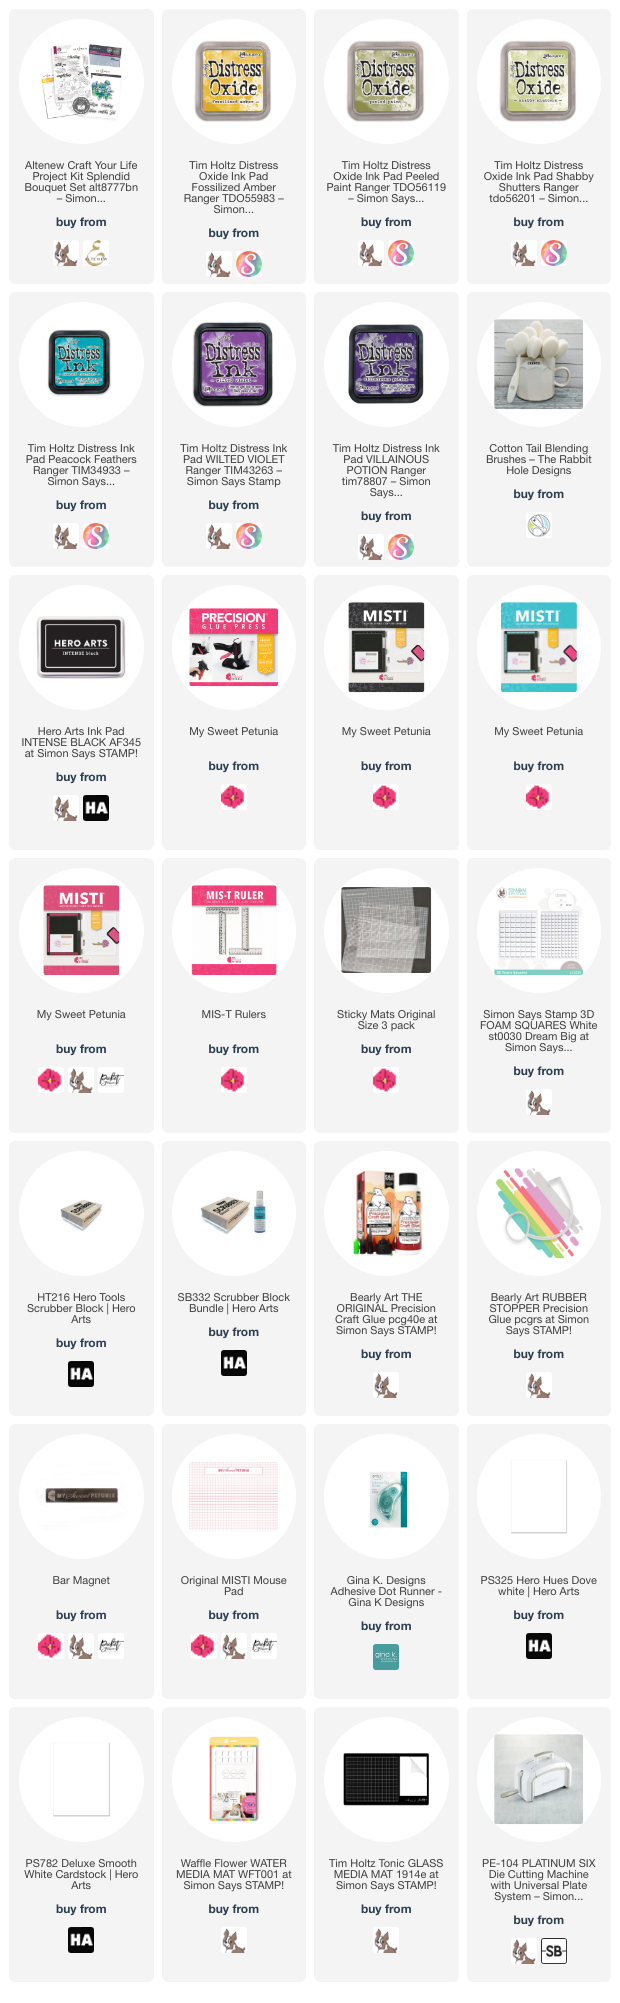
It's Ceal, here. Today I am sharing a card made using a stamp and stencil by Altenew. Not only is the Misti a great tool to use for stamping but the sticky mats are a necessity for stenciling. 
To make this card, I started with a white top folding A2 card base and a couple of white panels. One I cut down and used with a 3D embossing folding and the other for stamping the image.  
 I placed the panel in the Original MISTI and stamped the floral image, next I placed the stickmat in the Original MISTI and used it to hold the panel while I ink blended the colors using the coordinating stencils.
 Next I cut out the image using the coordinating  die and then popped it up on the embossed panel. To finish the card, I added a sentiment from The Greetery.

Thursday, June 6, 2024

Nothing in the World

**Compensated affiliate links may be used at no cost to you**

The MISTI is my favorite tool for producing watercolor projects and multiples!

 I used the Black Original MISTI to stamp the cat. Then I used both My Original MISTI and Teal Original MISTI for the sentiments.  Next, I colored the cat, leaving the stamps in the MISTIs. I was so glad I left the stamps in the MISTIs because I had a visitor! Rocket jumped on my desk to inform me that I had not given him enough attention, and smudged one of the cards! The MISTIs made the process of restamping the panel quick and easy.  The irony was not lost on me that my cat destroyed a picture of a cat!  Hehe.

Along with the MISTIs, I used,


This sweet stamp set is by Dina from Impression Obsession

Thanks so much for stopping by!

Angie


Wednesday, June 5, 2024

You are an Angel

 Hello everyone! Anna here, with greetings the pacific northwest! The card I’m sharing today was made using recently released stamp from Whipper Snapper DesignsAdorable sunflower angel themed card with fun bees throughout the image and sentiment, paired with a sheet from the Bzzz patterned paper collection from Impression Obsession. The stamp set is perfect for making cards and tags for friends near and far.

I love how the Mini MISTI allows me to stamp perfect images on textured watercolor paper, every time! On card panels or on smaller sentiment banners, I can stamp with precision every time, giving me the perfect placement and impression for every project!  Sentiments are stamped perfectly placed, and stamped images on watercolor paper (or other textured papers) are a breeze to create!

Thanks so much for joining me on the blog today!

Tuesday, June 4, 2024

Scrapbooking With The MISTI

Hi Friends,

Wendy here.

Today I am sharing a fun idea using my new Memory MISTI. The Memory MISTI is such a cool tool. I'll do a lot with this when creating my scrapbook for my daughter, Macie, over the next few years. In today's post and video, I just got my feet wet learning how to use this tool. 


I started by using this large 6x6 background stamp to stamp in the bottom right corner. Then I turned the cardstock 180 degrees and stamped again in Blueberry ink from Concord & 9th.

This gave a little extra interest in the background of the photos. In hindsight I wish I would have layered the die cut letters and journaling over the stamping vs the photos. But, I am learning and getting back in the scrapbooking game.


All in all, I am very happy with the way my first scrapbook pages in 10 years turned out. It's a journey, not a race or destination. As I get my feet wet in this side of papercrafting again I feel excited to explore the new options and ideas that will come my way.


Fair warning, I share about life and adventures along the way. I'm not strictly a teacher/cardmaker/crafter I am kind of a vlogging crafter. I hope enjoy the stories and sharing along with the crafting.


Here is my supply list for this project.

Thanks for stopping by. To visit my blog click HERE.
Wendy 

Thursday, May 16, 2024

Hanging Jars

***Our team uses affiliate links at no charge to you!***

Hi there! Today, I am sharing a cute card that uses multiple stamps to create the scene. I used a Black Original MISTI to stamp the planter hanger, the flag, and the tree. With a MINI MISTI, I stamped the small flag on a piece of patterned paper (the same as the card background), then stamped the sentiment on the flag. After that, I fussy cut the flag and used the Precision Glue Press to adhere it in place. I love the Precision Glue Press for small items like this flag. I then put the layer inside of my Teal Original MISTI.  After layering an Alignment Grid on top of the layer, I arranged the jar stamps so they would "hang" from the pole's hooks. I stamped the jars on the grid, then made adjustments so they hung directly on the hook. I followed suit with the bird after that. 

Leaving the stamps on different MISTIS helps me to quickly create multiples.  If I make a mistake, I can easily restamp the card because the stamps are still in place.


Thanks so much for looking!  

Angie

Stamp set: Lazy Days Swing
 

Tuesday, May 14, 2024

Team Tuesay with Pinkfresh Studio

(Our team uses affiliate links where possible.)  

Welcome to Team Tuesday!
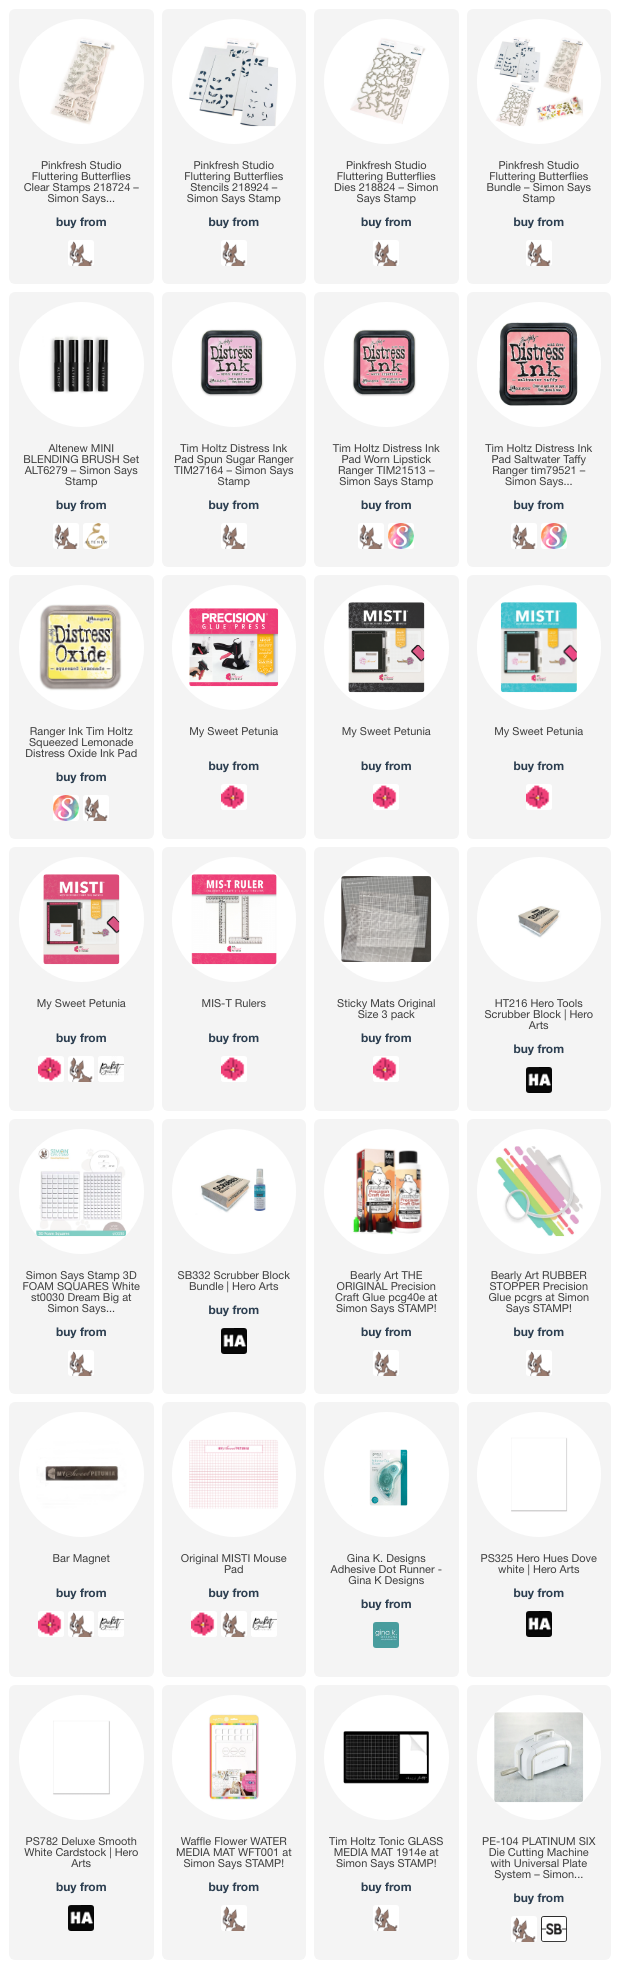
it's Ceal, here. Today I am sharing a card using a Pinkfresh set that has coordinating stencils dies and even washi tape.
To make this card, I started with a white top folding A2 card base, a  couple white panels and a white piece of half sheet of cardstock cut to 8.5 x 5.5 
I placed half sheet of white cardstock in the Original MISTI and stamped the butterflies and leaves (which is all one stamp btw). I used distress inks and the coordinating stencil to color them and cut them out with the die which cuts them all at once. 
Next I used the Rounded and Braided rectangles die set to cut the decorative panel and I used a stitched rectangle die set to cut the other panel.
To finish the card, I added a die cut sentiment to the decorative panel. 


All products are linked below when possible. I appreciate you using my links as it helps me earn a little commission at no extra cost to you. Please accept the cookies because that is how they track the sales. 

Thanks so much! 

Until next time <3