Every time I would go through my stamp collection to look for a particular stamp, I would run across the Altenew Trigonometry, Altenew Sohcahtoa and the Simon Says Stamp Perfect Shapes stamp sets. I purchased all of them long ago with the intention of using them for masculine cards.
I finally pulled them out when I ran out of masculine birthday cards for my card ministry at church. Since I struggle so much with masculine cards, I made a dozen cards. I did end up using all the stamp sets for this one design. This card is easy to convert into a variety of occasions by changing the sentiment.
I hope you enjoy the video. Thanks for stopping by!
Hi,
It is an exciting Tuesday for me. It is my turn on Team Tuesdays for My Sweet Petunia/MISTI and the new Picket Fence Studios May 2019 Release goes live today!!!!
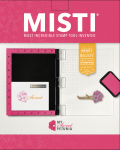
The MISTI is essential to this technique in my opinion. We will be using Picket Fence Studios Bright Night Sky along with the Damask Floral Stencil to make a background with the Vicki Boutin Art Crayons and Nuvo Moonstone Glitter Paste. I have a video for you below showing how I made the card.
First, I placed the stamp and my Distress Watercolor paper smooth side up in my regular sized MISTI. With the MISTI door open, I added the art crayons to the stamp by just scribbling it on. From about a foot away, I misted the stamp and then closed it to lay the color onto the paper. I repeated this process again. I took out the first sheet of paper. Then, adding more water to the stamp I made two more backgrounds.
I heat set this and then added Nuvo Moonstone Glitter paste through the Floral Damask stencil. I let this dry. Using an oval die cut I cut two pieces of card stock one larger. I stamped a sentiment onto the smaller one and mounted that with 3M foam tape onto the larger oval. I adhered the ovals to the panel using 1/4" Scor-tape as a strong adhesive is needed due to all the texture on the panel.
I then colored in one of the small open poppies from Poppy Blossoms with my Copic Markers.
Flower: RV10, RV11, RV13, RV14
Leaves: G20, G21, G24 and G29.
I mounted the floral cluster and proclaimed the card done. I hope you like it and enjoyed the video.
Thanks for stopping by!
Susan
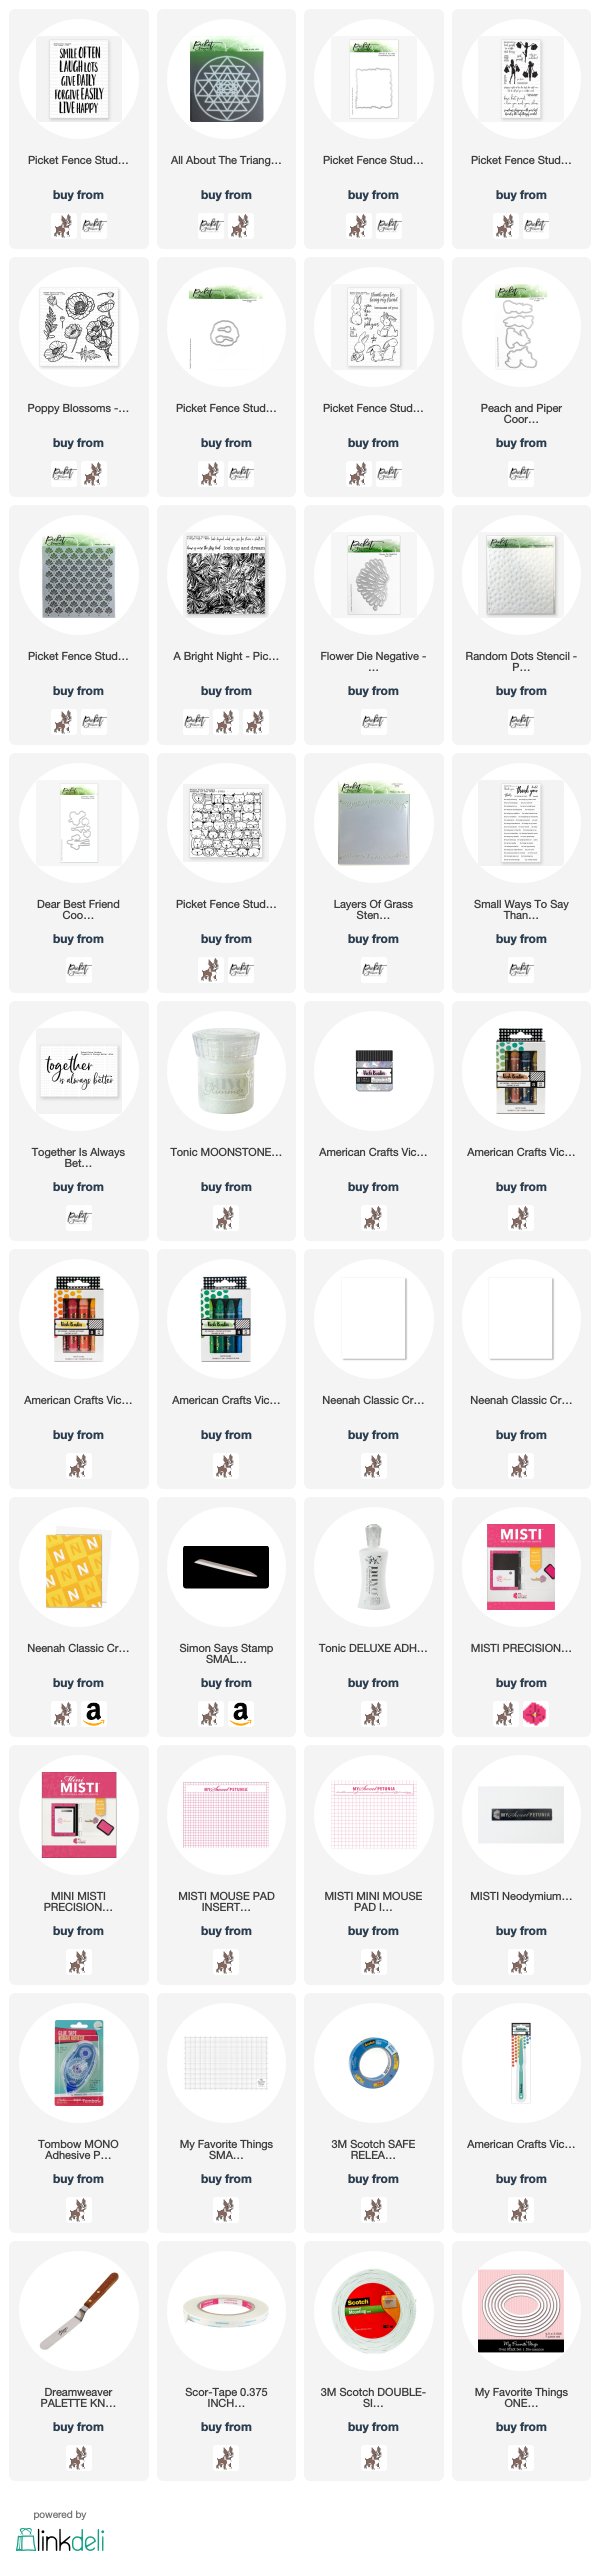
Products Used: I am using compensated affiliate links which means I made a small commission on each sale at no further cost to you. I received the stamps from Picket Fence Studios as part of my design team work. As for the MISTI, I owned that before I joined the team. It is my favorite stamping tool of all time.
Earlier this year at Creativation I had the opportunity to meet with Nicole, the owner of Picket Fence Studio. She is unbelievably sweet and easy going. We clicked. Nicole asked me to do a Guest Designer post for her in April but I was going on vacation and the timing was just off.
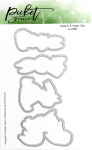
So here I am finally doing a post for her. Nicole sent me the May release and I immediately was drawn to the Piper & Peaches stamp. I find it easier and faster to die cut my pieces and then stamp on them. Lining up the dies is tedious when making multiples. In the video below, I show you how to die cut and then stamp.
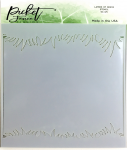
Here is a variation of the previous card. I was singing the theme song from The Golden Girls for days after making this card. I loved the Layers of Grass stencil. It was easy to create the seam between the grass and sky with the way the stencil was designed.
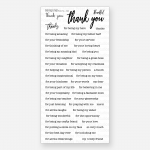
As a bonus, here is another card I made using the Botan Peony from the March release. I hope you enjoy the videos below. All the supplies are listed below.