Hi cardmaking friends and welcome back. It's Sandi MacIver here and today's card making video tutorial is Multi Layer Stamping with the Misti and mass producing Christmas Cards.
I'm using the new Printmaking Pines layering stamp set from Simon Says Stamps to make some "MERRY and BRIGHT" cards. AND, my fabulous NEW, TEAL MISTI - I love this color so much Swoon!
Also, I'm using Simon's Pawsitively Ink pads. Each color comes in three shades, making them perfect for this stamping technique. In the video I share a couple of Ink Pad Color Swatch Sheets that I created - you can DOWNLOAD YOURS HERE

PLEASE NOTE: This post contains affiliate links. See below for my full disclosure
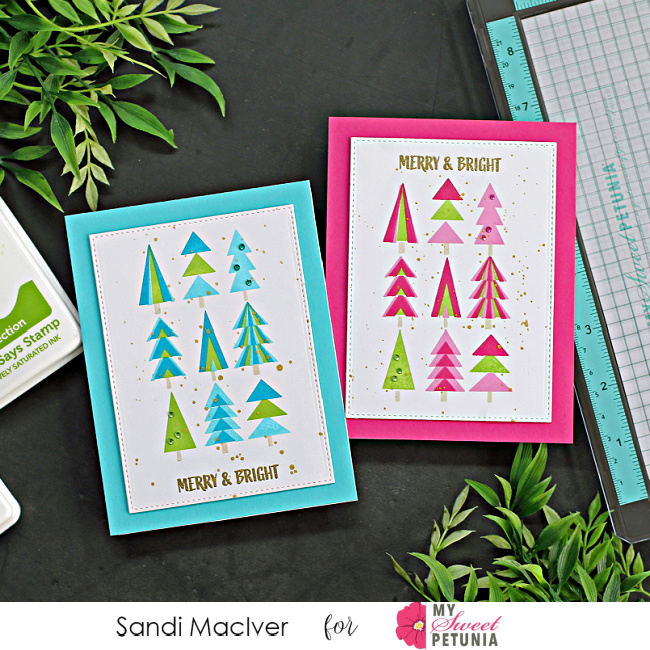
In today's card making video I also show you how the multi layer stamping technique is perfect for mass producing cards. I make 8 cards in less than 1 hour with this technique. I'm sure that's a new record for me, haha.

How to create the Multi Layer stamping with the Misti:
Start by cutting white Hammermill cardstock 4-1/4" x 5-1/2" and place one into the Misti.Next, stamp the first layer, take out the cardstock, and place a new one one.
Then, repeat until all the stamped layers are done.
Finally, stamp and heat emboss the sentiment.
Next, place the art pieces into a spatter box and splatter with gold paint.
Finally, die cut the pieces with the Stitched Rectangle Wafer die. This creates a clean rounded edge, with a beautiful stitched border.

Putting the cards together:
Start by cutting A2 card bases in Hammermill White, 4-1/4 x 11, score and fold at 5-1/2".Next, cut card fronts from colored cardstock 4-1/4" x 5-1/2" and adhere to the card base.
Then, use foam tape to adhere to the card front.
Card Making Video - Multi Layer Stamping with the Misti:
Here is today's card making Video - click on the image to watch it in HD over on my YOUTUBE channel.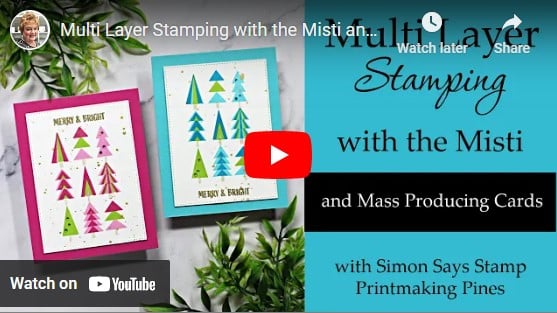

Card Making Supplies used for the Multi Layer Stamping with the Misti Cards:
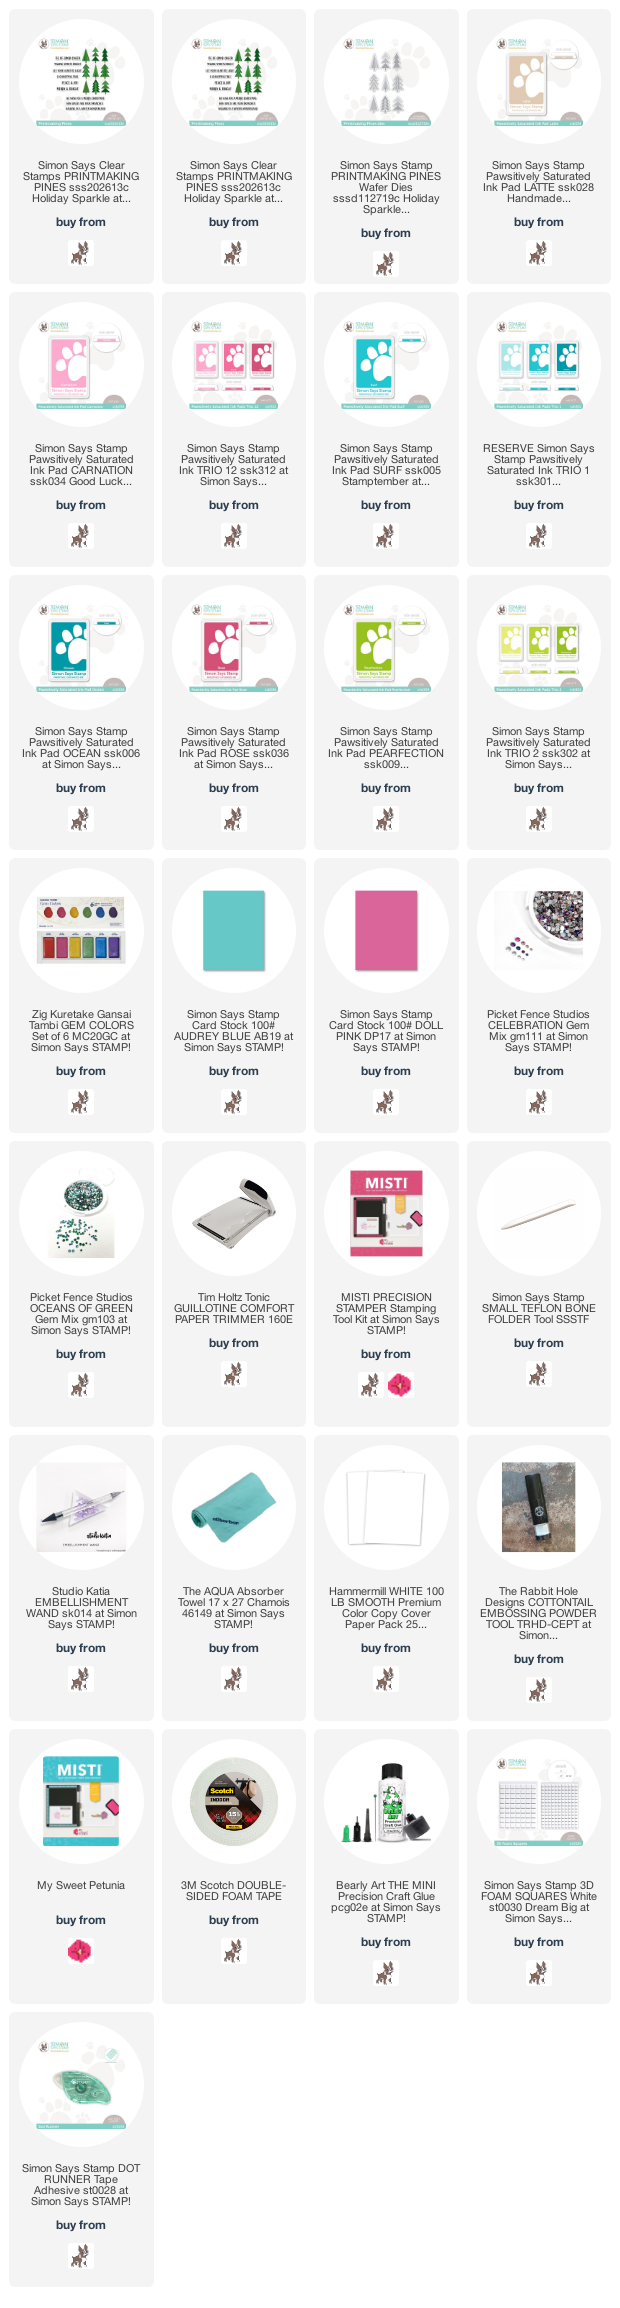
Here are the products I used today. Compensated affiliate links used where available at no cost to you. Clicking on a thumbnail link and shopping supports my website and allows me to continue bringing you new projects and videos. Thank you for your support. Affiliate and product disclosure are found on my disclosure page. All products were personally purchased except for Simon Says Stamp Printmaking Pines Stamp Set which was provided/sponsored by the company. As always, I was not paid to do this post. I only use and recommend products I love. Click on the icons below each product picture to go to my favorite stores.