Friday, November 18, 2016

Using a Stencil with MISTI


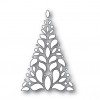
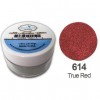
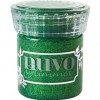
As soon as I saw the Corbel Tree die from Simon Says Stamp, I knew exactly what I wanted to do.  The Tonic Novu Glimmer paste was the first thought for my idea.  


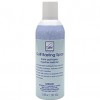
Stamping the sentiment first and then embossing, made it easy to have several done for the next step.   It was easy to mass produce with my MISTI.  I used it more for positioning, with very little stamping.   There was no need to tape my background down.  The magnets did all the work.   However, I did need to use a quilt basting spray to prevent the emerald green glimmer paste from seeping under the stencil.  


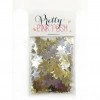
If the glimmer paste is not your thing.  try using an ink blender to add color.  After waiting patiently for the glimmer paste to dry, I just added a Pretty Pink Posh Confetti Star to the top.  

I hope you enjoy the video.  Be sure to subscribe to see all the videos as I post them.  Thanks for stopping by.

Wednesday, November 16, 2016

Holiday Photo Card Blog Hop!


Brought to you by My Sweet Petunia Design Team Member Jeanne Streiff

Welcome to the Holiday Photo Card Blog Hop!
We have some wonderful prizes!!!
Two yearly subscriptions to LiveLoveCards.com
$25 gift certificate to Simon Says Stamp
$25 gift certificate to Ellen Hutson
$30 gift certificate to Altenew
MISTI (or mini MISTI!) from My Sweet Petunia
$25 gift certificate to Paper Smooches
$25 gift certificate to Lawn Fawn
$25 gift certificate to My Favorite Things
Winners will be selected at random from the comments left on each blog hop stop. Be sure to leave a comment on each stop to increase your chances to win! Leave your comments by Tuesday, November 22, 2016, 11:59pm CT. Nine winners will be announced on LiveLoveCards on Wednesday, November 23rd, just in time for Black Friday. :)
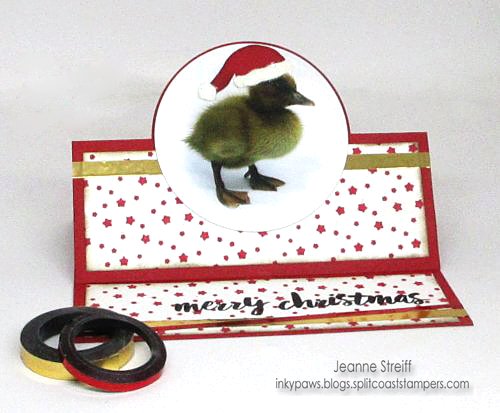
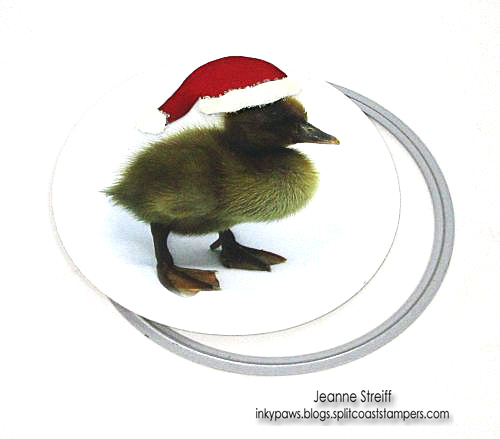
I thought it would be fun to take one of my duckling pictures and make it into a Christmas card. Maybe the sentiment should have been Merry Quackmas. Ducky Christmas Jeanne_Streiff
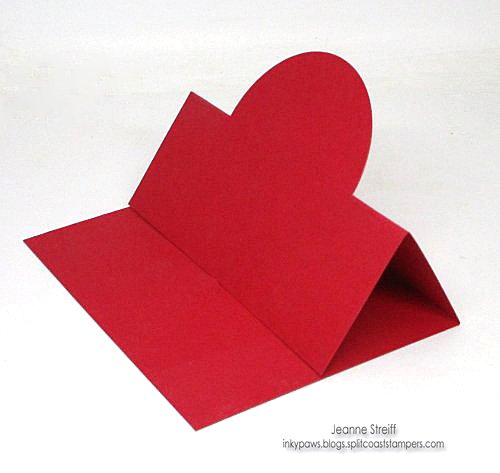
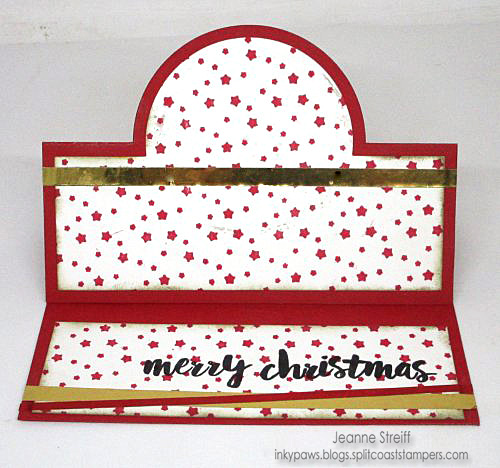
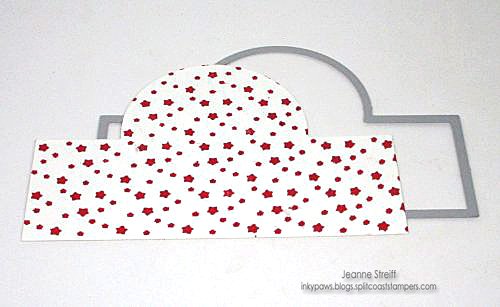
I started off by die cutting the card base for my die from red cardstock. I used Sizzix 661566 Circle Framelits Stand-Ups dies for the card base and from panel with the half circle.1 Ducky Christmas Jeanne_Streiff
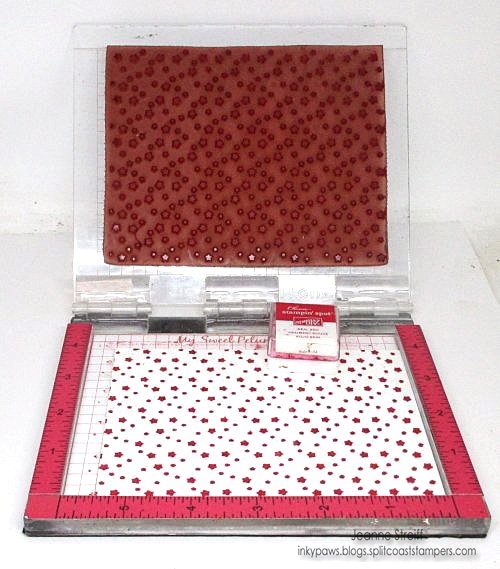
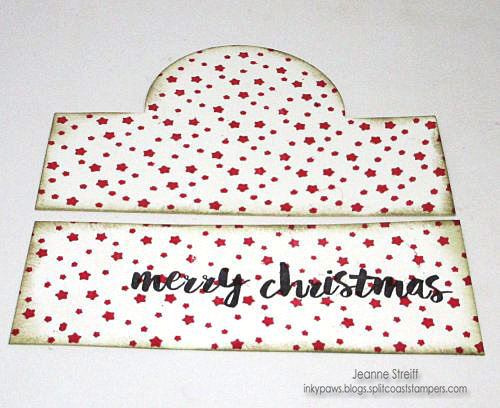
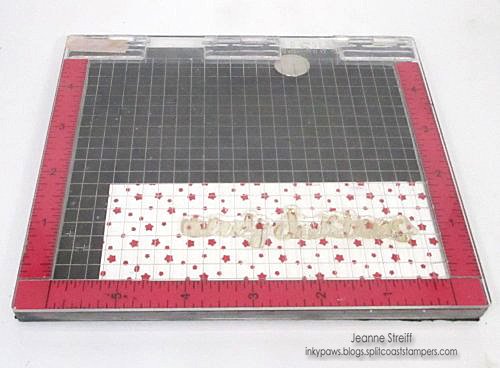
I created my patterned paper with my Mini MISTI (My Sweet Petunia), Real Red ink and Impression Obsession CR010 Stars. This is a 4 1/2" x 5 3/4" stamp and works perfectly with the Mini MISTI .2 Ducky Christmas Jeanne_Streiff
I used my stamped paper to die cut the back piece for my card.3 Ducky Christmas Jeanne_Streiff
Next I cut a 2 inch strip for my sentiment (Impression Obsession CL600 Christmas Brush Words) and stamped it with my Mini MISTI (My Sweet Petunia) with black ink.4 Ducky Christmas Jeanne_Streiff
I sponged the edges of the panels with brown ink.6 Ducky Christmas Jeanne_Streiff
I assembled my card and added stripes with 1/2" red and gold metallic tape from Hobby Tape. 6A Ducky Christmas Jeanne_Streiff
I die cut my photo with a circle die from Sizzix 661577 Word Circles. I hand cut a Santa hat and added glitter to the white parts and added it to my duckling picture. Isn't she cute? She turned out to be a pretty golden colored duck who I named Mustard.
7 Ducky Christmas Jeanne_Streiff
For more ideas be sure to visit the other stops on this fabulous blog hop.
My Sweet Petunia <------ YOU ARE HERE!