Hey cardies, welcome back. Sandi here and I have a fun Bunny Blessings Slimline Card to share with you today.
Simon Says Stamp had a new release yesterday and I can't stop playing with this new Bunny Blessings stamp set. SO much fun to color.
How to Create the Bunny Blessings Slimline Card:
- Use the Misti to stamp the images onto Hammermill card stock with Copic Friendly Black Ink.
- Color the images with copic markers, (listed below)
- Cut the background @ 3-1/2 x 8-1/2 and use blending brushes to add Squeezed Lemonade and Broken China Distress Oxide Inks. Just a light coating
- Cover the background with the Simon Says Stamp Tumbled Hearts stencil and add a second layer of the Distress Oxide Inks.
- Place another 3 x 4 piece of white card into the Misti and stamp the grass image twice across the top
- Color with Copic Markers and cut out the grass image from the top (leaving the bottom intact)
- Adhere to the bottom front of the card front and trim from the back.
- Place the card front back into the Misti and dry fit all the pieces to the background. Stamp the sentiment in black in.
- Cut a card base at 8 x 9 and score at 4.
- Attach the card front to the card base.
- Add your art pieces with Foam Squares to heighten them slightly
Bunnies: C00, C0, C1, C2, C3, C4, C5, C6 (or use every second color)
Pinks: R30, RV10, RV63, RV55, RV17
Greens: YG21, YG23, YG17
Turquoise: BG11, BG13, BG49
If you don't have an hour to create a card like the above Slimline, I have a quick alternative for you.
BLESSINGS BUNNY CARD:
Same steps, same colors, but in A2 size.
Card front is 3-7/8 x 5-1/8 Hammermill 100# White
Mat: Audrey Blue from Simon Says Stamp 4 x 5-1/4
Card base: 401/4 x 11, score and fold at 5-1/2 - Hammermill 100# white
Distress Oxide Ink in Mowed Lawn used for the subtle background
color and cut out one bunny, the butterfly, 3 eggs and a flower
Place the card front into the Misti to line up and stamp the sentiment across the top in Audrey Blue Ink
Attach the art pieces with small pieces of foam tape.
There are lots of sentiments included in this adorable stamp set for year round use.
That's it for me today, hope you enjoyed the cards.
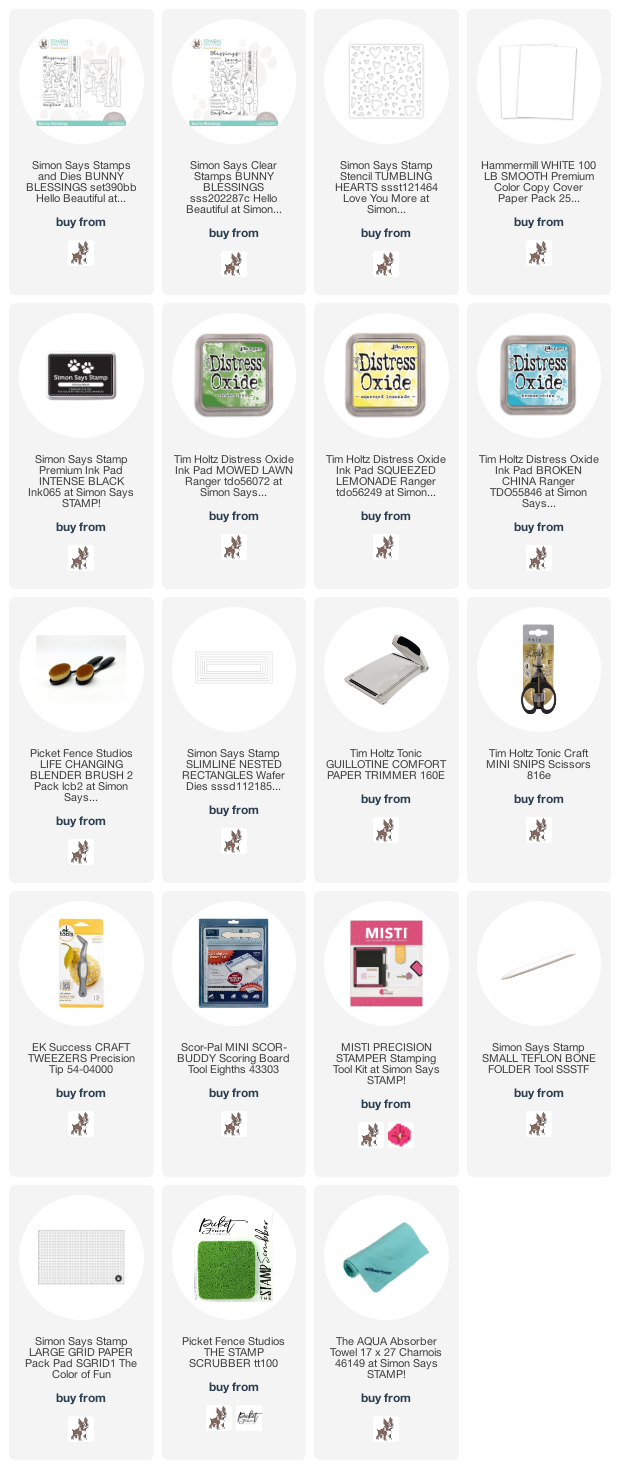
The supplies I used are listed below for you. Affiliate links used where possible at no additional cost to you, and I thank you for your support.


No comments:
Post a Comment
Thank you for taking the time to comment.