Hello everyone!! It's Channin here with you today and I'm so excited to share with you a couple of cards that I created with one of my most favorite MISTI stamping techniques, pattern stamping!!
I learned this ingenious technique from the queen of techniques, Jennifer McGuire, and quickly became obsessed! Pattern stamping is such an incredibly quick and easy way to create beautiful full panel patterns!
Lovely Blossom Pattern Stamping with Channin
I have a video that you can view down below or on my YouTube channel.First, I arranged several stamps from the Lovely Blossoms Stamp Set from Pinkfresh Studio on the lower half an A2 panel. Lovely Blossoms is a layering stamp set so the first group of stamps that I arranged are the first layer for the images. I then picked them up with my MISTI and then stamped them in Stargazer dye ink. I then rotated my panel 180 degrees and stamped the other half. Next, I removed the stamps and positioned the second layer stamps. I then inked the stamps up in Blue Jay dye ink and stamped half of the panel. I then rotated the panel 180 degrees and stamped the other half.
Next, I decided to fill in some of the white space by making small dots with a copic marker (B32). Once I finished adding all the dots I then die cut a "hello" out of white cardstock 4 times. I adhered two of the "hello's" together and set aside. Next, I die cut a shadow layer out of vellum and adhered the two glued "hello's" to the underside of the vellum.
I then ink blended over one of the "hello's" with Stargazer and Blue Jay ink and then adhered it on top of the last "hello". I then adhered this pair on top of the vellum shadow layer. I then trimmed 1/8" off all the sides of my stamped panel and then adhered the panel on to an A2 top-folding card base. I then finished my card by adhering my sentiment.
I actually made my second card simultaneously with my first. After I stamped the first layer stamps onto my first panel and while I still had all the stamps arranged in my MISTI, I stamped a second A2 panel with them but this time used a green shade, Emerald City.
I then arranged the second layer stamps, stamped the first panel and then stamped my second panel in Mint. I used YG11 for the dots and then finished the card in the same manner just using Emerald City and Mint instead.
I hope you enjoyed! Thank you so much for stopping by!
~Channin
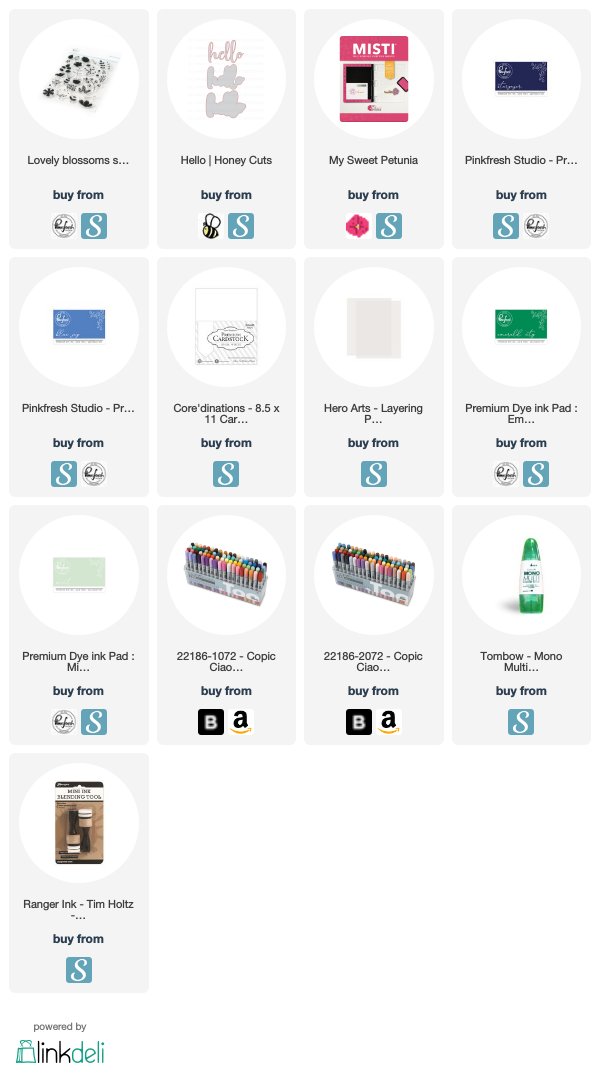
Supplies:


There are a lot of things you ahve to follow while writign your essays. If you are not sure that you can write them with teh high quality so you should better hire teh expert services http://samedayessay.com/.
ReplyDeleteBeautiful. Thanks for the vid.
ReplyDelete