Pages

Thursday, November 21, 2024

Dreams Take Flight with the MISTI

Hello friends, with the MISTI artistic dreams can take flight! I love to watercolor my stamped images, but instead of a dream taking flight, often it would be crash and burn time. Essentially, time and paper were wasted by poor impressions. With the invention of the MISTI, that changed, and artsy dreams can now take flight!  

I placed a Sticky Mat in the Black MISTI, then the textured paper. I stamped the image several times for a perfect impression.  After coloring and splattering the image, I placed the card in a Mini MISTI to stamp the sentiment. 

**When possible, affiliate links are used, but there is no extra charge to you.***

Featured Items


I hope your artistic dreams take flight this week!  

Thanks so much for stopping by!


Tuesday, November 19, 2024

DIY Sticky Mat Templates For MISTI

Today I have an incredibly cool DIY project to share with you. Many years ago Maureen Wong shared how to use templates to get perfect stamping with die cut circles. Everyone loves border stamping a sentiment and these templates make it easy to get perfect stamped sentiments each time.

In today's video I will be expanding on Maureens ideas and sharing how to make your own DIY stamping templates from Sticky Mats.

Here's what you'll need:

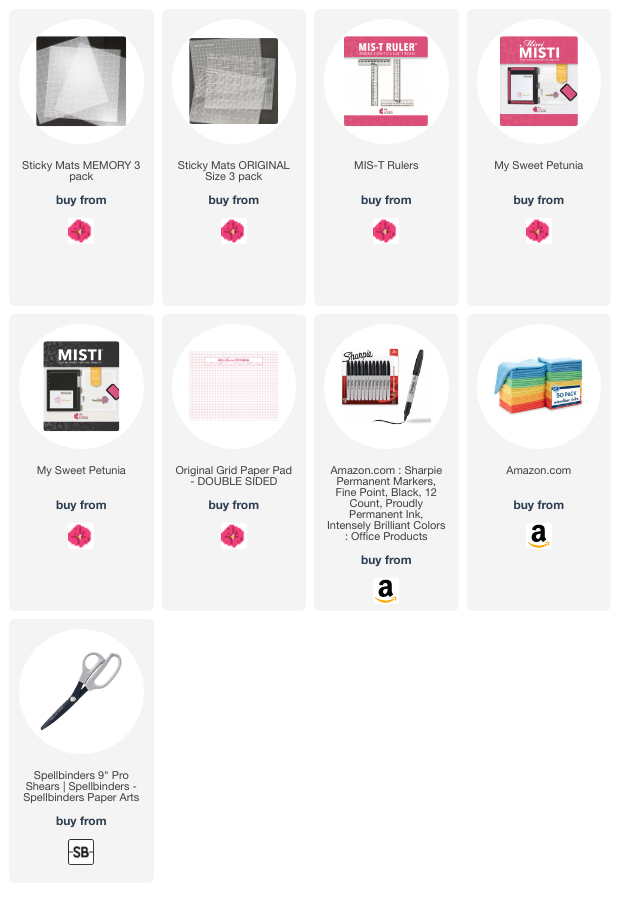
  • Sharper Marker - Fine Point
  • New Sticky Mats Regular or Memory
  • Good scissors that can cut sticky mat 
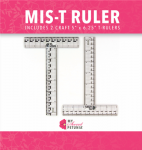
  • MISTI T Square Ruler
  • Microfiber Cloth
  • Templates can be printed HERE.
I have linked to all the items below the video.


Step 1) Lay the Sticky Mat on top of the template with the acetate side facing down. You'll be tracing on the BACK of the Sticky Mat.


Step 2) After tracing all the lines, carefully cut out the template shape.


Step 3) Choose your circle and sentiment and start stamping.


SUPPLY LIST:
**links are affiliate links however there is no extra cost to you for using the links**

Thursday, November 7, 2024

So Grateful

Hey there!!  Here is an easy card that can easily be made in to a fall birthday card.   You can jump right in and enjoy the video. Products used will be at the end of this post and in the video description on YouTube. 


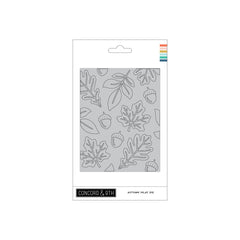
Leaf Background Day
[ C&9 ]
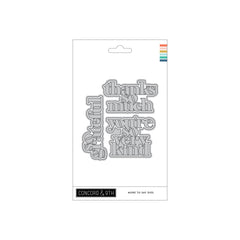
Sentiment Dies
[ C&9 ]
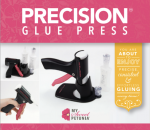
Precision Glue Press
[ MSP ]
MIS-T Rulers
[ MSP ]
Fiskar's Finger Tip Control Craft Knife
[ MSP ]
Bar Magnet
[ MSP ]
Sticky Sheets
[ TE ]
Hot Chocolate
[ TE ]
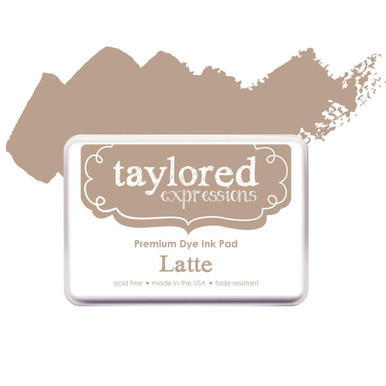
Latte Ink
[ TE ]
Foil cardstock
[ C&9 ]
Green Cardstock
[ C&9 ]
Pink cardstock
[ C&9 ]
Kraft cardstock
[ C&9 ]
1/4" Double Sided Tape
[ C&9 ]
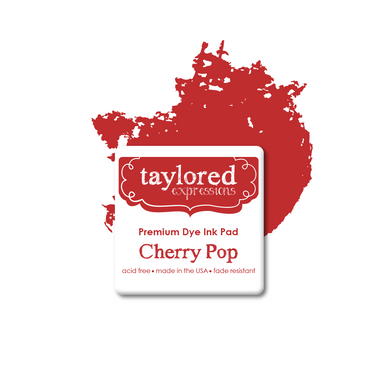
Cherry Pop
[ TE ]
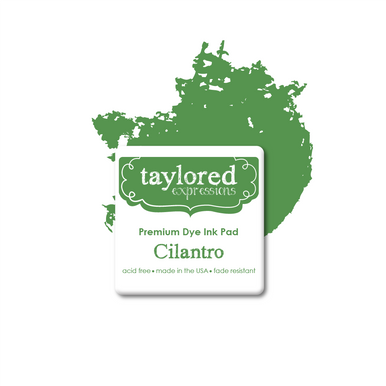
cilantro
[ TE ]
Mango
[ TE ]
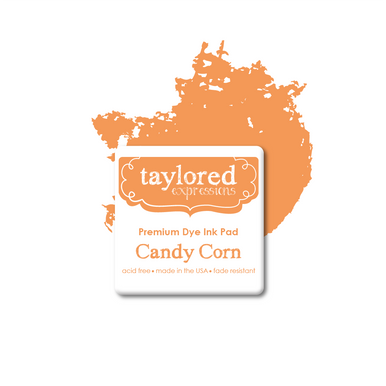
Candy Corn
[ TE ]