Pages

Tuesday, December 26, 2023

Team Tuesday with Ceal and Alex Syberia

(Our team uses affiliate links)


Hello crafty friends!
It's Ceal here with you today for Team Tuesday.  I hope everyone that celebrates it had a great Christmas. 
Today I am sharing a card made with the Alex Syberia Designs poinsettia stamp. I have had this stamp for a couple months now but never had the time to ink it up until now. 

To make this card, I started with a white top folding A2 card base, a white panel and another white panel for the image. I placed the poinsettia stamp in the Original Misti to make sure I get a good impression and stamped it with black ink.  I colored the image with OLO markers and added some details with a white gel pen, then cut it out with the coordinating die. 
I used a cover plate from Pinkfresh Studio for the background. 
To finish the card, I added a greeting embossed with gold powder also by Pinkfresh Studio.


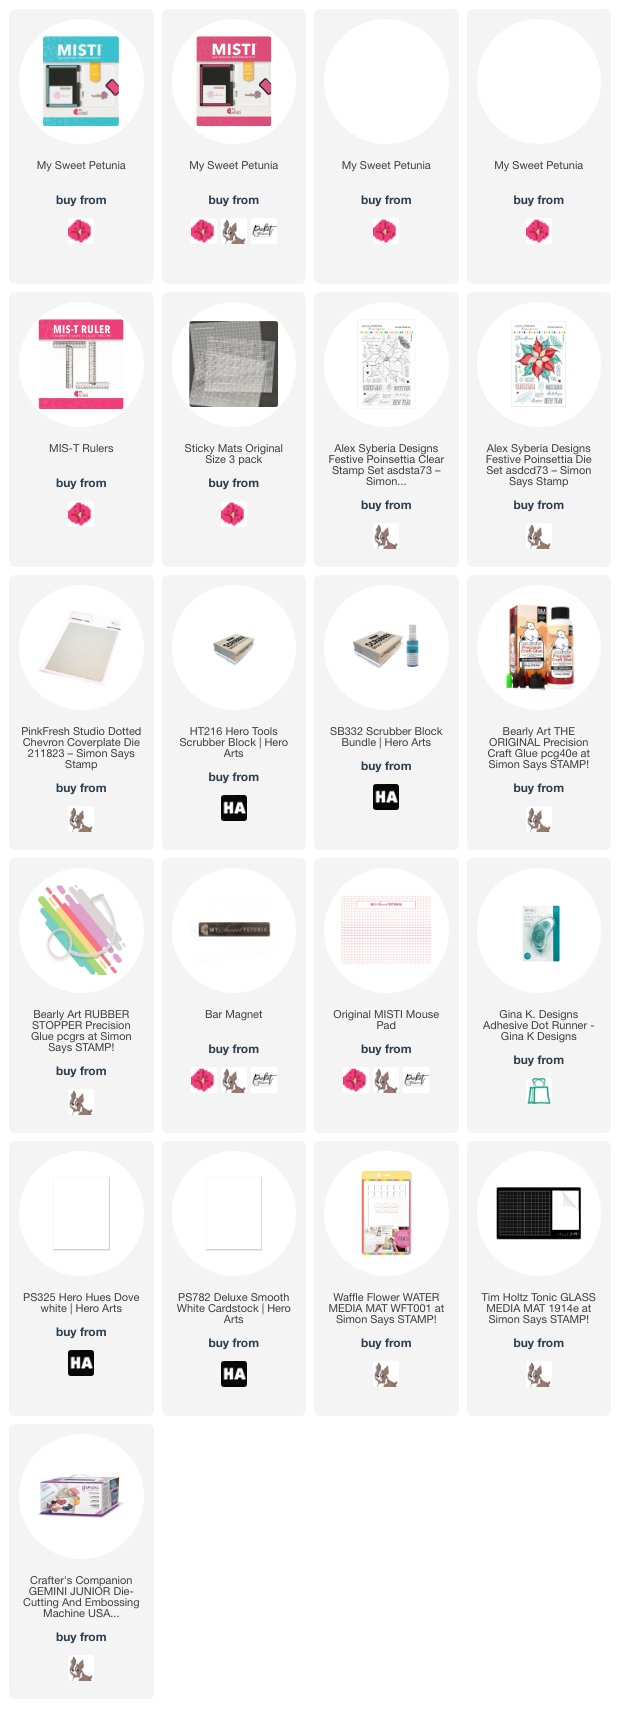
I have linked all products below.


Wednesday, December 20, 2023

Season’s Greetings


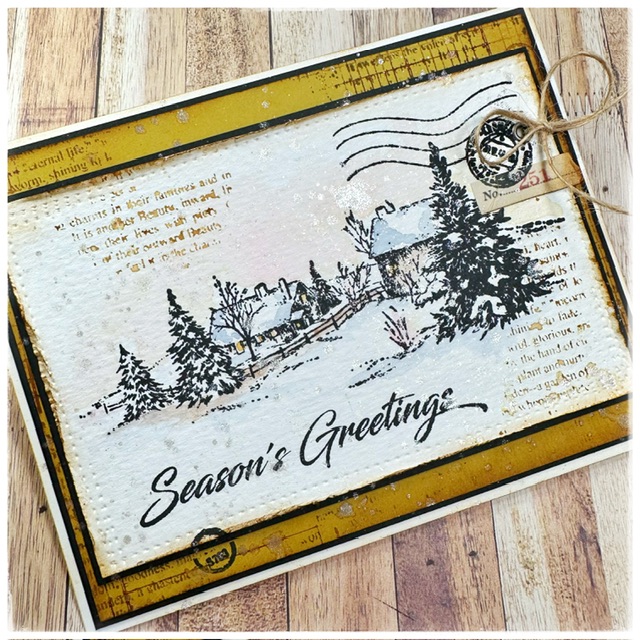
Hello everyone! Anna here, with greetings from the pacific northwest! The card I’m sharing today was made using the limited edition set for December 2023 from Impression Obsession. It is a beautiful set with several winter scenes and sentiments that will make not only beautiful holiday cards, but are perfect for winter cards well after the holiday season.

I love how the Mini MISTI allows me to stamp a sentiment or image several times, giving me the perfect placement and impression for every project! 

I created a video showing how I made similar cards, and demonstrate how the Mini Misti is such a valuable tool when stamping on watercolor paper. Check it out!


Thanks so much for joining me on the blog today!

Tuesday, December 19, 2023

Fun Shape Shaker Christmas Card

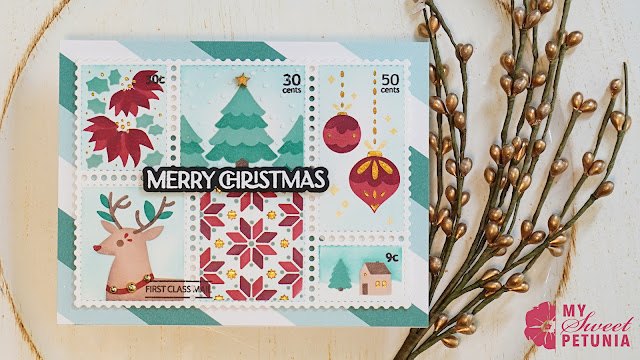
Today I am excited to share this fun shape shaker Christmas card. This card was so much fun to create and of course using the Mini MISTI and the Precision Glue Press made it so much easier. 

I created this card using the Pine and Berry Centerpiece stamp set from Honey Bee Stamps. On Thursday 12/21 I will have a video on my YouTube channel sharing how I created this card.


I hope you enjoyed this fun card and give a shape shaker card a try.

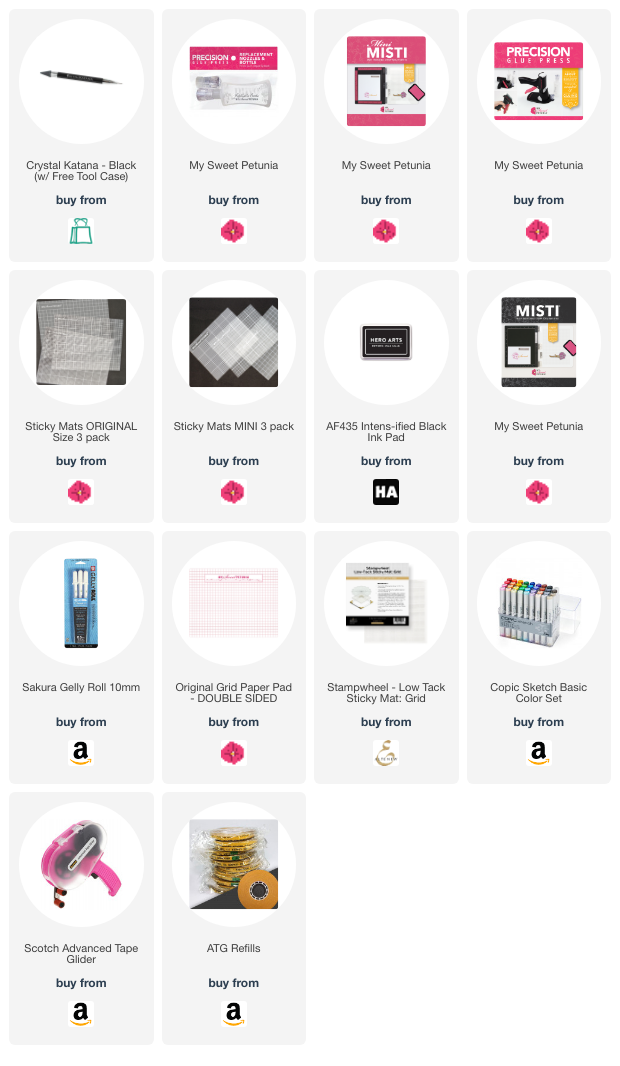
Here's my supply list:

Thursday, November 30, 2023

MISTI in Teal and Thankful for YOU!

***Our Team Uses Affiliate Links at No Charge To You***

Hello, friends! Angie here featuring this beautiful Hero Arts bunny. My love for bunny images has snuck up on me, and now I have difficulty passing up any cute bunny stamp!  

When I make backgrounds to die-cut shapes from them, I keep them even if only small scraps are left. Recently, I made large, brilliant watercolor powder leaves from a background piece. I saved the scraps even though the leftovers were small. Today, I carefully laid the stamp over sections of the watercolor powder scraps and had just enough to stamp and die-cut three sets of leaves and a pine cone! The MISTI and a Sticky Mat were invaluable for keeping the scraps in place for multiple stampings on the textured paper. The mini MISTI was also a lifesaver for precision stamping on the long sentiment. (do you know, the mini now comes in Teal?, yes it does and I have linked right to it) I used the Cut Align and the Alignment Grid to ensure everything was straight! I also used the Precision Glue Press to adhere all the pieces to the card base.    

Thanks so much for stopping by, I am thankful for you!  


Wednesday, November 29, 2023

Chocolate Chips in My Cookie


Hello everyone! Anna here, with greetings from the pacific northwest! The tag I’m sharing today was made using recently released dies and stamps from Impression Obsession. Adorable cookie themed dies were released along with stamp sets filled with cute cookie and holiday themed sentiments perfect for making cards and tags.  

I love how the Mini MISTI allows me to stamp a sentiment several times, giving me the perfect placement and impression for every project! 

Thanks so much for joining me on the blog today!

Tuesday, November 28, 2023

Team Tuesday With Sweet 'n Sassy Stamps

 Our team uses affiliate links 


Hello friends!

It's Ceal, here. Today I am sharing a couple cards using the MISTI with a couple sets by Sweet 'n Sassy stamps. 

To make these cards, I started with white top folding A2 card bases. For the top card, I placed a piece of wheat cardstock in the Original MISTI on a sticky mat to stamp the background. Anytime I use a background stamp I always use a sticky mat so I can place it in the middle of the Misti.  Next I stamped and colored the images from the Botanical Collages set and then used postage dies to cut them out. The moment I saw this set I knew I wanted to use the postage dies with it. 


For the second card I placed a white panel in the Original Misti and stamped all of the images on the anel and used a large postage die to cut it down. I added some distress ink and some gold Hero Wax for a mixed media vintage look. 

All supplies are below using affiliate links


Tuesday, November 21, 2023

Balancing Your Cards & Easy Image Placement

 Hello friends!

Wendy here. I am so excited to share this card. I really love how it turned out and I even learned a little something along the way.


When I die cut this piece I placed the negative in the Mini MISTI to get perfect placement of the sentiment and the bird.

The Precision Glue Press was the perfect tool to put these pieces together. 


Here is my supply list and I will be on my blog and YouTube tomorrow sharing this fun card.

CLICK HERE to visit my blog and YouTube channel.

Thursday, November 9, 2023

Mass Producing Using Layering Stencils on MISTI


I had so much fun making Christmas cards with this stencil set from Waffleflower.  I was determined to find an efficient way to make several cards without making a splotchy mess on my project. 

Please enjoy the video and don't forget to LIKE and SUBSCRIBE to the My Sweet Petunia Channel.


Affiliate links to the supplies used:


Tuesday, October 31, 2023

Team Tuesday with Concord & 9th

(our team uses affiliate links)


Hey there crafty friends!
It's Ceal, here. Today I am sharing a card that you definitely need a Misti to make. 
To make this card, I started with a white top folding A2 card base and a white panel cut down a quarter of an inch smaller. 
I placed the panel the original Misti and stamped the two step border on one end and then flipping the paper stamped on the other end. The Misti makes this super easy because it stamps in the same place. Next I stamped the sentiment which is also two step but again so easy with the misti because of it stamping in the same place.
This is a card design that I will be making 32 of as a thank you note for those who participated in an outreach event at church. I love that the Misti allows you to mass produce with such ease and precision. 


Tuesday, October 24, 2023

Are Clear Blocks Even Needed Anymore?

Hello Friends,

It's Wendy. While I am sure there are good uses for clear blocks, I have a hard time using them since getting a MISTI. The Mini MISTI is my go to for quick and easy stamping. 

This cute stamp set from Altenew is a layering stamp set and using the MISTI for stamping all the bits and pieces is perfect. 

I really am starting to question if I ever even need to use clear blocks again. What do you think? Do you have a MISTI and if you do how often do you even need a clear block?


I do have a video to share for this cute card, however my computer took a dirt nap and I'm waiting on things to fix it so I can edit and upload my video. Wish me luck!

Thanks for stopping by.
Wendy

Thursday, October 19, 2023

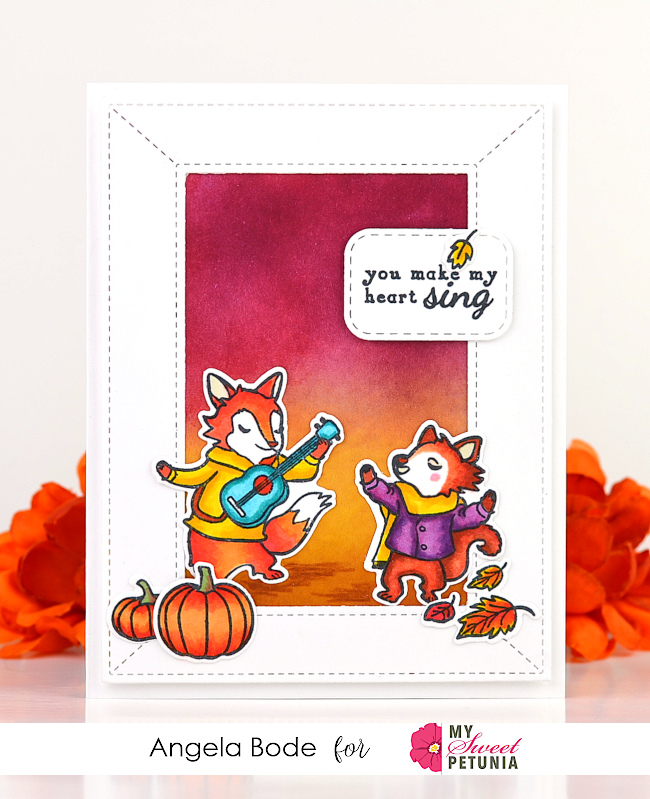
You Make My Heart Sing

Hello! Angie here with a festive Fall card! I made this with my husband in mind. We have made many memories camping in the Fall. He plays guitar, and he still makes my heart sing!

I stamped all the images at once in the Black Original MISTI. What a time saver! I used the Mini MISTI to stamp the sentiment. I love how the Precision Glue Press adds glue to the smallest pieces, like the little leaf I placed on the sentiment.  Also, gluing the little hands and feet on these critters without a big glue mess makes the Precision Glue Press a must-have!


Thanks for stopping by!  


Wednesday, October 18, 2023

Sweet Christmas Cookie

Hello everyone! Anna here, with greetings from the pacific northwest! The tag I’m sharing today was made using a recently released dies and stamps from Impression Obsession. Adorable cookie themed dies were released along with stamp sets filled with cute cookie and holiday themed sentiments perfect for making cards and tags.  

I love how the Mini MISTI allows me to stamp a sentiment several times, giving me the perfect placement and impression for every project! 

Thanks so much for joining me on the blog today!

Tuesday, October 3, 2023

Team Tuesday with Ceal

(our team uses affiliate links)


Hey y'all 
It's Ceal here. Today I am sharing a card using some Sweet 'n Sassy products and that amazing Precision Glue Press! Just like the Misti, the Glue press is a must have.. That is all! 


Saturday, September 30, 2023

Thank You Card Using Precision Glue Press


I am going to keep this simple.  I love my Precision Glue Press.  I have had it for a long time.  

Short and simple...l.enjoy the video.


Affiliate links to supplies used:


Thursday, September 28, 2023

Costume Mischief

***Our Team Uses Affiliate Links***

Hello! We are drawing ever closer to the bewitching season! 
We love to go downtown on Halloween for the Munchkin Masquerade. It's so fun to see the cute kids in fun costumes. If you look hard enough this time of year, you might even find a cat wearing a pumpkin costume! The little fellow below looks as if he is into mischief.  Is he afraid of spiders, do you think?  He is certainly keeping an eye on her.   


The MISI tools kept the making of this card flowing smoothly with quality precision!  I used the Black Original MISTI.  I placed an alignment grid over the cardstock and then put the kitty and the sentiment on the grid for perfect placement.  Before coloring the image, I used the Cut Align Ruler to draw the line grounding the kitty.  Next, I placed the cardstock in the Mini MISTI and stamped the web and spider. The web and spider are two separate stamps, so I used the alignment grid to precisely align them. The alignment grids, Cut Align ruler, and Precision Glue Press were used to layer the card. 

Thanks so much for stopping by! 

Here are the items used in the making of this card!


Other recommendations

Stamps:
 

Tuesday, September 26, 2023

How Did We Survive Without The MISTI?

 (All products are linked below using affiliate links )


Hi Friends,
Wendy here. I am so pleased with how this card turned out. The dies and sentiment is from HoneyBee Stamps. 

I stamped the sentiment for this card 3 times... BEFORE I grabbed my MISTI and realized I was having a momentary relapse to archaic stamping days.

When I couldn't get the sentiment to stamp nice and dark and clean and clear I immediately grabbed my Original Black MISTI and bam. Perfect sentiment stamping. 

How did we ever stamp before the MISTI?

AND... How did we ever glue these teeny tiny pieces before the Precision Glue Press? I don't know it's a mystery to me too.


Thanks for checking in and hanging out for a few minutes. I hope you enjoy this card. All the products are linked below.

Hugs

Wendy

www.luvinstampin.com

Thursday, September 7, 2023

Love it More

*** Our team uses affiliate links. ***

Hi! I am still raving over the Precision Glue Press! The longer I have it, the more I depend on this capless system! I love the precision tip, which allows me to easily adhere skinny die cuts! Then, without worrying about stopping to cap the lid, I slip the press back into the holder. I love it! It's my new favorite thing!  


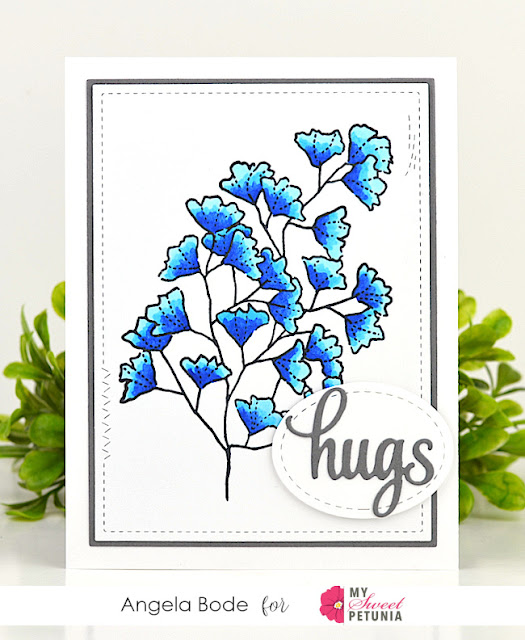
I  enjoy using this Maidenhair Fern stamp set because it can be placed in various ways. I saw a painting with a fern in this orientation, so I tried it. In a prior project, I put it in the upper corner, dangling it down, and next time, I plan to place it in the lower corner. The MISTI shines with large clear stamps like this! Sometimes clear doesn't ink evenly, so stamping again with the MISTI is easy! 
I also use the Alignment Grids on every project. If I don't use them to align stamps, I use them over the top of my elements to ensure I have everything straight before pressing the cardstock into the glue.  

Featured Items:


Thanks so much for stopping by!


Tuesday, September 5, 2023

Team Tuesday with The Precision Glue Press

 (All products are linked below using affiliate links )


Welcome to Team Tuesday, today I am sharing a card using some Concord & 9th products and the gamechanger Precision Glue Press.

To make this card, I started with a white top folding A2 card base, a Grape Soda panel and a white panel. I created a background by using a stencil with the Sticky Mat. To finish the card I added this super skinny greeting which I love and I adhered it with no mess at all because of the Precision Glue Press! 


Y'all just like the MISTI the Precision Glue Press is a game changer. 
I have not made a card without using it since I got it, and I would make such a mess with skinny diecuts trying to get glue on them, that is not the case with the Precision Glue Press, it is Amazing!!!


Tuesday, August 29, 2023

Perfect Sentiment For Fall


I created this cute card using the Fall Foxes stamp set and my Original Black MISTI. One of my favorite things about the MISTI is the etched-in gridlines for the perfect alignment of sentiments.

For the background on this card, I used The Rabbit Hole Designs Clouds In My Coffee stencil. I created the clouds by ink blending in a beautiful blue and then used one of the open cloud cut outs to create the bushes. It's fun to use products in an unexpected way to get more bang for your buck.

I hope you enjoyed this card.

Hugs

Wendy

Thursday, August 17, 2023

All Treats, No Tricks - Precision Glue Press

**Affiliate links are used when possible at no charge to you!**

Hello everyone!  
I am super excited to share the newest precision tool in the My Sweet Petunia line! The Precision Glue Press makes even the tiniest die-cuts easy to adhere to projects. I have left the glue press on my desk for several weeks without the cap on, and the tiny precision nozzle has not clogged!  

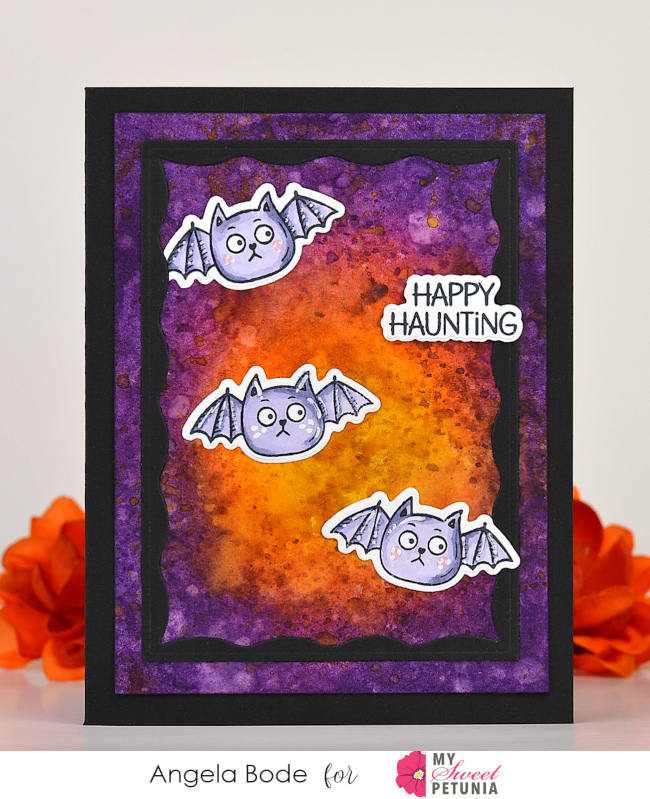
I used the  Precision Glue Press in the making of this card. I loved how easy it was to adhere the tiny inner frame with the small Precision nozzle of the Glue Press. 

In the past, I have purposely not purchased dies that cut super thin frames or words because of the glue mess, but the Precision Glue Press changes that! In the future, I will share some of the tiny word dies I recently ordered!      

The following lists other My Sweet Petunia tools for creating my Happy Haunting card.


Tips:
Ensure the bottle is pressed all the way in the holder, or the precision tip will not make contact with the silicone pad allowing air in. This will cause the glue to dry in the end. 


I recap the bottle if I know I will be away from the art room for several weeks. Left several weeks unused, the glue may dry at the end of the nozzle, but a quick pin in the nozzle will allow the glue to, once again, flow freely.

Check out the video below for all the details on this fantastic new tool.


*****

Thanks so much for stopping by!


Wednesday, August 9, 2023

Awesome Friend!

(Our team uses affiliate links)


Hey y'all and welcome to another edition of eam tuesday!

Today I am sharing a card using a new kit by Gina K Designs that the Sticky Mat is a necessity when making this card.
I started with a top folding white A2 card base and a white panel. I placed the Sticky mat inside of the Original Misti and then the panel of white cardstock, I used a stencil to create the background. 
I stamped the butterflies on a separate piece of cardstock, then used the stencil to color them and cut them out with the coordinating die. 
I also use this tip with every card I make. I take out the foam piece and place the card base in the corner of the Misti and this helps me be able to place the panel on straight. 


Here is a list of supplies I used which includes affiliate links.