Pages
Thursday, March 31, 2022
Support Ukraine Stamping Village Blog Hop - Stay Strong
Wednesday, March 30, 2022
Repeat Stamping Made Easy
Hello everyone! Judy here with a fun card highlighting repeat stamping!
Tuesday, March 29, 2022
VIDEO: Layered Background Featuring Sticky Mats
Layered Background Featuring Sticky Mats
To create this card I first ink blended over an A2 panel of Sand cardstock with the Abstract Frames Stencil and Unicorn Pigment Ink. I then rotated the stencil and then ink blended a rainbow over the stencil with several Reactive Inks. Then I stamped over the panel with the Abstract Frames Bold Prints stamp with the same inks I used to create the rainbow blend.
Next I created my sentiment by die-cutting the “congrats” and “!” from the Congrats & Yay Stamp & Cut XL set out of white cardstock. I then die cut the mat layers out of vellum and then adhered them to their cardstock counterparts. I then stamped and white heat embossed a sub-sentiment onto black cardstock and then fussy cut it out.
To finish the card I adhered the background panel to an A2 top-folding white card base and then adhered the sentiments with foam adhesive.
I hope you enjoyed my card and video! Thank you so much for stopping by!
~Channin
Supplies:

Tuesday, March 22, 2022
Team Tuesday With Taylored Expressions
Thursday, March 10, 2022
Blue Succulent
 |
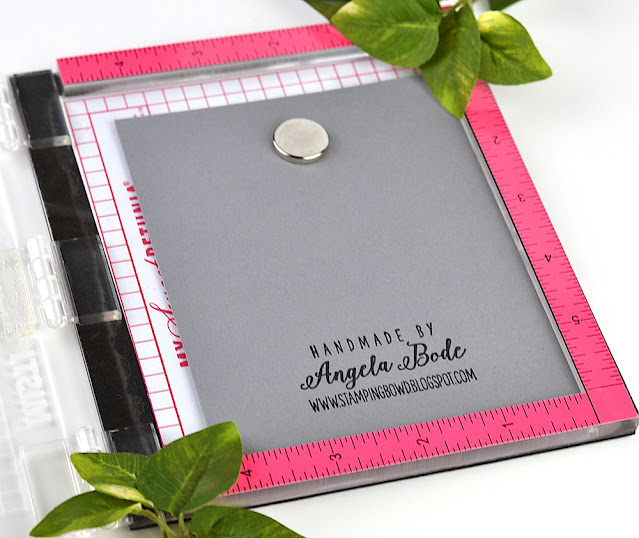
The last thing I do on my cards is to add a watermark or signature to the back. I am thrilled to have a dedicated Mini MISTI for my watermark stamp! I leave the stamp in the Mini MISTI which is a huge time saver. I won't talk about how many times I stamped it crookedly when it was wood mounted! |
Wednesday, March 9, 2022
Layered Stenciling
- Original MISTI Laser Etched
- Sticky Mats Original Size
- A Little Love Layering Stencil Bundle (GKD)
- black, white cardstock
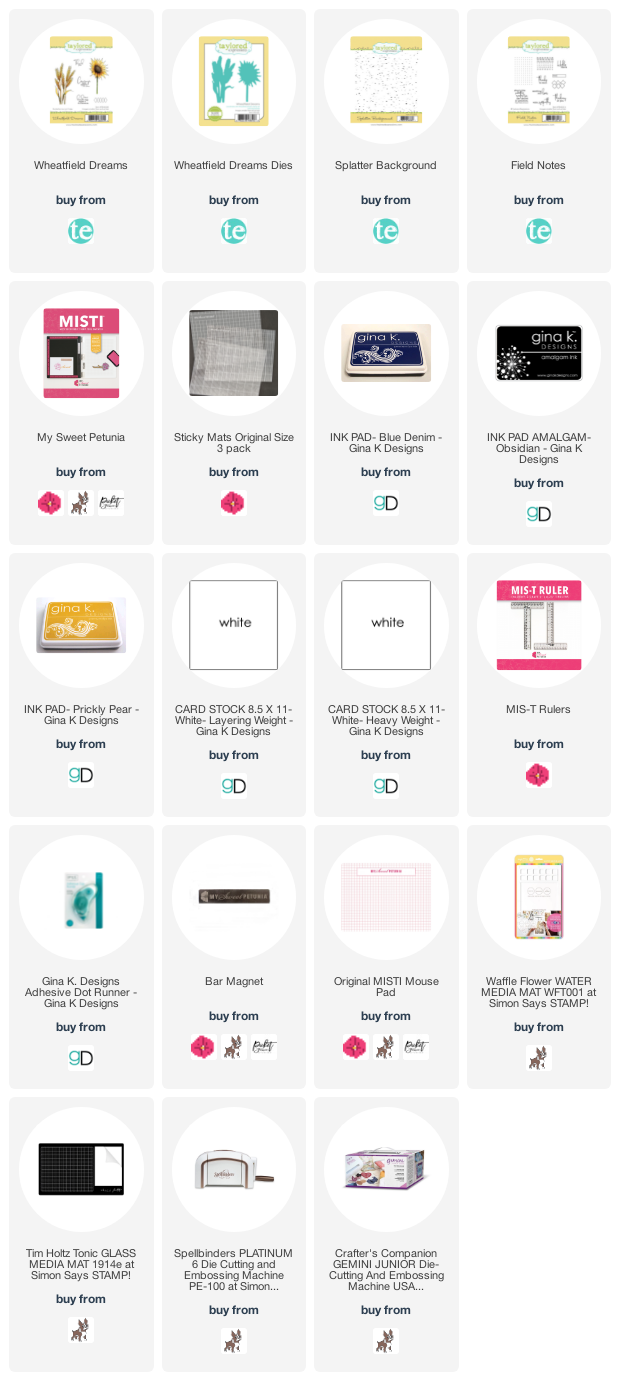
- Kitsch Flamingo, Picked Raspberry, Spiced Marmalade, Peeled Paint, Mowed Lawn DOX inks
- patterned gray/white paper (Kaisercraft)
Tuesday, March 8, 2022
Hope in Blue and Yellow
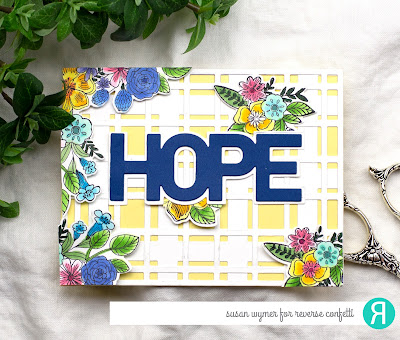
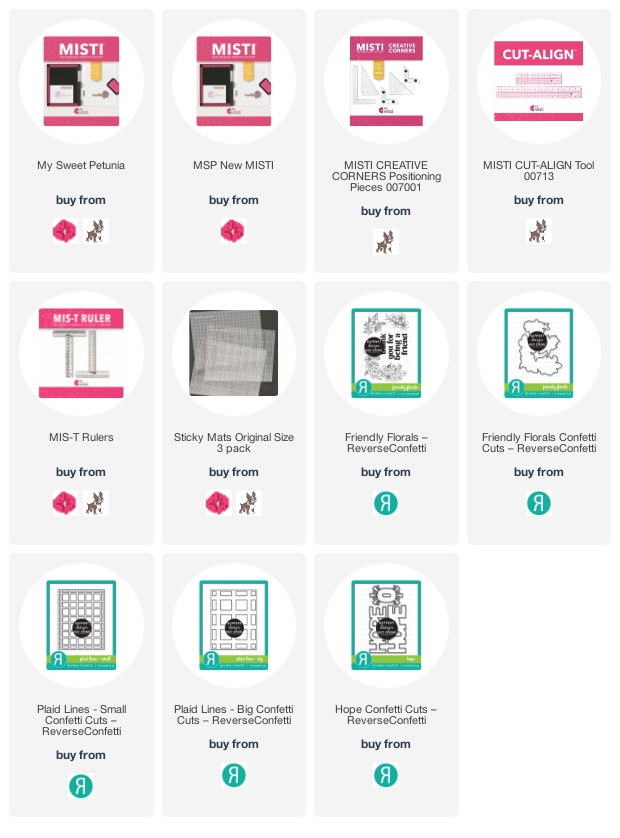
Hello and welcome to the My Sweet Petunia blog. Today, I have a card that I made to give me and others hope. I won't stray into politics here. All the products used here are from Reverse Confetti. The florals are the Friendly Florals from the new release. When I started this card. I had a different idea for a sentiment. So below is a picture that shows how I squared everything up using my MIS-T ruler and the new sticky pad - how did I live without that thing. Look no magnet!
I choose to set the paper in the middle because I needed to have some card stock around the edges of the sentiment. Also I did not have another piece of this paper. I then positioned an oval die over the sentiment and was able to get a precise cut. Proud of myself for that.
But as I laid out the card, I just did not like where it was going. I changed up the look by die cutting Hope and its background.
For the florals, I used my MISTI with the sticky pad and Neenah solar white 110lb card stock to stamp out the florals. After some very, very basic Copic coloring, I die cut the florals and added them to the card.
Thanks for stopping by;
Susan
Products Used: I am using compensated affiliate links at no further cost to you.
Thursday, March 3, 2022
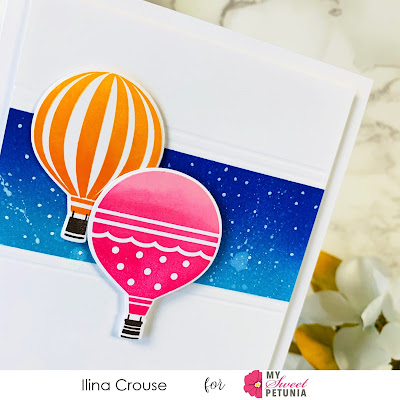
Always Follow Your Dreams - Ombre Stamping
Tuesday, March 1, 2022
Pattern Stamping with the MISTI
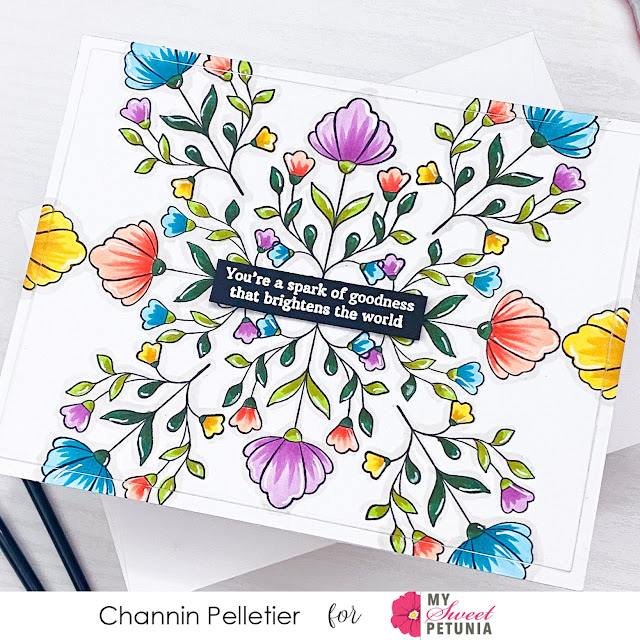
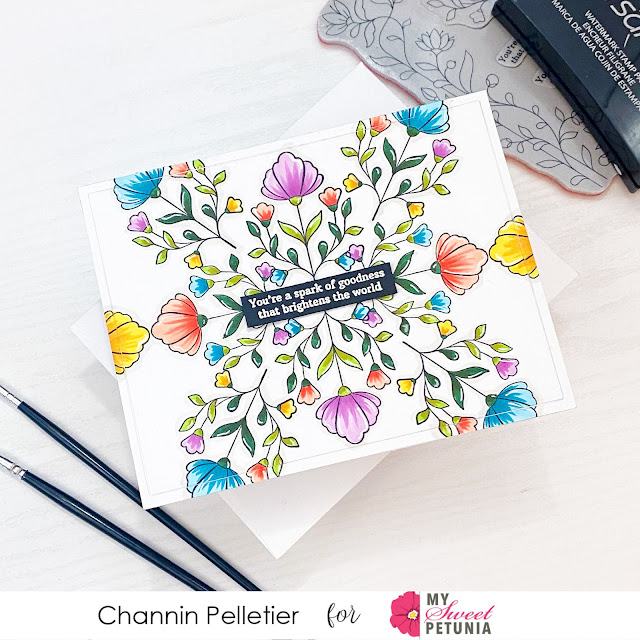
Hello friends!! It’s Channin here and today I’m once again sharing a favorite MISTI stamping technique! Using a single stamp I’ll create a beautiful floral background with a few turns!
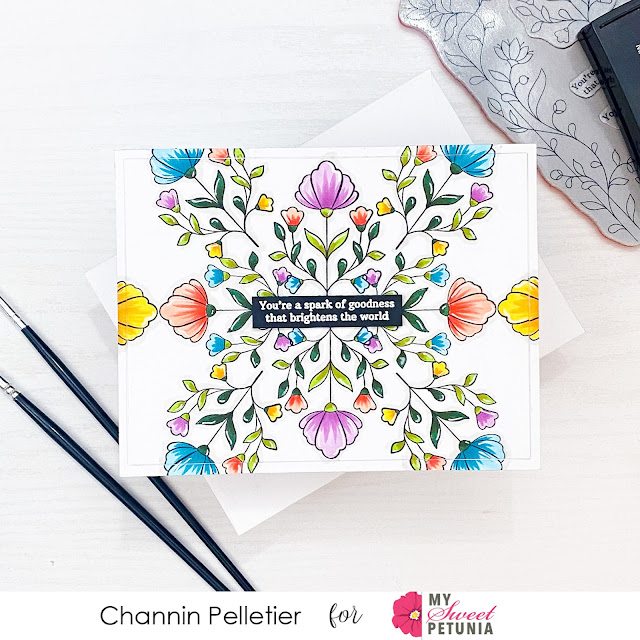
To create this card I first stamped a floral stamp from the Spark of Goodness Floral Frame stamp set onto an A2 panel of white cardstock in Memento Tuxedo Black. I positioned this stamp centered and in the upper half of my panel. Next, I left the stamp in place in the MISTI and then turned the panel 180 degrees and then stamped the panel again to add the floral image to the lower half. I then repositioned the stamp and stamped the left side of the panel and then rotated the panel 180 degrees and stamped the right side of the panel. I repeated this process a few more times till I had completed the pattern.
Next I copic colored all the images and even added a shadow around all the images as well to create more depth. I then finished coloring the images by adding some white gel pen accents.
Next, I die cut the panel with a rectangle die to create a frame. I then adhered the two panel pieces to the front of an A2 top-folding white card base. Lastly, I finished the card by stamping and white heat-embossing a sentiment onto black cardstock and then adding the sentiment to the card front with foam adhesive.
I hope you enjoyed my card! Thank you so much for stopping by!
~Channin
Supplies:


