
Hi card making friends, Sandi MacIver here and I have four super easy holiday cards for you today. The Distress Oxide Ink Single Layer Holiday Cards are done in a mass production format blending all the backgrounds first and then popping the stamps into the Misti and stamping all the cards at the same time.
I even used precut and scored card bases to further speed up the process (link below).


Hello friends! It's Channin here and today I a have fun halloween card to share! Today’s card was actually inspired by a beloved childhood book of mine called A Halloween Happening.
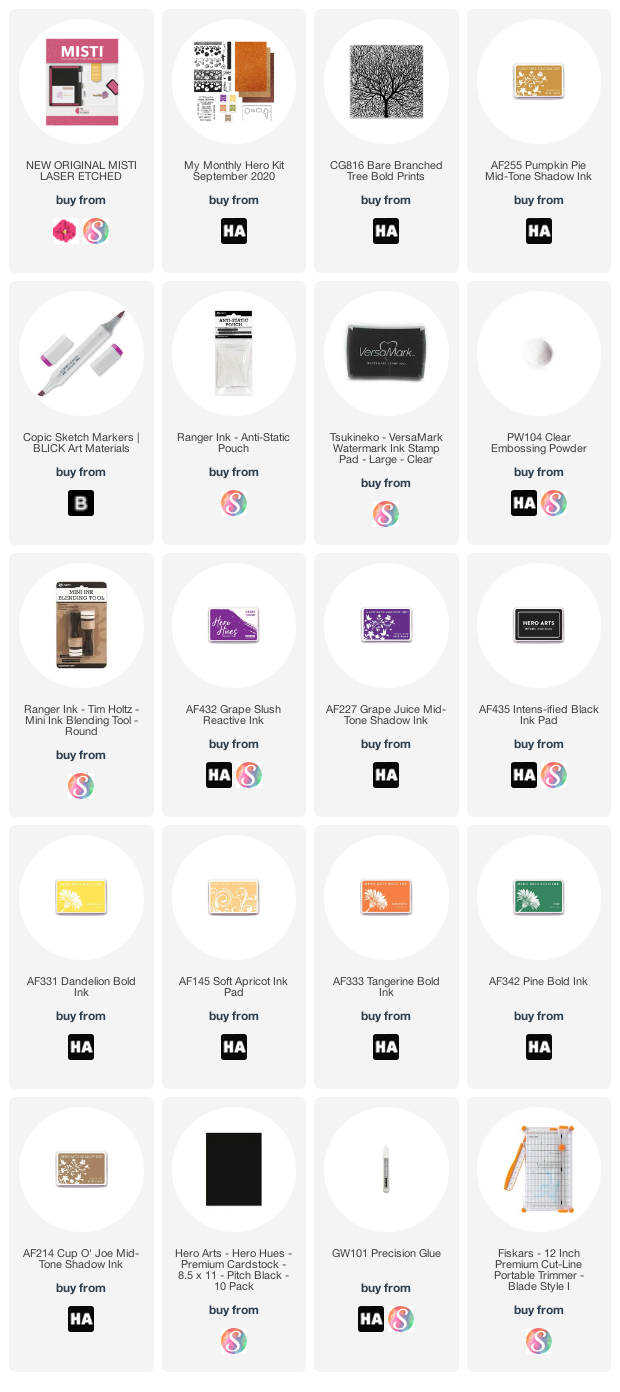
To create this card I first stamped an A2 panel with the Bare Branched Tree Bold Prints in Pumpkin Pie Mid-Tone Shadow Ink. Do to this, I first ppsitioned the background stamp in the center of my MISTI and then used adhesive tape to hold my panel in place inside the well of my MISTI. After I stamped the tree I then added a few details to the trunk and branches with a copic marker, leaving my panel in place inside my MISTI. Next, I stamped the tree again in Versamark ink and then clear heat-embossed the image. Once the embossing powder was heat set I then ink blended over the tree with Grape Slush Reactive Ink, Grape Juice Mid-Tone Shadow Ink and INTENS-ified Black Ink. When I finished ink blending, I then wiped the tree clean with a dry rag to remove excess ink.
Next, I stamped the pumpkins with the heroscape layering stamp set included in September My Monthly Hero Kit. I first stamped the solid layer for the pumpkins in Dandelion Bold Ink twice onto an A2 panel of white, rotating the panel after I stamped the pumpkins once and then stamping them again so I had the pumpkins on both sides of the panel. I then left the stamp in place in my MISTI and then throughly dried my panel with a heat gun. Next, I positioned the Jack-O-Lantern faces over some of the pumpkins and then stamped them in Versamark Ink and then embossing in clear. I then flipped my panel and stamped the other side of the panel with the Jack-O-Lantern faces, so the pumpkins on both sides had faces. I then repeated this process till I had all the pumpkins I wanted stamped.
Next, I stamped the solid pumpkin layer again on both sides in Soft Apricot Ink. I then positioned the detail layer for pumpkins and stamped that on both sides in Tangerine Bold Ink. Next, I positioned the solid leaf layer in Pine Bold Ink on both sides. I then finished both sets of pumpkins by stamping the final layer in Cup O’ Joe Mid-Tone Shadow Ink. I then fussy cut several of my pumpkins out and adhered them my panel.
Next, I trimmed my panel down 1/8” on all sides and then adhered it to the front of an A2 top-folding black card base. Next, I stamped my sentiment (also from the kit) in Dandelion onto a strip of white cardstock. I then stamped the sentiment again in Versamark ink and heat set in clear embossing powder. I then ink blended over the strip with Tangerine ink and then adhered it to the card front to finish the card.
I hope you enjoyed my card! Thank you so much for stopping by!
~Channin
Supplies:


Below I have links to the products used. Click the picture to start shopping. Compensated Affiliate links are used at no additional cost to you. Your support helps me to keep bringing you new projects and I appreciate that so much!
Thank you!
